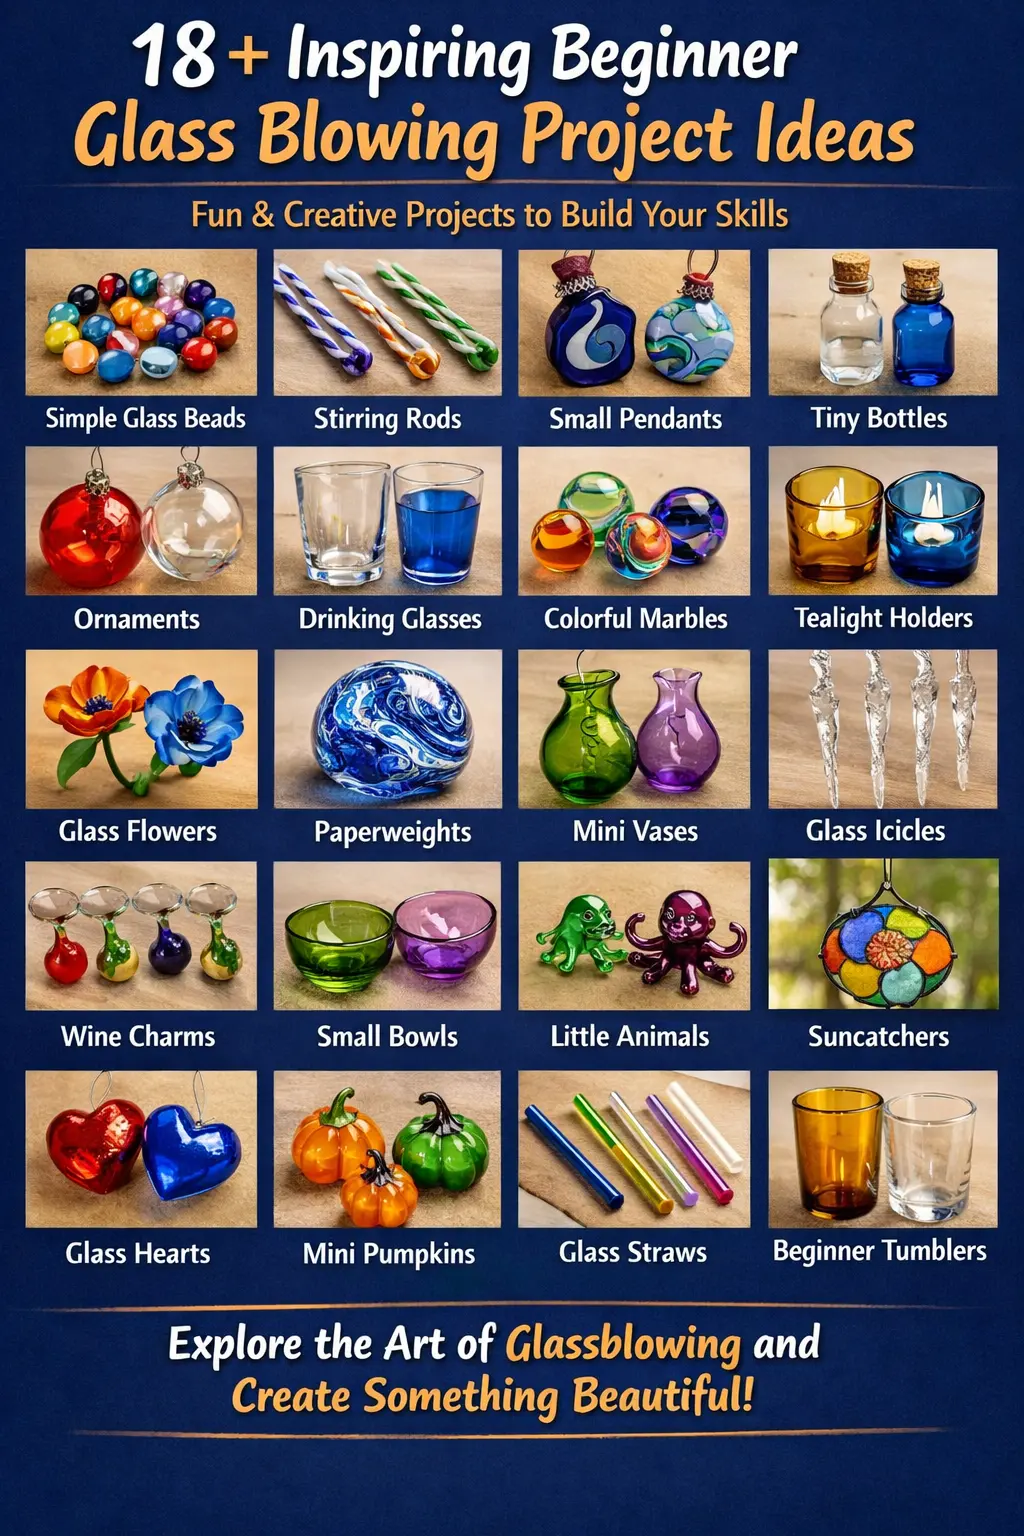
18+ Inspiring Beginner Glass Blowing Project Ideas
Beginner Glass Blowing Project Ideas, Glass blowing represents one of the most captivating art forms available to creative individuals today. The transformation of molten glass into functional objects and decorative pieces offers an unmatched sense of accomplishment. For those just starting their journey into this ancient craft, selecting the right projects can make the difference between frustration and falling deeply in love with the medium.
This comprehensive guide presents over 18 beginner-friendly glass blowing project ideas designed to build your skills progressively while creating beautiful pieces you’ll be proud to display or gift. Whether you’re attending your first workshop or setting up a small torch station at home, these projects will help you master fundamental techniques while exploring your creative potential.
Understanding Glass Blowing Fundamentals
Before diving into specific projects, newcomers should grasp what makes glass blowing unique. The process involves heating glass to temperatures exceeding 2,000 degrees Fahrenheit, transforming it into a workable, glowing substance that responds to breath, gravity, and skilled manipulation. Two primary methods exist: traditional furnace glass blowing and lampworking, which uses a torch for smaller projects.
Traditional glass blowing requires access to industrial equipment including furnaces, glory holes for reheating, and annealers for controlled cooling. Most beginners access this equipment through studio memberships or workshops. Lampworking, conversely, can be practiced at home with a torch setup, making it more accessible for hobbyists.

The choice between soda-lime and borosilicate glass affects project outcomes significantly. Soda-lime glass, used in most decorative work, flows easily at lower temperatures and offers brilliant color possibilities. Borosilicate glass requires higher heat but resists thermal shock, making it ideal for functional pieces like drinking vessels and scientific equipment.
18 Simple Glass Beads
Glass beads serve as the perfect introduction to controlling molten glass on a small scale. This lampworking project teaches heat management, rotation consistency, and color application without overwhelming beginners with complex shaping requirements.
Start by heating a glass rod with your torch until it glows orange and becomes soft. Wind the molten glass around a steel mandrel coated with bead release, rotating steadily to create an even cylinder. The key lies in maintaining constant rotation to prevent gravity from pulling the glass into an uneven shape.
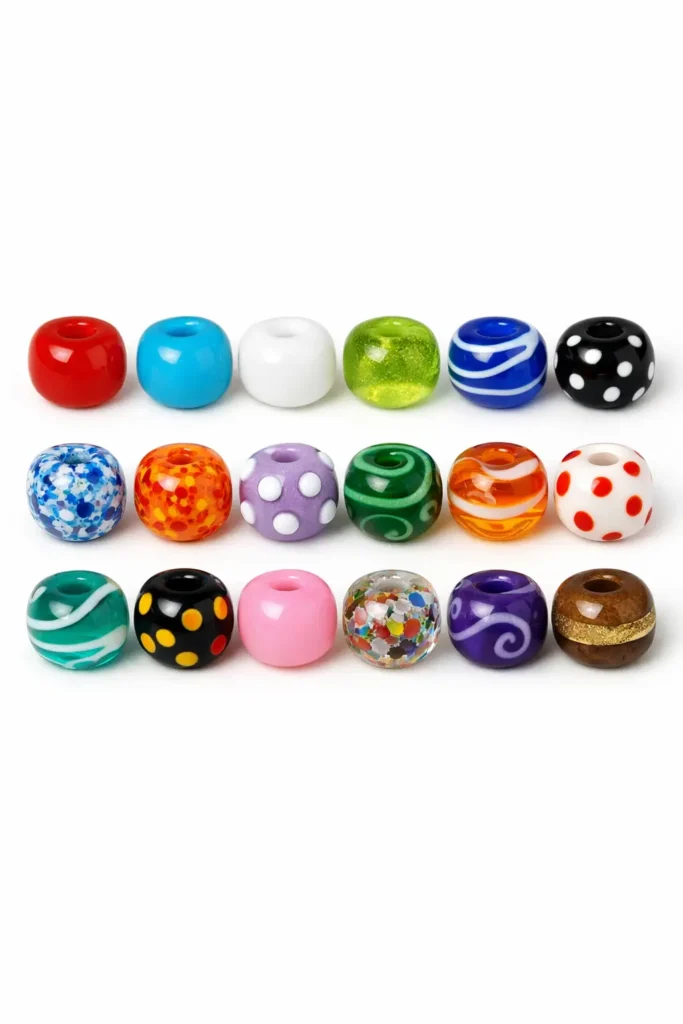
Experiment with surface decoration by rolling your bead over crushed glass frit in contrasting colors, or use stringers to apply dots and swirls. Beginner Glass Blowing Project Ideas,Each bead takes only minutes to create, allowing rapid skill development through repetition. After cooling in vermiculite or an annealing kiln, these beads become components for jewelry or standalone collectibles.
Classic Glass Paperweight
Paperweights combine simplicity with visual impact, making them ideal early projects for furnace glass blowing. The solid form requires no hollow blowing, reducing technical difficulty while still teaching essential gathering and shaping skills.
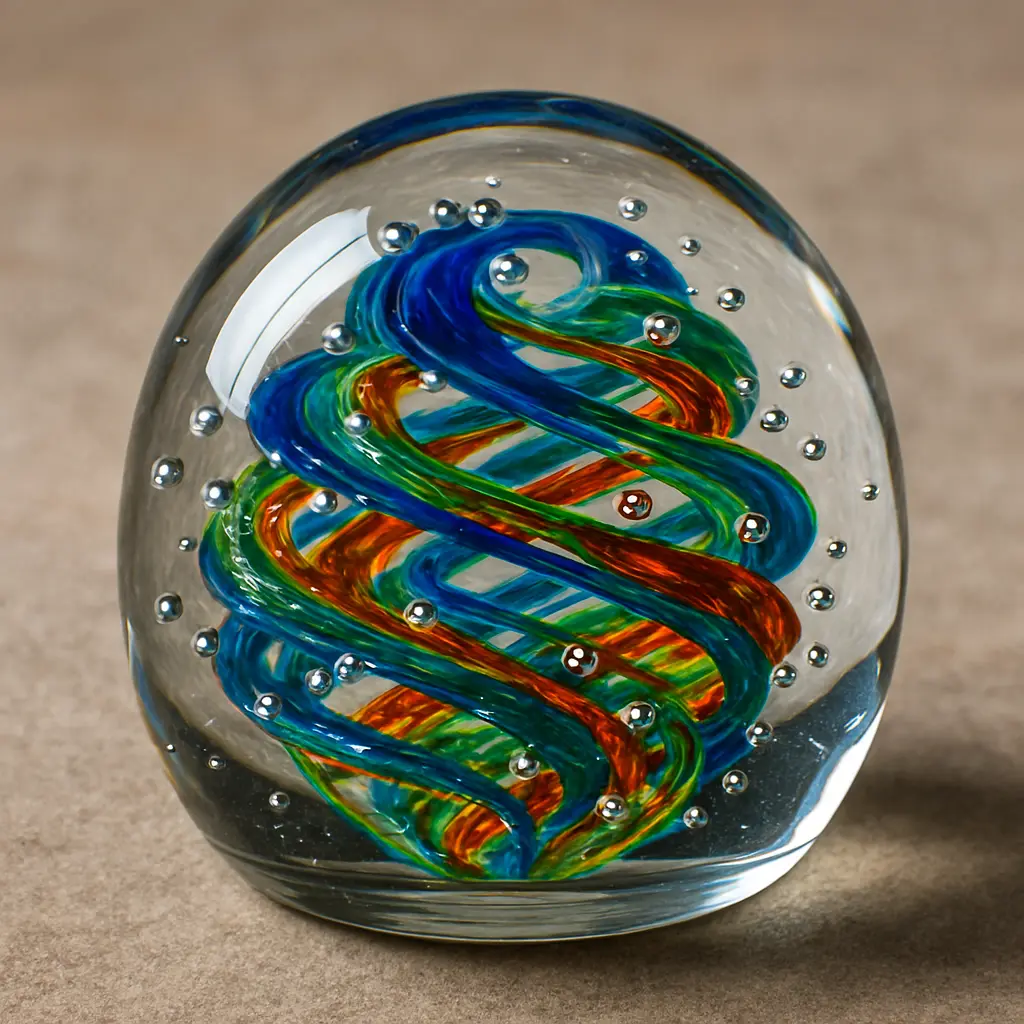
Begin by gathering molten glass onto your punty rod from the furnace. Work the gather on a marver to create a symmetrical dome shape, reheating as needed to maintain workability. Before the final shaping, roll your gather through colored glass bits, creating internal patterns that become trapped within the clear outer layer.
Use wooden blocks or graphite paddles to refine the dome shape, ensuring a flat bottom that allows the paperweight to sit properly. The swirled colors inside create unique patterns in every piece, teaching you how glass layers interact and how timing affects pattern formation.
Festive Glass Ornaments
Holiday ornaments offer immediate gratification and gift-giving potential. Using a glass tube called a kolben, you can create hollow spheres through a single blow without complex shaping steps.
Heat the bulbous end of the kolben until glowing red throughout. Blow steadily into the tube, watching the bulb expand into a sphere. Once cooled slightly, score the glass with a file and snap it free from the tube. Add a decorative cap with wire for hanging, and you have a completed ornament.
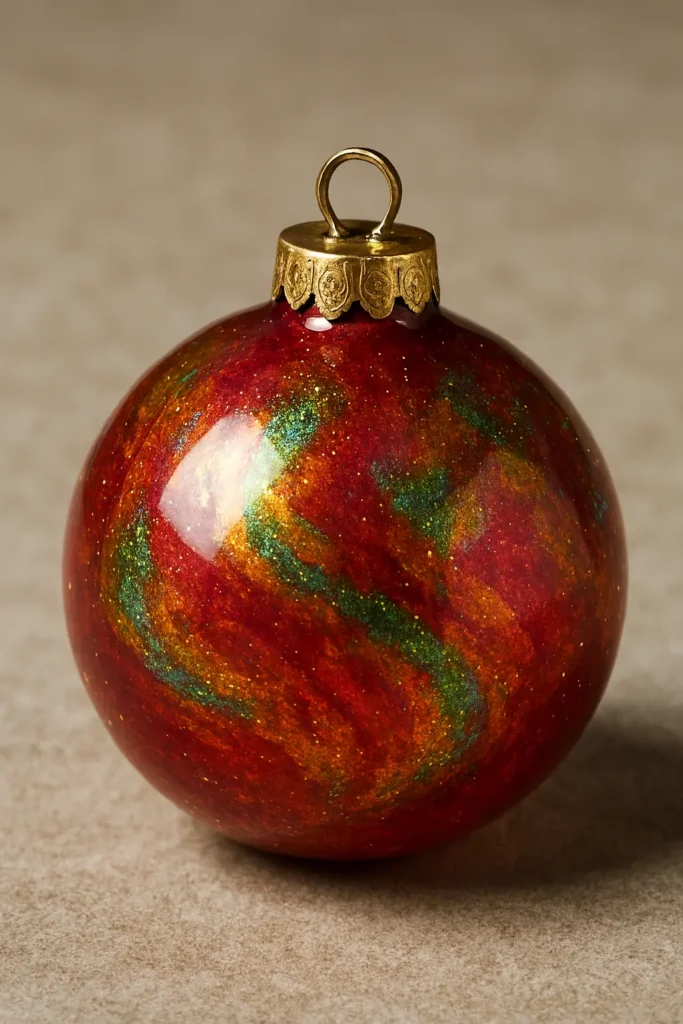
These projects work beautifully with metallic lusters or color applications before blowing. The simplicity allows focus on color combinations and surface treatments rather than complex forming techniques.
Small Drinking Glass or Cup
Stepping up in complexity, a small cup introduces controlled blowing and opening techniques essential for functional ware. This project requires patience but delivers a usable object that demonstrates real capability.
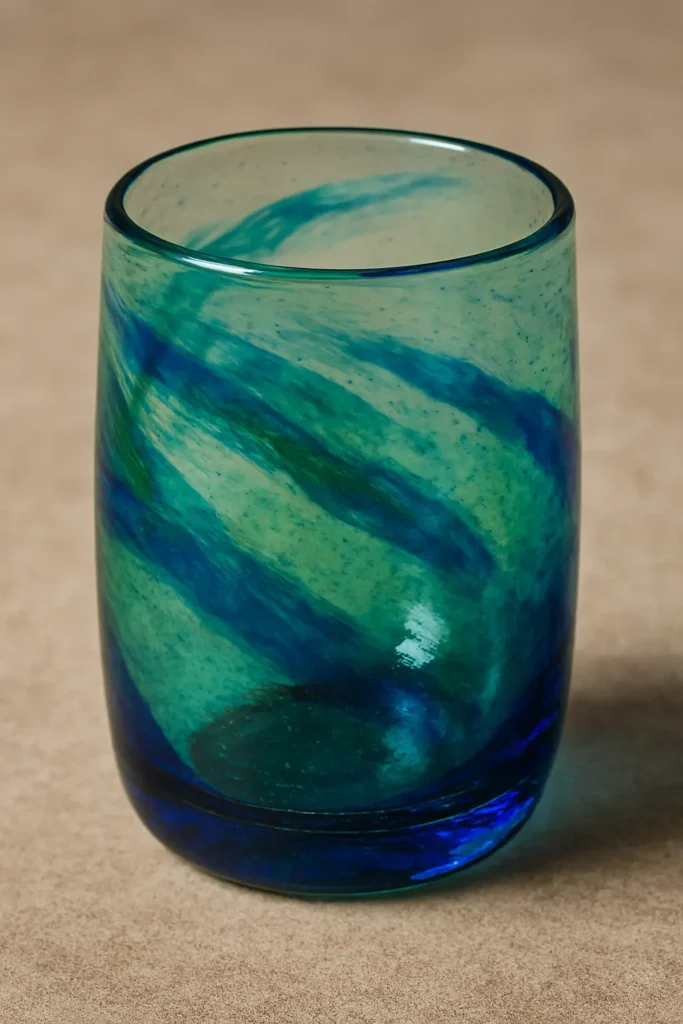
Gather glass onto your blowpipe and create a small bubble through gentle inflation. Shape the bubble using wooden blocks and the marver, reheating frequently to maintain proper working temperature. Create a jack line at what will become the rim, then use heat and gravity to elongate the form into a cylindrical shape.
Apply a punty to the bottom, allowing you to transfer the piece and work on opening the top. Use jacks to widen the rim gradually, creating a comfortable drinking edge. This project teaches temperature management, as glass that’s too hot collapses while glass that’s too cool cracks when worked.
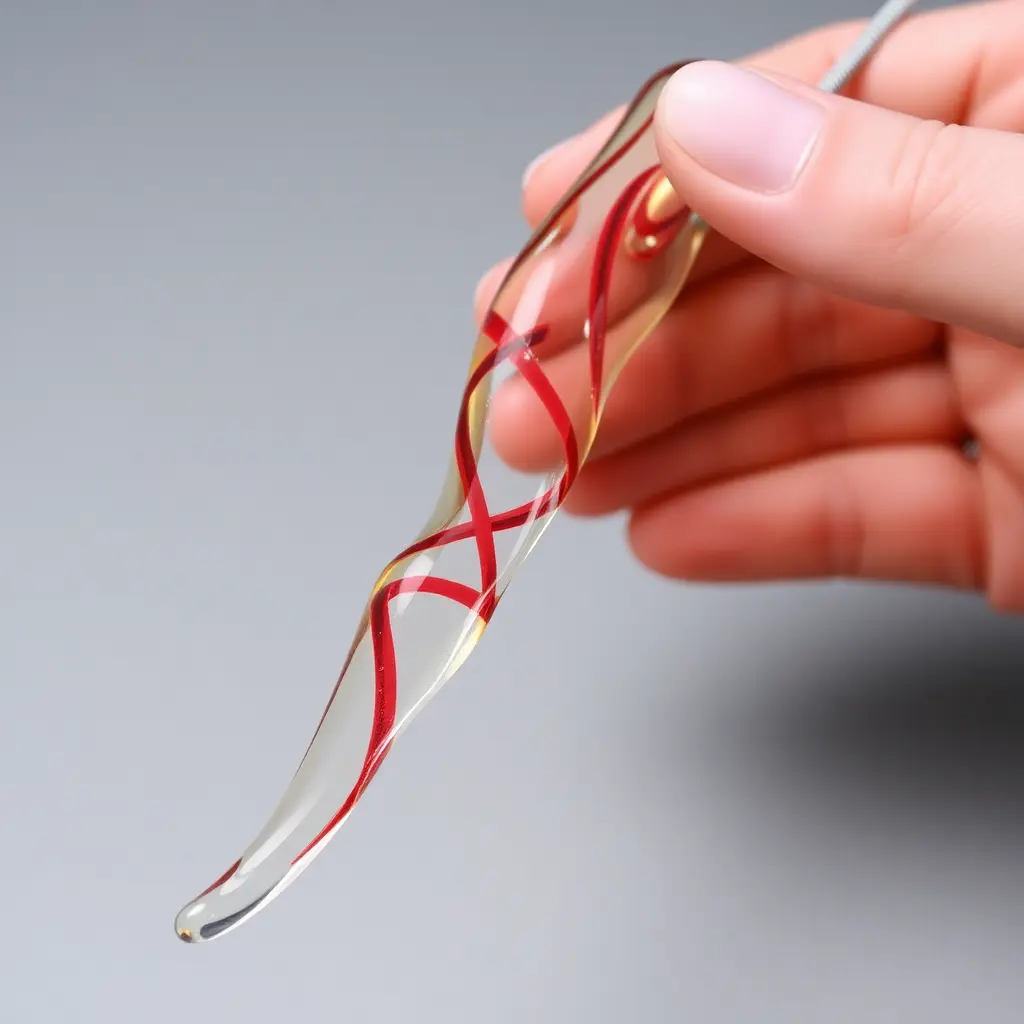
Decorative Glass Pendant
Pendants used as a jewlery combine lampworking accessibility with creative expression, perfect for those wanting wearable art from their efforts. The small scale keeps material costs low while allowing experimentation with various shapes and color combinations.
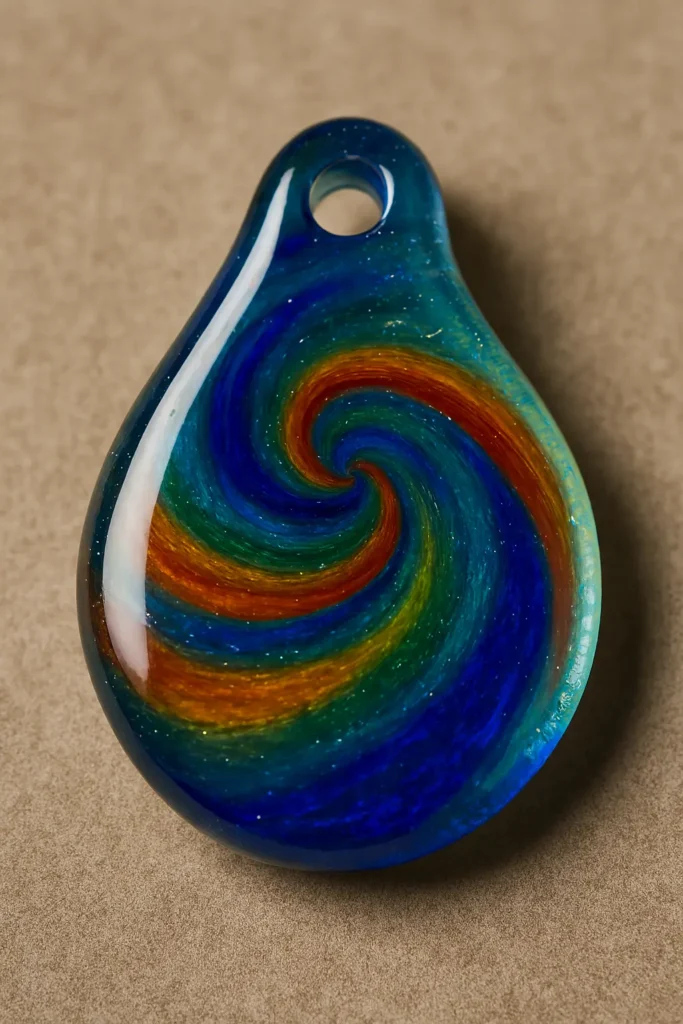
Heat your glass rod until pliable and shape it against a graphite paddle or marver into your desired form. Flat teardrop shapes work well for beginners, though geometric forms and organic shapes offer variety. Incorporate color by applying thin stringers in spiral patterns or by encasing colored cores in clear glass layers.https://casolia.com/fused-glass-ideas-for-beginners/
Before the glass fully cools, use a sharp tool to create a hole for stringing, or embed a bail finding directly into the molten glass. Each pendant becomes a miniature sculpture, teaching precision and design principles applicable to larger works.
Basic Glass Bowl
Bowls represent a significant milestone for beginners, requiring coordination of blowing, shaping, and opening techniques. The wide opening demands careful control but creates an impressive display piece.
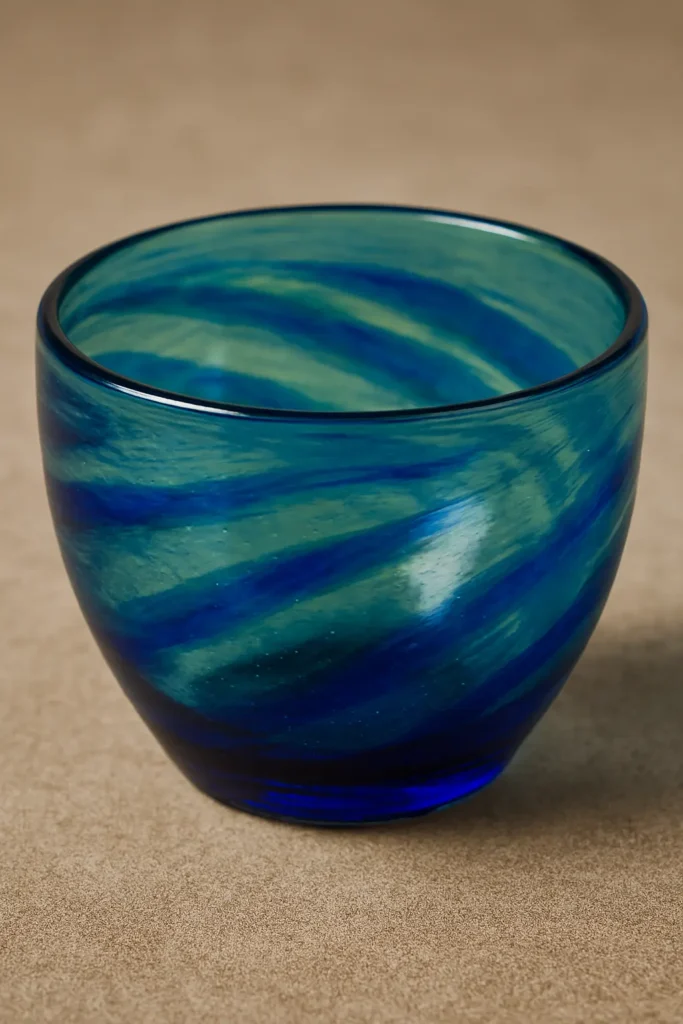
Start with a solid gather and inflate it into a bubble. Use jacks to create a pronounced jack line that will define the bowl’s rim. Reheat the lower portion and allow gravity to help elongate the form while keeping the top section controlled through rotation.
Transfer to a punty and use jacks to progressively open the rim. Work slowly, reheating between each widening session to prevent cracking. Paddle the bottom flat if desired, creating a stable base. The finished bowl showcases your developing skills in proportion and symmetry.
Simple Glass Vase
Vases build upon bowl techniques while introducing neck formation and height management. The elongated form teaches heat distribution and how to maintain even wall thickness throughout a taller piece.
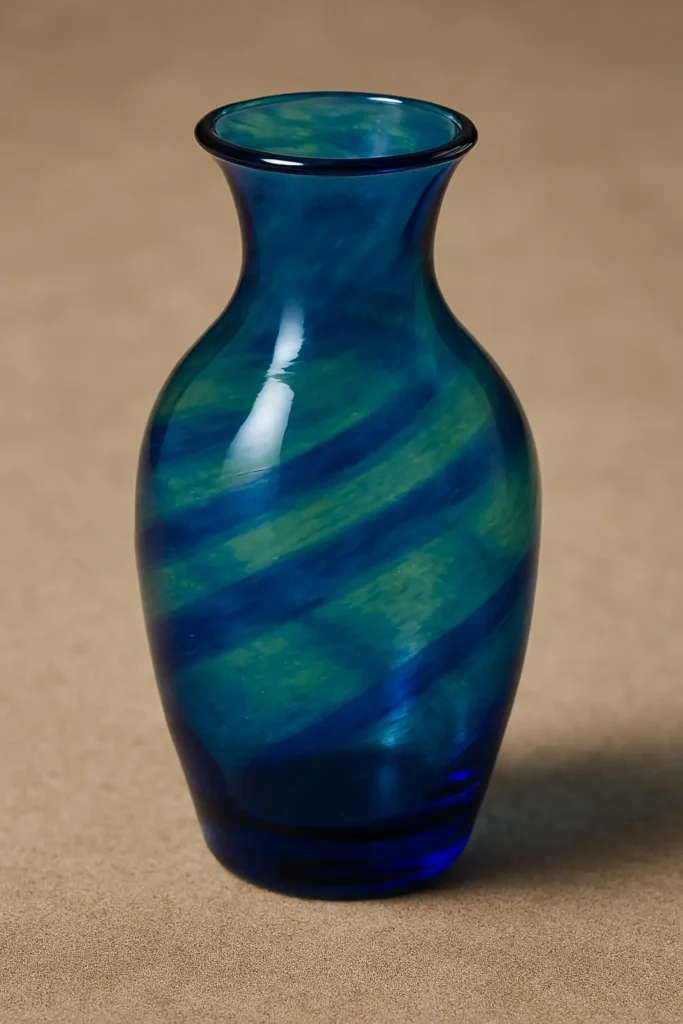
Gather sufficient glass for your intended height, working in layers if necessary. Create your bubble and begin shaping the body, using the marver to establish the vase’s widest point. Create a jack line to define the neck, then reheat and use gravity to extend the body’s length.
Transfer to a punty and open the neck to your desired width. The neck opening can be flared dramatically or kept narrow, depending on your design vision. This project demonstrates how glass responds to strategic heating and how gravity becomes a shaping tool rather than an obstacle.
Colorful Glass Mushroom
Glass mushrooms combine sculptural elements with color play, creating whimsical decorative objects. This project introduces working with separate components and joining them while hot.
Create the stem first by gathering a small amount of glass and shaping it into a cylinder. Apply a dot of contrasting color at the base if desired. Set this aside on a cool surface while you create the cap.
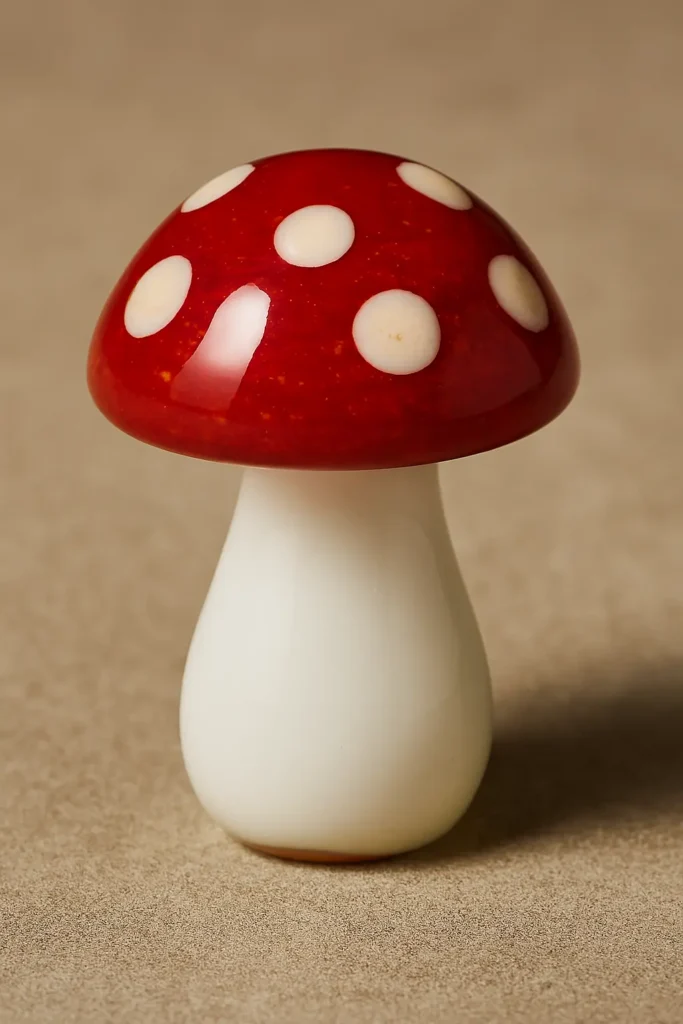
For the cap, gather glass in your chosen color and shape it into a dome. Add spots by applying contrasting color dots and marvering them smooth. While both pieces are still workable, join them carefully, using heat and gentle pressure to fuse them permanently. This teaches temperature matching between components, critical for more complex assemblies.
Glass Marble or Sphere
Creating perfect spheres challenges your symmetry and rotation skills while producing satisfying collectible objects. Marbles demonstrate glass’s natural tendency toward round forms when properly manipulated.
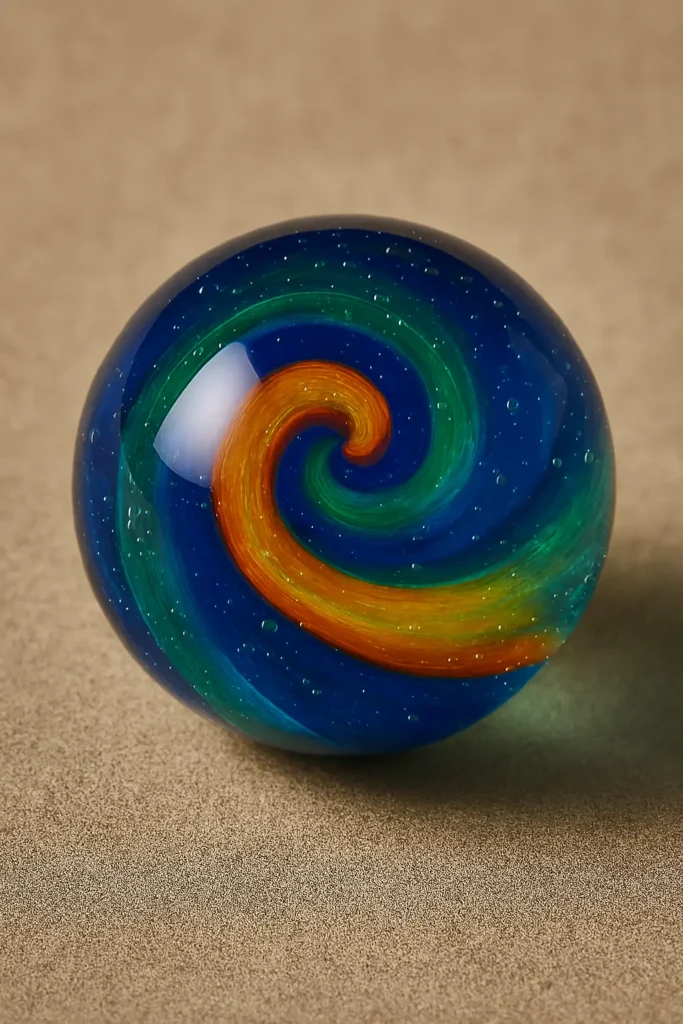
Gather a small amount of glass and work it continuously on the marver while rotating your punty. The constant rotation combined with gravity’s pull creates increasingly spherical forms. Keep the glass at an even temperature throughout, reheating in small bursts to maintain workability without overheating.
For added interest, trap air bubbles intentionally, creating controlled internal features. Or layer colors before shaping, producing swirled or layered effects within the transparent sphere. Each marble becomes a miniature world, teaching precision in a small format.
Decorative Glass Flower
Flowers introduce petal formation and delicate manipulation, expanding your technical repertoire. These sculptural pieces make excellent standalone art or can be combined into arrangements.
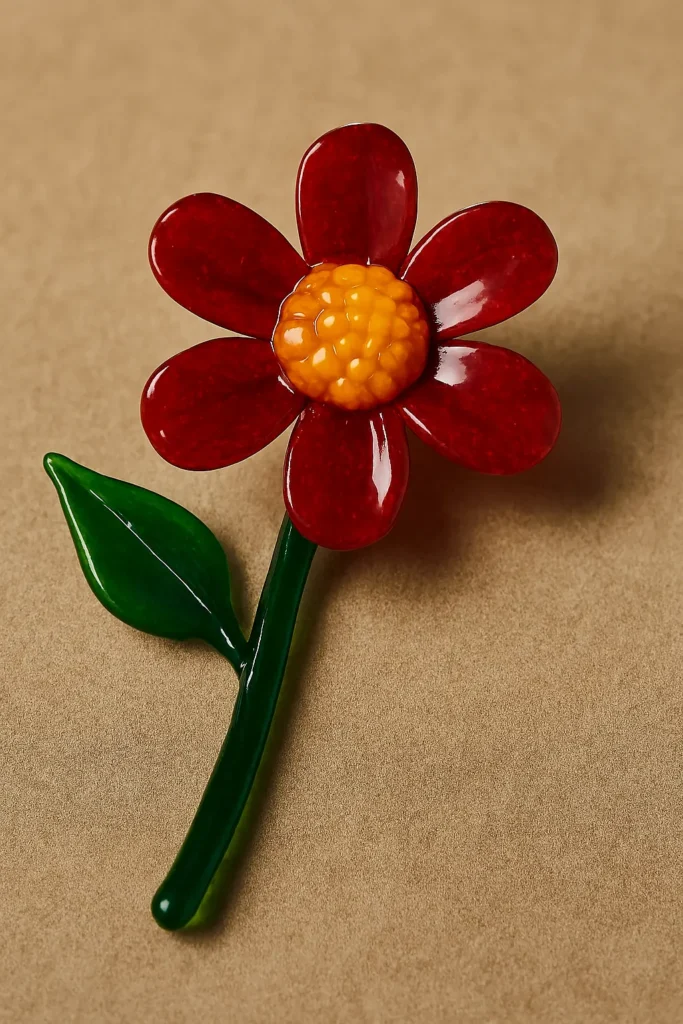
Begin with a central gather for the flower’s core. Apply colored glass and shape it into a small sphere. For petals, heat separate glass pieces and flatten them using paddles. While still hot, attach each petal to the core, spacing them evenly around the circumference.
Create stems using drawn-out glass rods, and add leaves through similar flattening and attaching techniques. This project requires working with multiple pieces at various temperatures simultaneously, teaching time management and heat awareness.
Twisted Glass Icicle
Icicles teach pulling and twisting techniques that apply to many decorative elements. The long, tapered form develops your sense of how glass stretches under tension.
Gather a small amount of clear or colored glass and begin pulling it away from the punty while rotating. The rotation creates a spiral twist while the pulling creates length and taper. Work quickly before the glass stiffens, as the thin form loses heat rapidly.
Experiment with different twisting speeds and pulling rates to create various effects. Some icicles feature tight, regular spirals while others show loose, organic twists. These make excellent Christmas decorations or can be cut into sections for other projects.
Simple Glass Bottle
Bottles combine all fundamental techniques in one project: gathering, blowing, shaping, neck formation, and creating a functional opening. The enclosed form with narrow opening demonstrates advanced control.
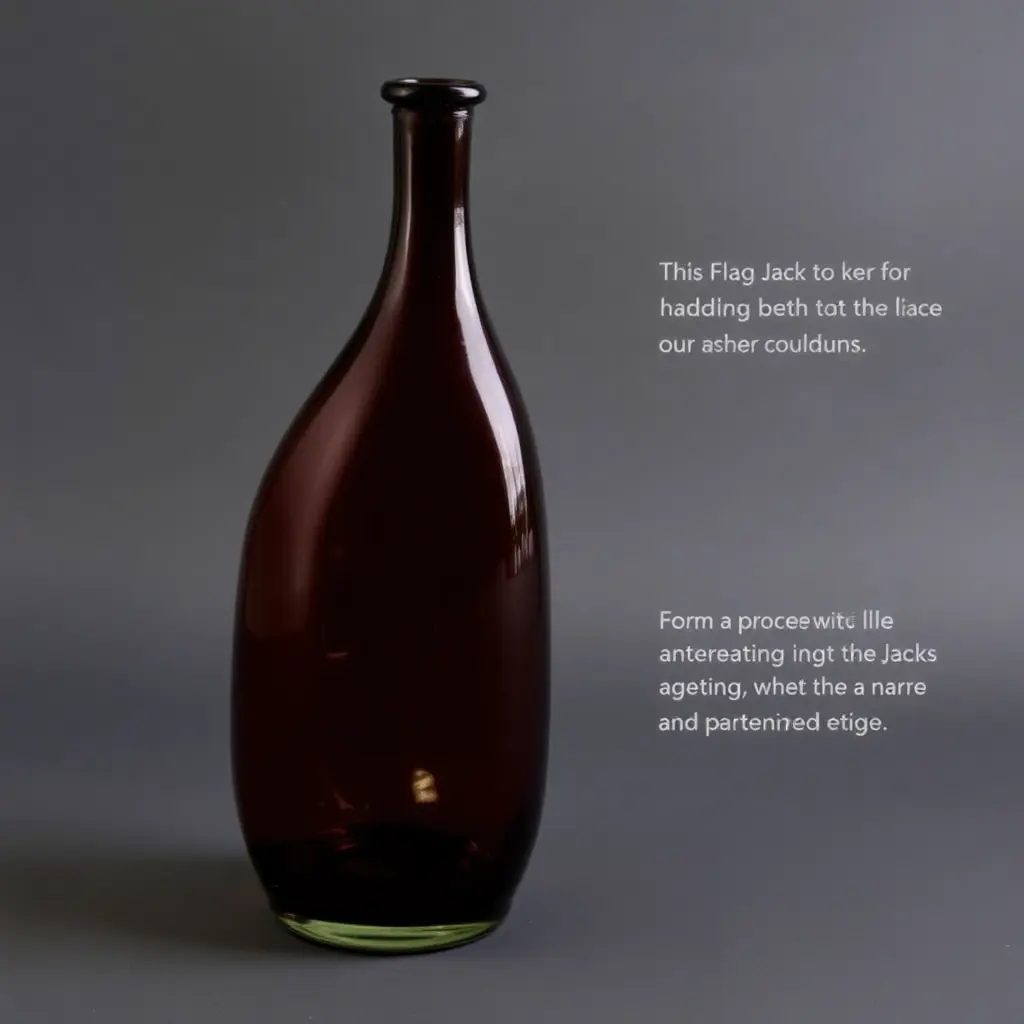
Build your gather in stages, creating a bubble and shaping the body similar to a vase. However, maintain a much smaller neck opening by controlling your jack line placement. The narrow opening requires careful heat management to prevent closing completely during shaping.
Form a pronounced lip at the opening by reheating just the rim and using jacks to create a defined edge. This functional detail transforms the piece from purely decorative to potentially utilitarian, showing how small refinements affect functionality.
Glass Sun Catcher
Sun catchers utilize transparency and color to create light-interactive art pieces perfect for windows. The flat or gently curved forms allow experimentation with color layering and pattern creation.
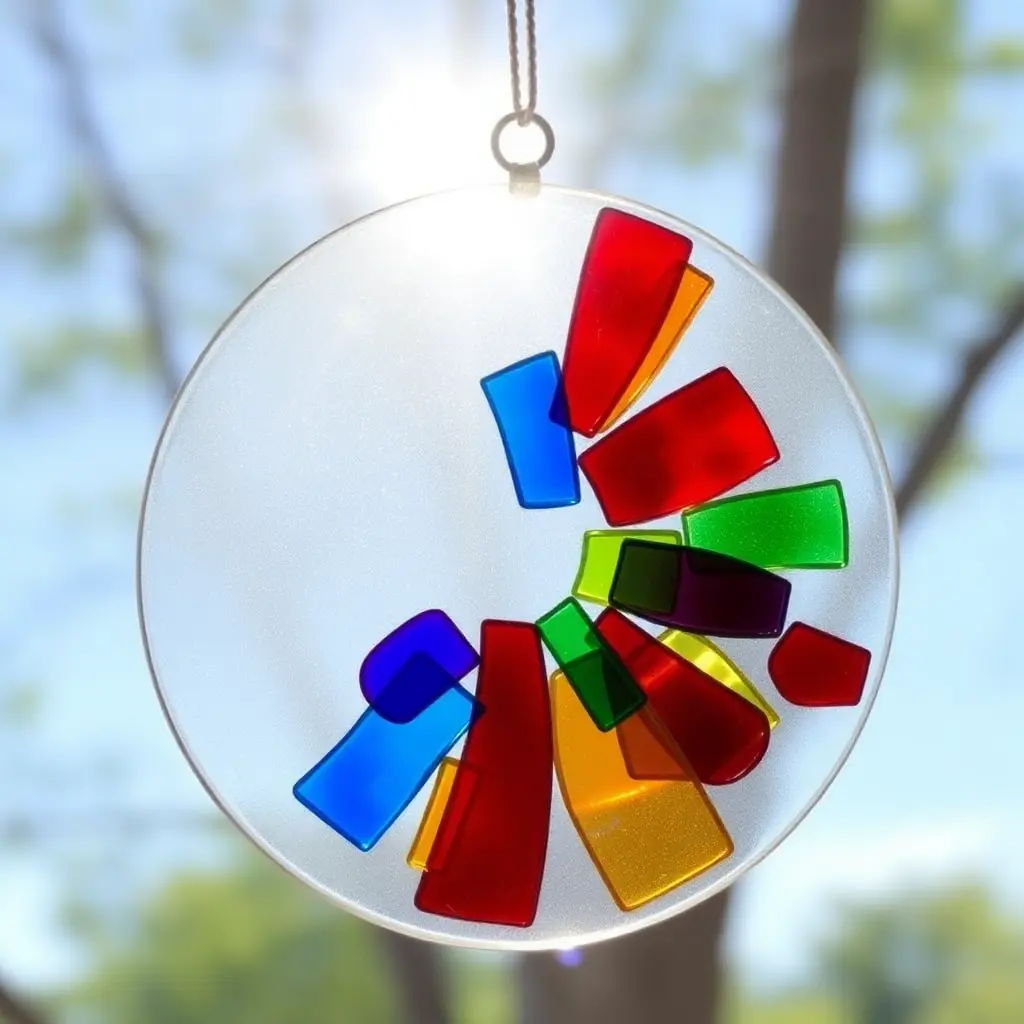
Create a thin gather and flatten it using large graphite paddles, working the glass into a disc shape. While still hot, apply colored glass pieces in deliberate patterns or random arrangements. A final layer of clear glass encases these colors, protecting them while allowing light transmission.
Before fully cooling, create a small loop or hole for hanging. When displayed in sunlight, the colors project onto surrounding surfaces, creating dynamic, changing displays throughout the day.
Glass Ring or Small Wearable
Rings demonstrate precision work at a tiny scale, teaching control and delicacy. Though small, they require the same techniques as larger pieces but with less margin for error.
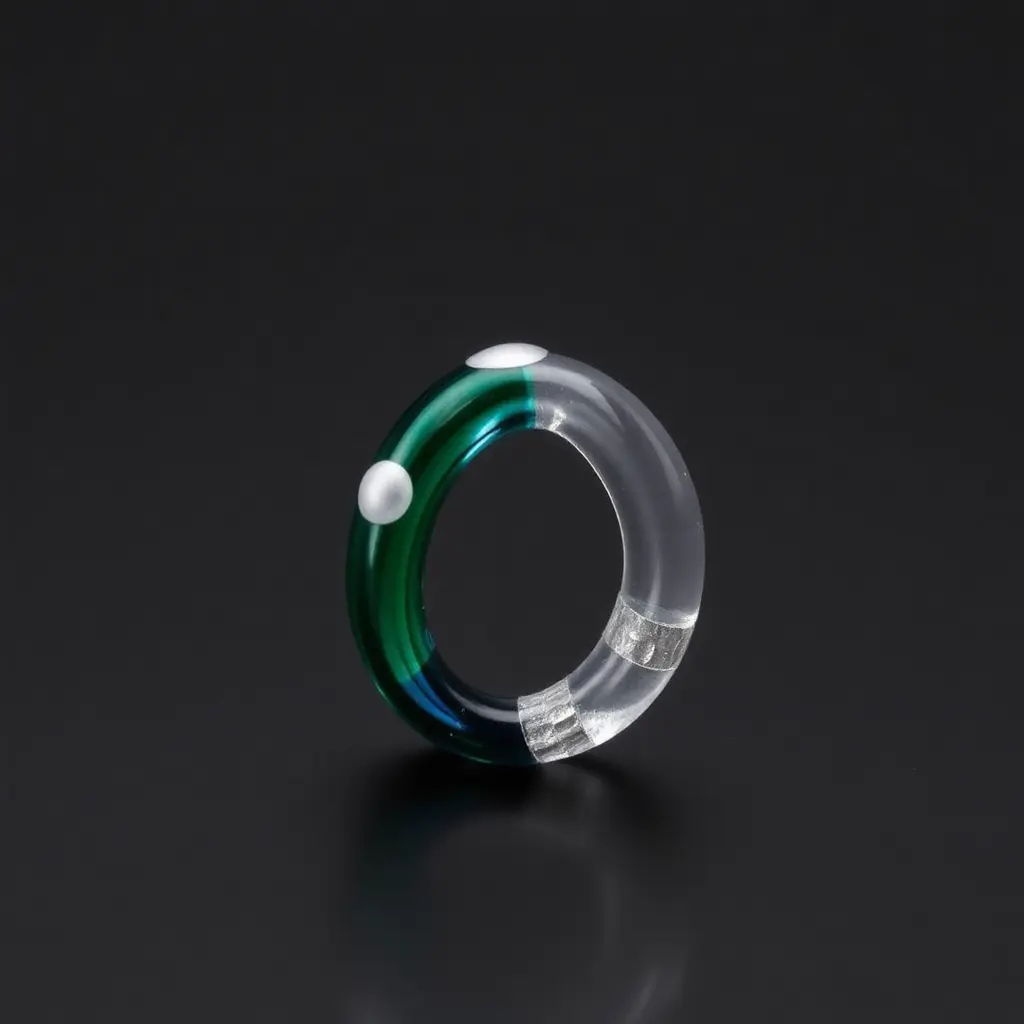
Using lampworking techniques, heat a small glass rod and wrap it around a ring mandrel of appropriate size. Smooth the connection point carefully, ensuring no sharp edges remain. Apply decorative elements like dots, stripes, or embedded silver leaf for visual interest.
The small size means these pieces cool quickly, requiring swift, confident movements. This develops muscle memory and decision-making speed valuable in all glass work.
Glass Soap Dish or Small Tray
Shallow trays introduce working with wider, flatter forms while maintaining functionality. The rimmed edges and level bottom require attention to practical considerations beyond pure aesthetics.
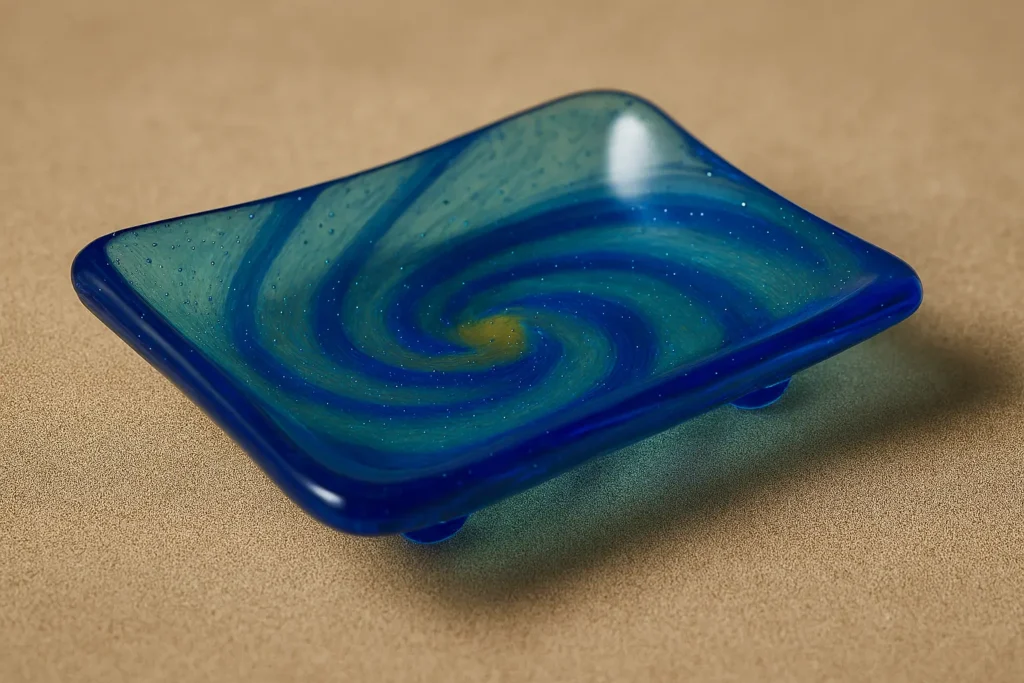
Create a gather and flatten it substantially using heavy paddles. Form the rim by folding the edges upward while the center remains relatively flat. Use a level marver to ensure the bottom sits evenly, preventing wobbly finished pieces.
Add texture through pattern molds or by pressing tools into the soft glass. Consider drainage by creating small feet that elevate the tray, allowing water to drain from soap. These functional considerations teach how design serves purpose.
Stacked Glass Sculpture
Small abstract sculptures allow pure creative expression without functional requirements. Stack, twist, and combine shapes freely, exploring glass’s sculptural possibilities.
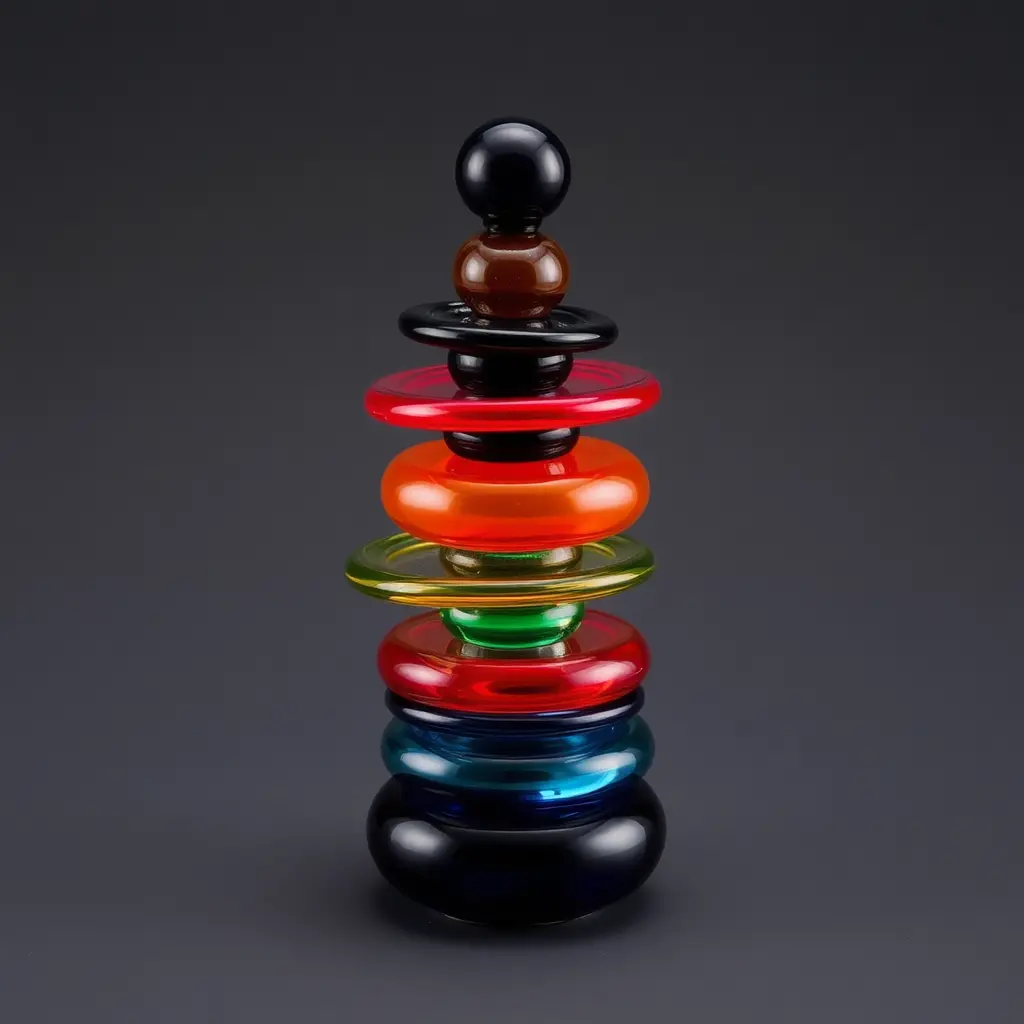
Create several distinct elements: spirals, spheres, discs, or organic forms. While each remains hot, assemble them into your composition, using heat to fuse connections permanently. The lack of rules encourages experimentation and personal style development.
These pieces teach design principles like balance, proportion, and color harmony. They also demonstrate how separate components can create cohesive wholes, preparing you for more complex multi-part projects.
Glass Stirring Rod or Honey Dipper
Functional tools demonstrate how glass serves practical purposes beyond decoration. These simple implements teach pulling, tapering, and end-forming techniques.
Heat a glass rod and pull it to your desired length and thickness. For stirring rods, create a slight bulb at one end by gathering extra glass. For honey dippers, twist and form grooves that trap viscous liquids. Both require smooth, even pulling to create balanced, functional tools.
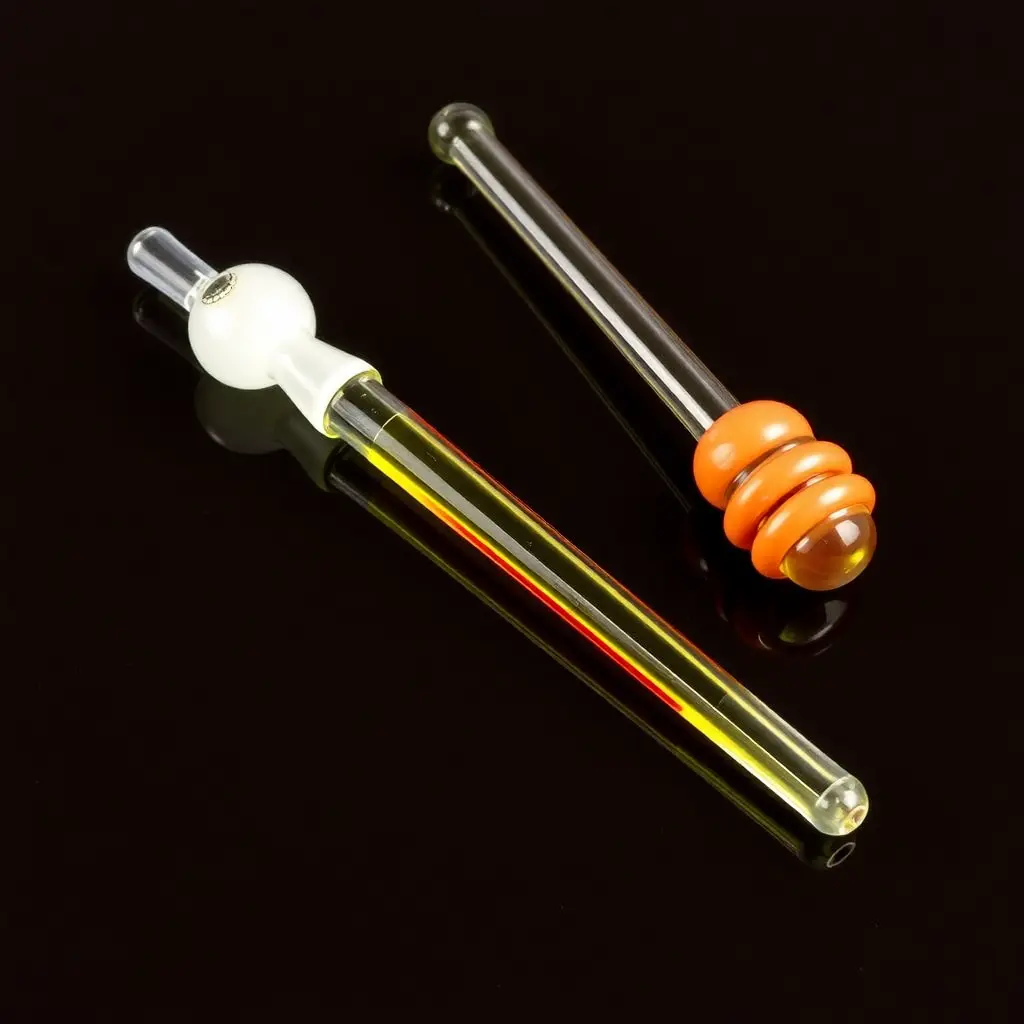
Though utilitarian, these pieces benefit from color additions or decorative elements, showing how function and beauty combine in practical glass work.
Glass Cabinet Knob
Cabinet hardware combines small scale with functional demands, teaching how glass integrates into everyday objects. The project requires creating attachment points and comfortable gripping surfaces.
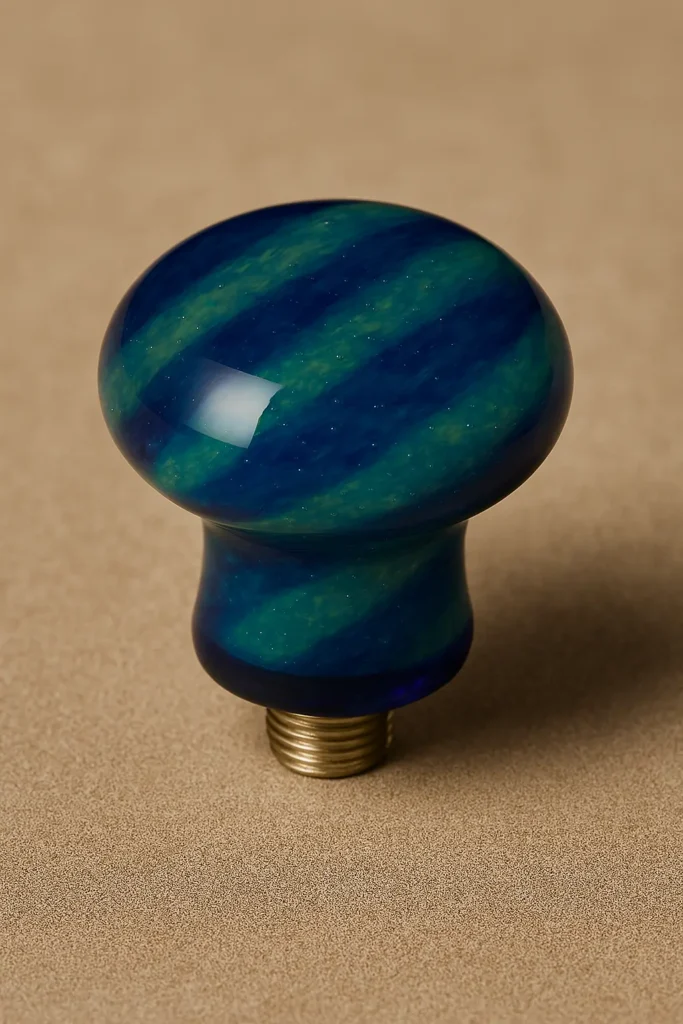
Form a mushroom-shaped knob using techniques similar to the glass mushroom project. However, pay careful attention to ergonomics, ensuring the size and shape feel comfortable in hand. Create a mounting hole or embedded bolt while the glass remains workable.
Apply colors, textures, or patterns that complement home decor, demonstrating glass’s versatility in functional design. Multiple knobs teach consistency, as matching sets require repeatable technique.
Developing Your Glass Blowing Skills
Success with these beginner projects depends on several key factors beyond following instructions. First, temperature awareness determines outcomes more than any other single factor. Learn to read glass color: orange means workable, red means too hot, and darkening signals cooling that requires reheating.
Rotation consistency prevents gravity from creating lopsided forms. Develop rhythmic turning habits, keeping pieces moving whenever they’re out of the heat source. This constant motion becomes second nature with practice, freeing your attention for shaping decisions.
Safety remains paramount throughout your glass blowing journey. Always wear proper eye protection rated for infrared and UV light exposure. Closed-toe shoes, natural fiber clothing, and awareness of hot glass location prevent most injuries. Many studios require long pants and tied-back hair for additional protection.
Finding quality instruction accelerates learning dramatically. Studio classes provide equipment access, expert guidance, and immediate feedback that prevents bad habits from forming. Many glass artists offer private lessons for personalized attention, while group workshops create community connections with fellow enthusiasts.
Choosing Projects Based on Available Equipment
Your equipment access determines which projects suit your current situation. Lampworking projects like beads, pendants, and small sculptures require minimal investment: a torch, glass rods, mandrels, and basic hand tools. This setup fits home garages or workshops, making it ideal for regular practice.
Furnace work requires studio access but enables larger, more ambitious projects. Most studios offer membership programs or hourly rental rates for experienced students. Begin with studio classes, then transition to independent studio time as your skills develop.
Understanding these distinctions helps you select projects matching your resources while building toward your long-term goals. Many glass artists maintain both lampworking and furnace practices, using each method’s strengths for different creative expressions.
Advancing Beyond Beginner Projects
Once comfortable with these fundamental projects, progression paths open in multiple directions. Some artists pursue functional ware, perfecting drinking vessels, serving pieces, and household items. Others explore sculptural work, creating figurative or abstract art pieces.
Technical specialization offers another direction: color application techniques, mold-making for repeated forms, or fuming with precious metals for iridescent effects. Each specialty requires dedicated practice but rewards persistence with distinctive capabilities.
Regardless of direction, these beginner projects provide the foundation supporting all advanced work. Master them thoroughly before rushing ahead, as skills developed here apply universally throughout glass art.
Conclusion
Glass blowing offers endless creative possibilities once you master fundamental techniques through these beginner projects. Each piece teaches valuable lessons about heat, movement, timing, and material behavior that compound into genuine expertise. Start with simple projects matching your comfort level and available equipment, gradually increasing complexity as confidence builds.
The beauty of beginning glass blowing lies not just in finished pieces but in the meditative process itself. Working with molten glass demands complete presence and focus, creating a unique state of creative flow. Whether you pursue glass blowing as a serious artistic practice or enjoyable hobby, these projects provide the perfect entry point into this ancient, continually evolving craft.
Remember that every master glass blower began exactly where you are now, making imperfect beads and lopsided bowls. Embrace the learning process, celebrate small victories, and allow yourself the grace to make mistakes. Your glass blowing journey has just begun, with these projects serving as stepping stones toward whatever creative vision you choose to pursue.
Frequently Asked Questions:
What is the easiest glass blowing project for absolute beginners?
Glass beads represent the easiest starting point for absolute beginners. They require minimal equipment, typically just a torch and basic lampworking supplies, and take only minutes to complete. The small scale allows you to practice heat control and rotation without the intimidation factor of larger pieces, while still producing wearable or decorative results you can be proud of.
How much does it cost to start glass blowing as a hobby?
Starting costs vary dramatically based on your chosen approach. Lampworking at home requires an initial investment of approximately 300 to 800 dollars for a basic torch setup, glass rods, and essential tools. Furnace glass blowing typically requires studio membership or class enrollment, ranging from 50 to 200 dollars monthly, avoiding the need for expensive personal equipment while you’re learning fundamental skills.
Is glass blowing dangerous for beginners?
Glass blowing involves working with extremely hot materials, creating inherent risks that proper safety measures effectively manage. Beginners working under qualified instruction and following safety protocols including protective eyewear, appropriate clothing, and proper tool handling rarely experience serious injuries. The key lies in respecting the materials, maintaining awareness of hot glass location, and never rushing through processes.
Can I learn glass blowing without taking classes?
While self-teaching through online resources is theoretically possible, professional instruction dramatically improves learning speed and safety. Classes provide hands-on equipment access most beginners cannot afford personally, plus expert correction of technique flaws before they become ingrained habits. Most successful glass artists strongly recommend at least introductory classes before attempting independent practice.
How long does it take to get good at glass blowing?
Developing basic competency in glass blowing typically requires six months to a year of regular practice, assuming weekly sessions. Creating truly professional-quality work generally demands several years of dedicated effort. However, beginners often produce satisfying pieces within their first few sessions, with improvement visible in each subsequent project as muscle memory and heat awareness develop through consistent practice.