19+ Creative Wheel Throwing Ideas to Try at Home
Wheel Throwing Ideas ,The art of wheel throwing represents one of the most rewarding forms of creative expression available to makers today. Whether you’ve recently acquired your first pottery wheel or have been practicing for years, discovering fresh project ideas keeps your studio time exciting and helps develop your technical abilities. This comprehensive guide presents over nineteen wheel throwing ideas that range from foundational forms to more adventurous creations, each designed to expand your repertoire while building essential skills.
Wheel throwing differs from hand-building techniques by utilizing centrifugal force to shape clay into symmetrical forms. This process requires coordination between your hands, the spinning wheel, and the responsive clay body. Each project you attempt teaches valuable lessons about pressure, timing, water management, and the physical properties of clay. The projects outlined here progress logically, allowing you to build competence gradually while creating functional and beautiful pieces for your home.
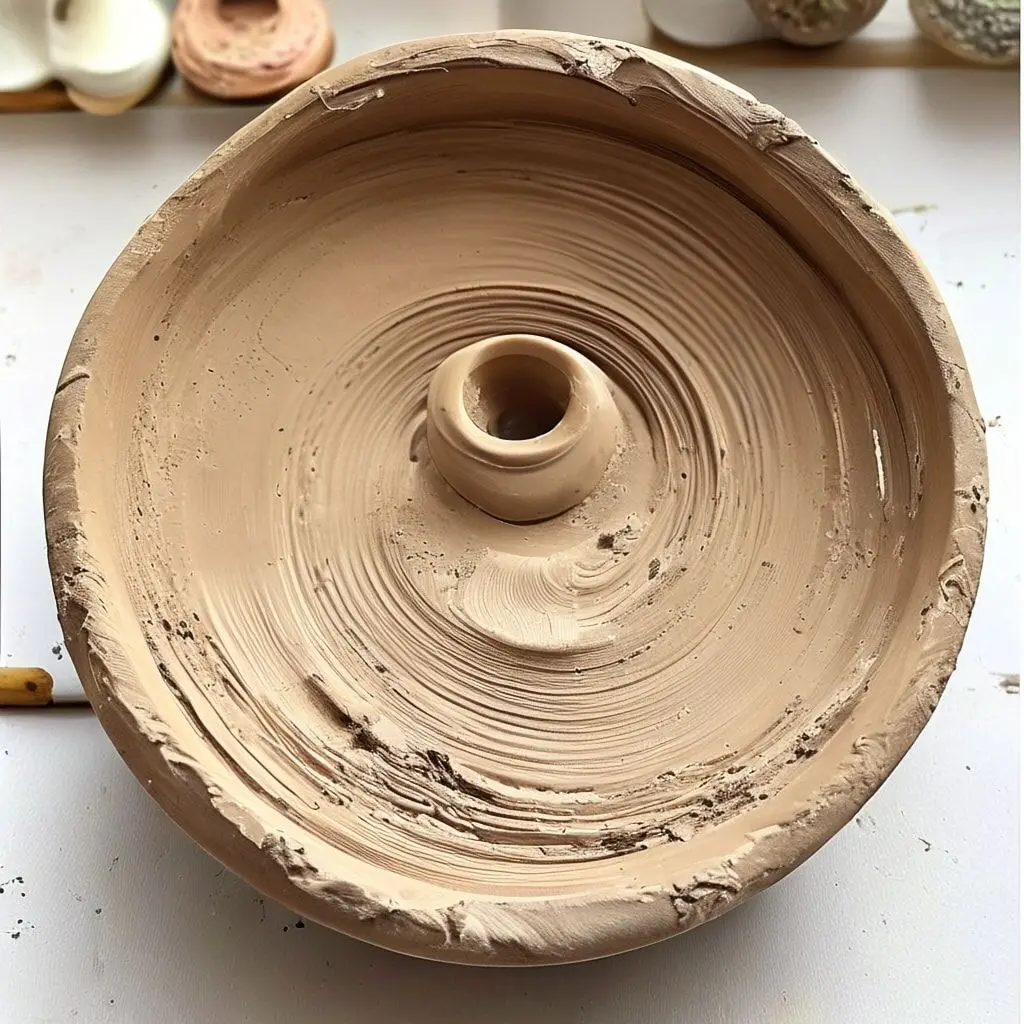
Small Pinch Bowls
Starting with small pinch bowls allows you to master centering without committing large amounts of clay. These diminutive vessels measure approximately three to four inches in diameter and serve multiple purposes in daily life. Use them for holding jewelry, serving condiments, organizing small office supplies, or presenting individual dessert portions. The reduced scale means you can complete several in a single session, providing ample practice with opening, shaping, and achieving consistent wall thickness.
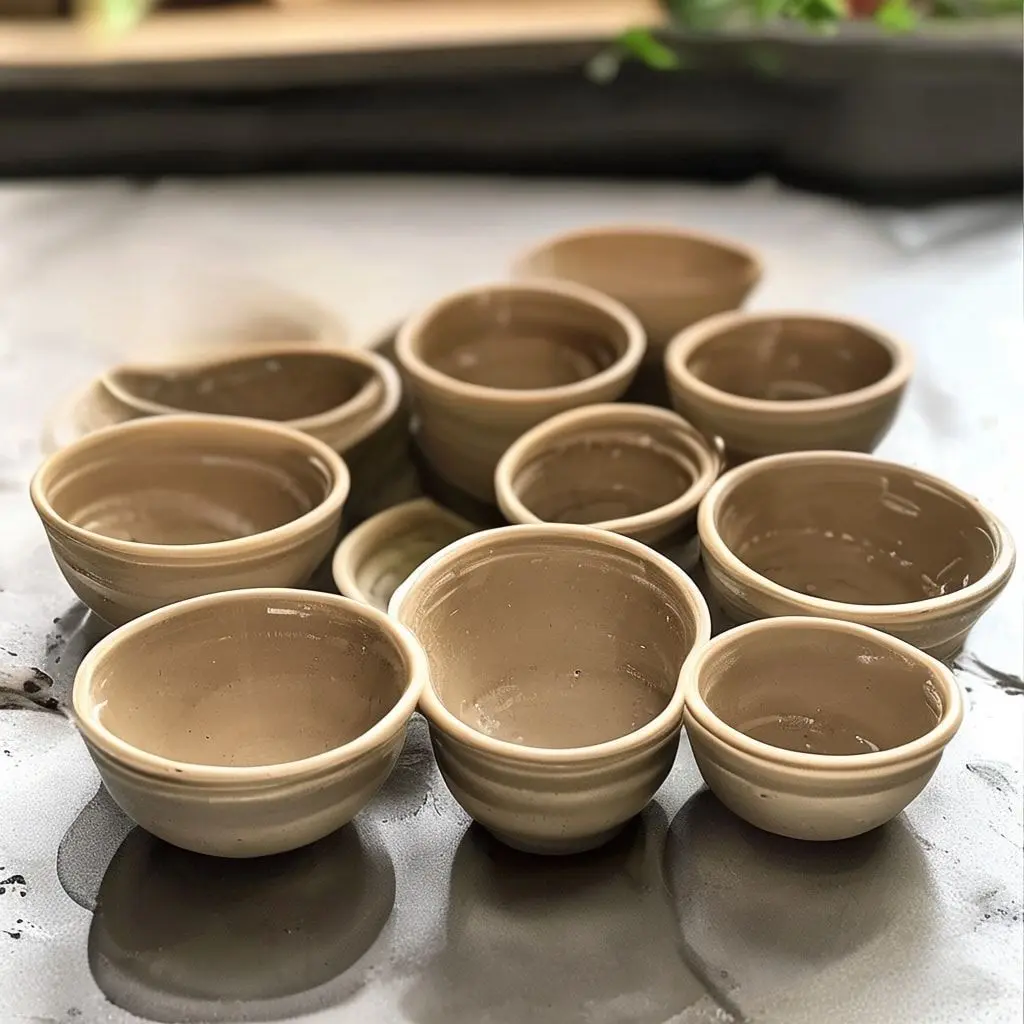
Working small teaches precision because errors become immediately visible. You’ll develop sensitivity to how much pressure creates which effects, and the quick completion time keeps motivation high. Try creating sets of four or six matching bowls to practice consistency.
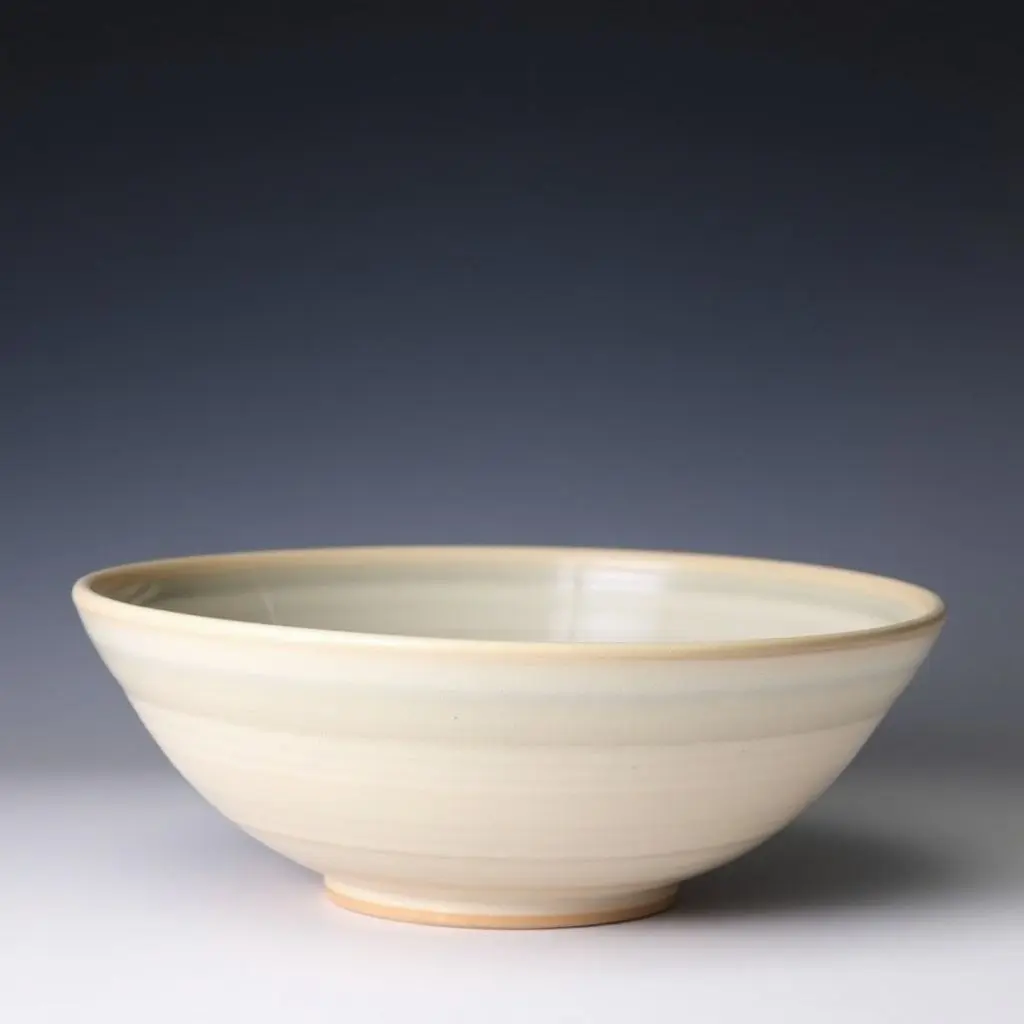
Classic Cereal Bowls
Cereal bowls represent an essential form in functional pottery. These vessels typically measure five to six inches in diameter with walls that curve gently outward. The form requires pulling walls to consistent thickness while maintaining a stable base that prevents tipping during use. Focus on creating a comfortable rim that feels pleasant against the lips and a foot ring that allows the bowl to sit level on any surface.
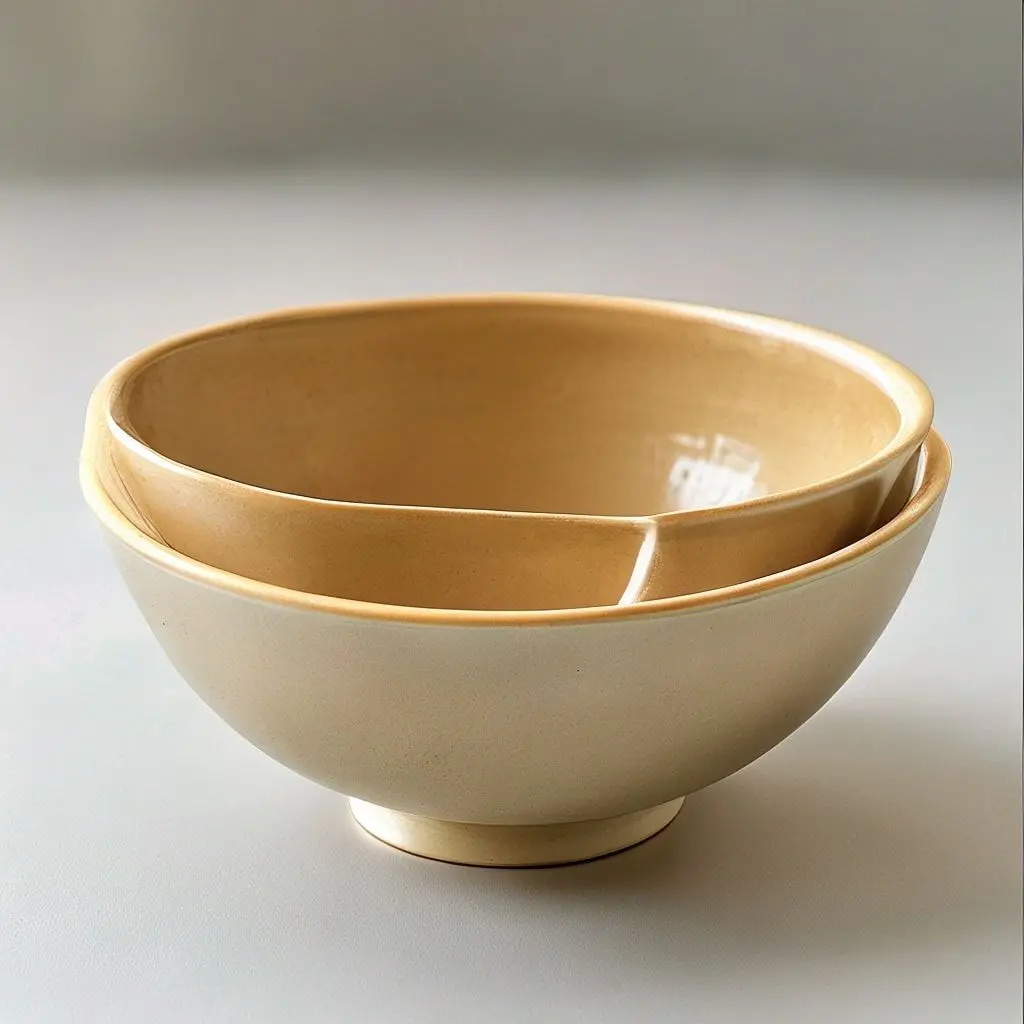
This project teaches you to manage larger quantities of clay while maintaining control throughout the throwing process. The wider opening demands careful attention to wall integrity as you pull upward and outward simultaneously. Practice achieving the same proportions across multiple bowls to develop muscle memory and visual judgment.
Cylindrical Tumblers
Tumblers challenge you to maintain perfectly vertical walls from base to rim. This exercise builds fundamental skills that translate to countless other forms. Begin with a cylinder approximately four inches tall and three inches in diameter. The straight walls require consistent pressure and steady hands as you pull the clay upward without allowing it to flare or collapse inward.
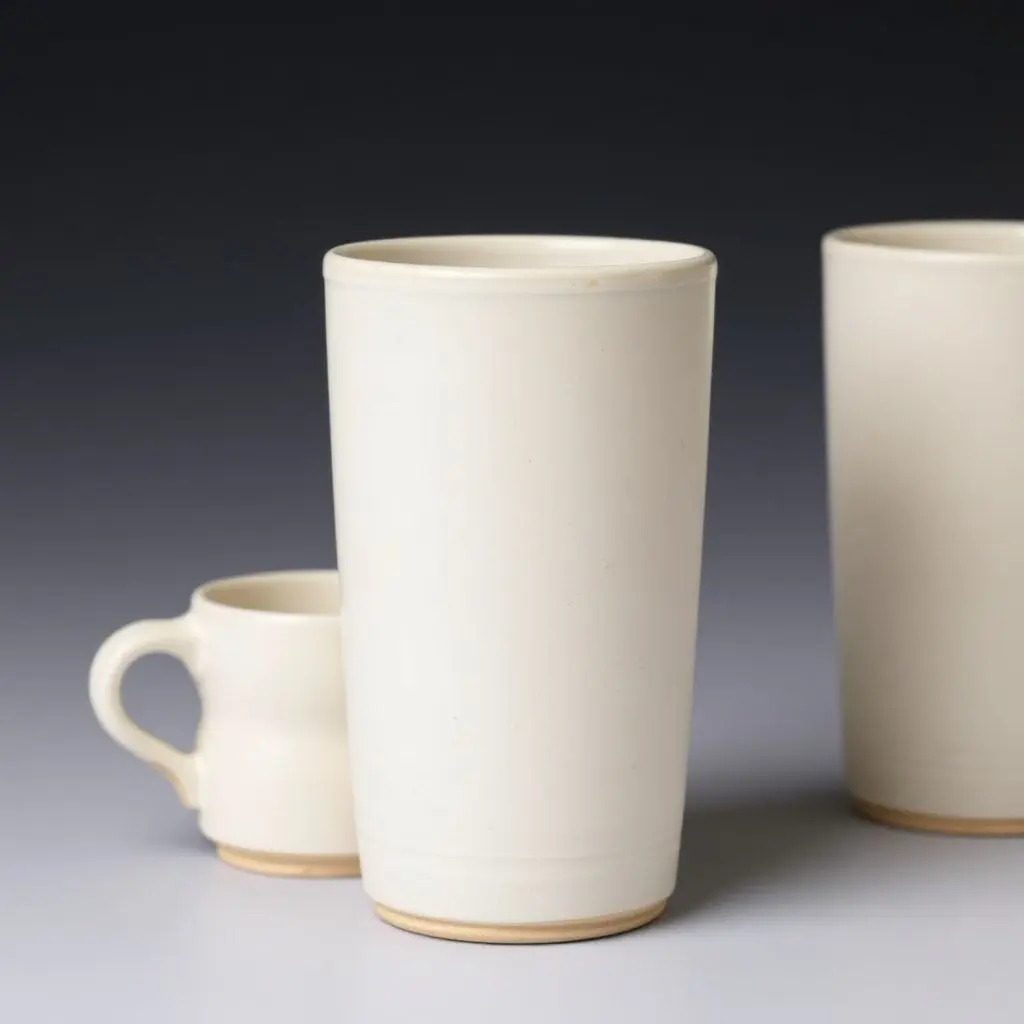
These drinking vessels become daily-use favorites when proportioned correctly. Consider the handle attachment as a secondary skill-building opportunity, or leave them handleless for a clean, modern aesthetic. Experiment with different heights and diameters to understand how proportions affect both aesthetics and functionality.https://casolia.com/wheel-throwing-ideas/
Wide-Rimmed Plates
Plates present unique challenges because the broad, flat surface requires different techniques than upright forms. Start with eight-inch diameter plates before attempting larger dinner-sized versions. The key involves compressing the clay adequately during centering and opening to prevent warping during drying and firing. Create a gentle upward curve from center to rim rather than a completely flat surface, as this adds structural integrity.
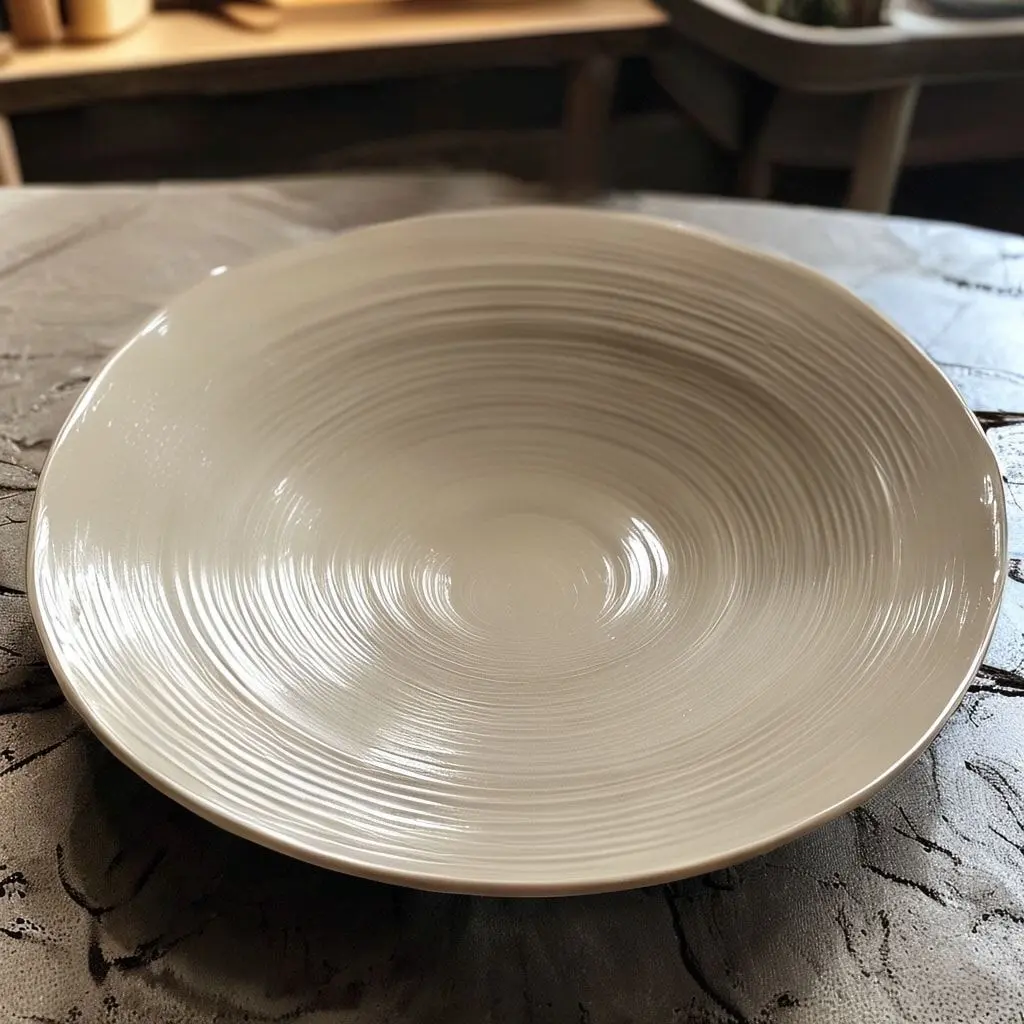
The wide rim provides excellent canvas space for decorative techniques like slip trailing, sgraffito, or glaze experimentation. Throwing plates develops your understanding of clay physics and teaches you how moisture content affects large horizontal surfaces during the making and drying processes.
Coffee Mugs with Handles
Coffee mugs combine cylindrical throwing with handle attachment, making them ideal intermediate projects. The body requires straight or slightly tapered walls with adequate thickness to maintain heat. Plan for a capacity between ten and fourteen ounces, which suits most coffee and tea drinkers. The rim should feel comfortable against the lips without being too thick or sharp.
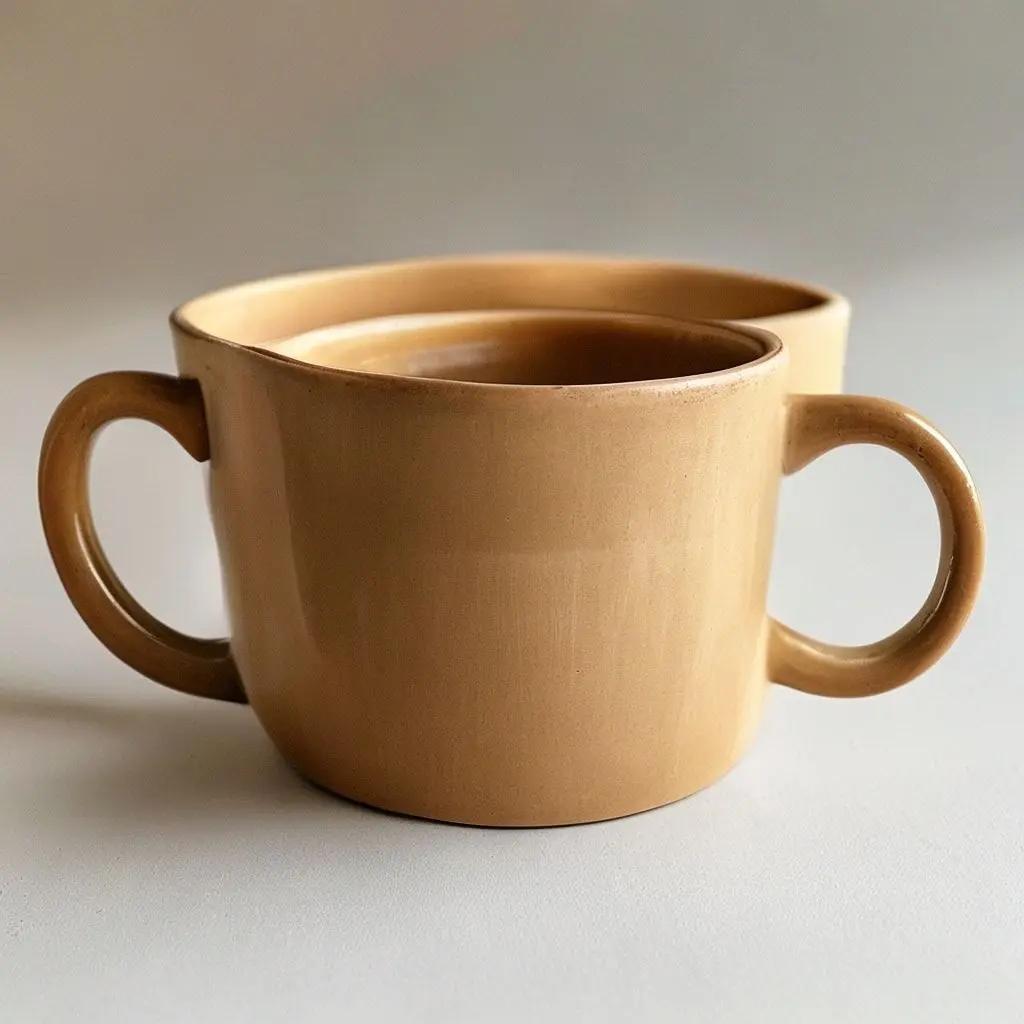
Handle attachment introduces pulling techniques and requires understanding clay moisture states. Handles must be pulled when the clay reaches leather-hard consistency, firm enough to support itself but soft enough to bond securely. Practice creating handles with comfortable thumb placement and adequate clearance for fingers. This project teaches timing, as you must coordinate throwing the mug body with handle creation and attachment within the appropriate moisture window.
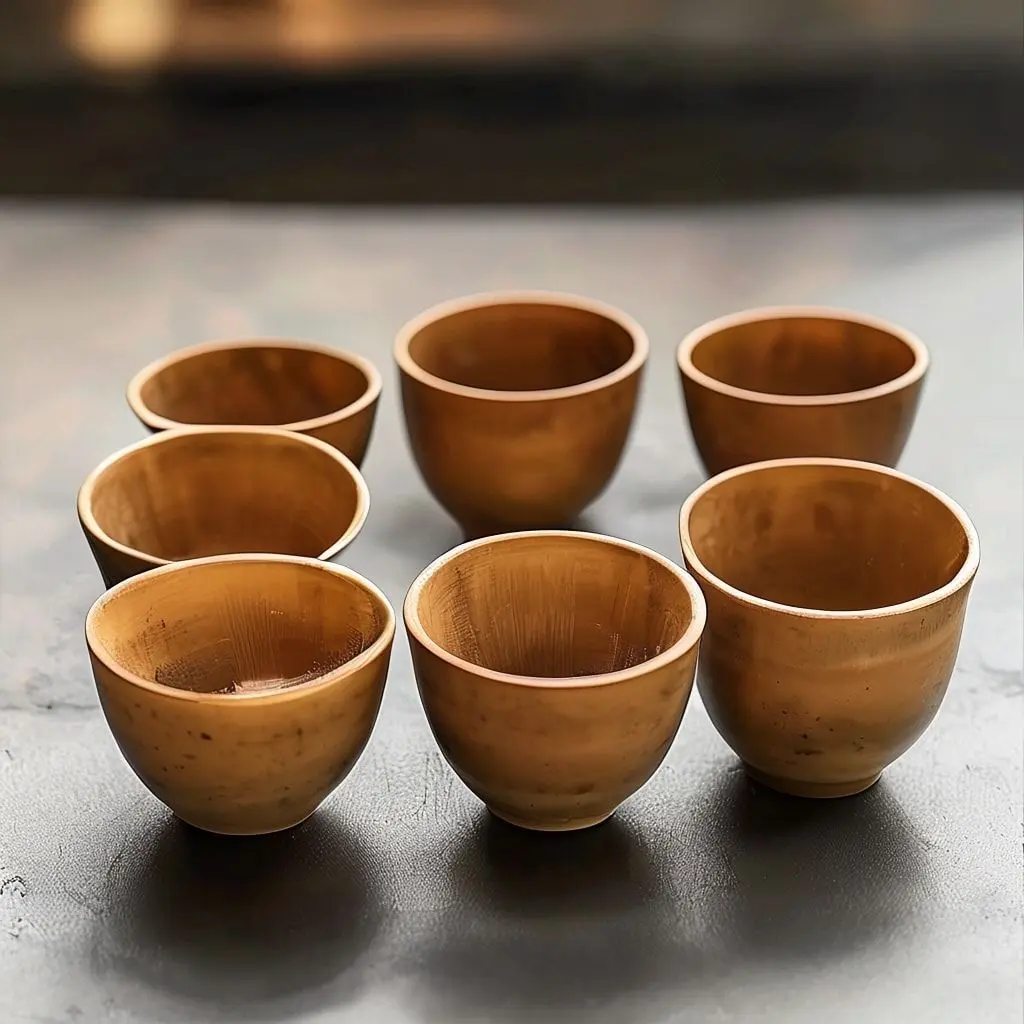
Yunomi Tea Cups
Yunomi represents the traditional Japanese handleless tea cup, characterized by a slightly tapered form that feels natural in cupped hands. These vessels typically stand three to four inches tall with a diameter that narrows gently toward the base. The form emphasizes tactile qualities, as users hold the cup directly rather than by a handle.
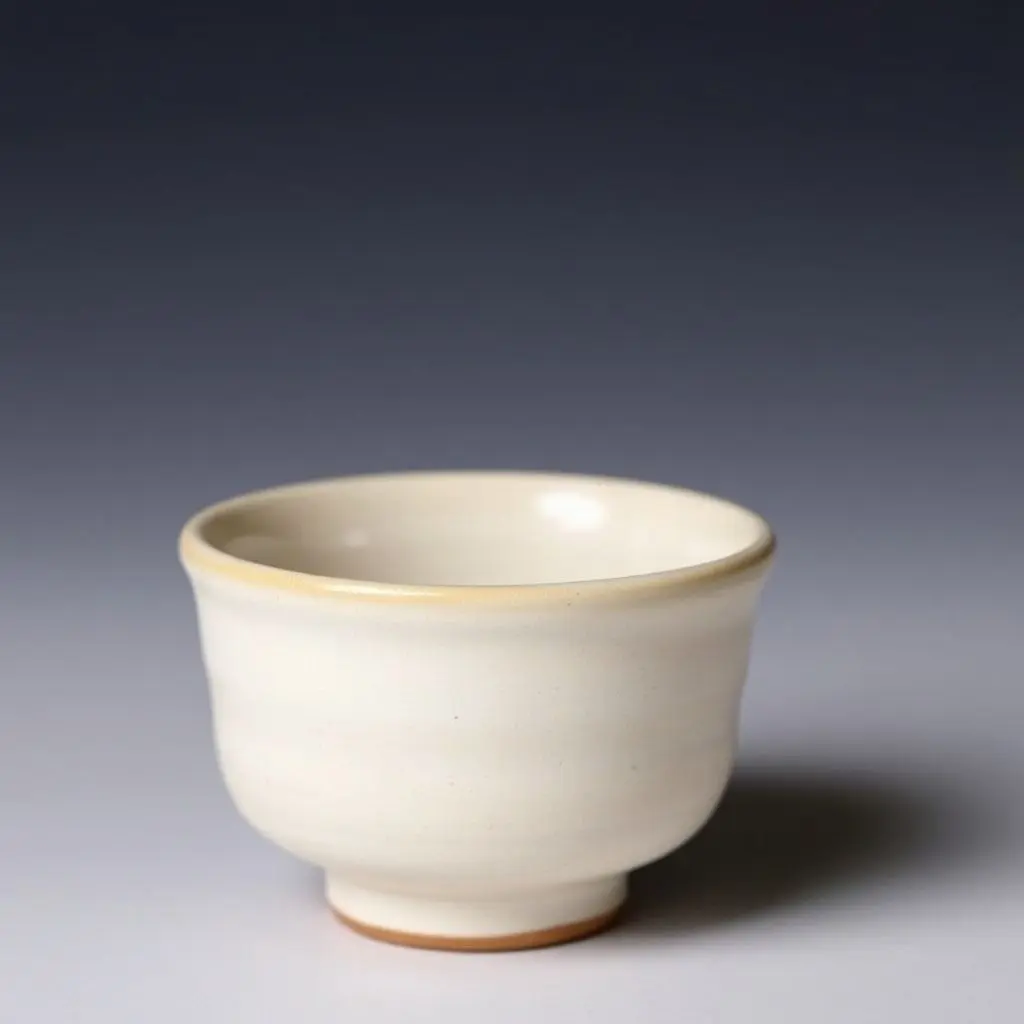
Throwing yunomi develops sensitivity to subtle curves and proportion. The walls should maintain adequate thickness for heat retention while remaining light enough for comfortable holding. Consider leaving the exterior unglazed or partially glazed to enhance the tactile experience. This project teaches refinement in simple forms and attention to how pottery feels during use.
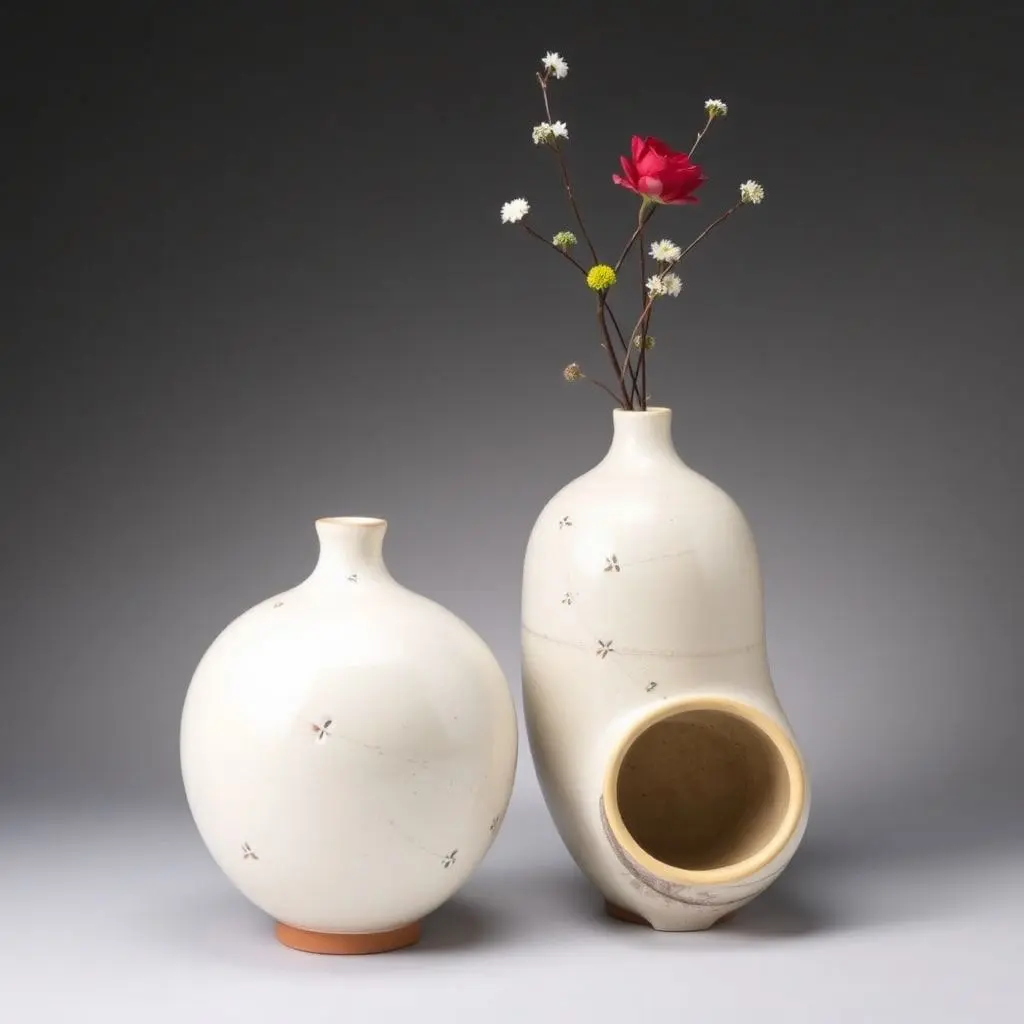
Bud Vases
Bud vases provide opportunities to explore elegant proportions in compact forms. These narrow vessels hold single stems or small flower arrangements and typically stand between four and eight inches tall. The narrow neck requires careful throwing technique, often involving collaring the clay inward after establishing a wider base.

This project teaches you to create graceful transitions between different diameters within a single form. The narrow opening challenges your ability to maintain centered walls while working with limited access. Experiment with various proportions, from squat and rounded to tall and slender, to understand how height-to-width ratios affect visual impact.
Lidded Jars
Lidded jars introduce the complexity of creating two pieces that must fit together precisely. Begin with simple cylinder forms approximately four inches tall, throwing both jar and lid from measured amounts of clay. The lid gallery requires creating a slight ledge inside the jar rim, while the lid itself needs a flange that seats securely without being too tight or loose.
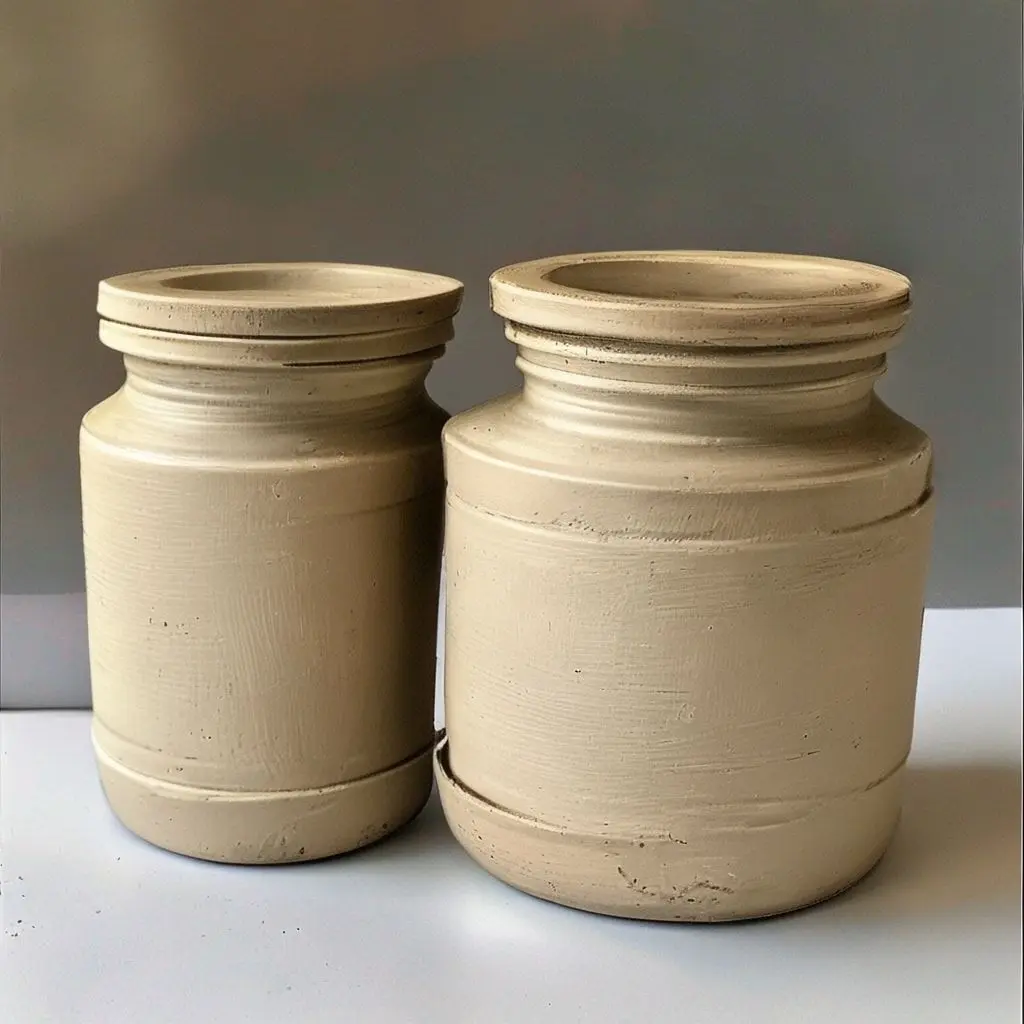
This project demands precision and planning. You’ll learn to measure carefully, maintain consistent diameters, and account for clay shrinkage during drying and firing. Lidded jars serve countless purposes, from kitchen storage to organizing craft supplies, making them highly functional additions to any home.
Berry Bowls
Berry bowls feature perforated bases that allow water to drain while rinsing fresh produce. Throw the basic bowl form first, creating walls that curve gently outward with a substantial base. After the bowl reaches leather-hard stage, use a needle tool or small circular cutter to create drainage holes in a pleasing pattern.
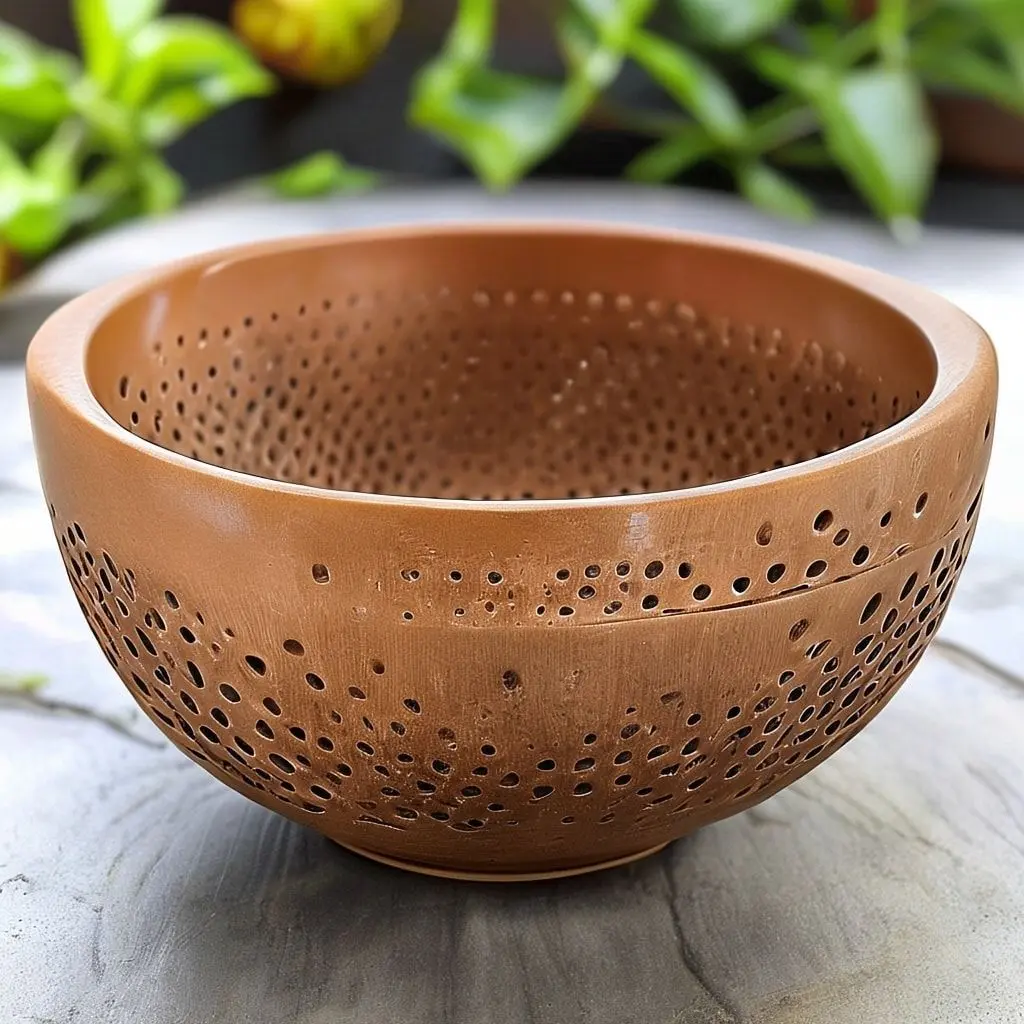
This project combines wheel throwing with subsequent alteration techniques. The holes must be large enough for effective drainage but not so large that small berries fall through. Consider creating a matching saucer or plate to catch draining water, which adds another element to the project and practices throwing complementary forms.
Pasta Bowls
Pasta bowls occupy the middle ground between plates and deep bowls, featuring wide diameters with gently sloping sides. These versatile vessels typically measure nine to eleven inches across with walls that rise two to three inches from the base. The form accommodates generous servings while the wide rim provides space for resting utensils.
Throwing pasta bowls teaches you to manage large clay quantities while paste maintaining even wall distribution. The broad, open form requires confident centering and deliberate shaping to prevent wobbling or uneven thickness. These bowls become kitchen workhorses, suitable for salads, grain bowls, and family-style serving.
Sake Cups
Sake cups, or ochoko, represent miniature throwing challenges that refine your precision. These tiny vessels hold approximately two ounces and measure roughly two inches in diameter. The small scale demands delicate touch and excellent centering skills, as any irregularities become immediately apparent.
Working at this reduced size sharpens your sensitivity to clay response and teaches economy of movement. Create sets of four or six matching cups to practice consistency at small scale. The quick completion time allows experimentation with various rim treatments, foot ring styles, and decorative techniques without significant time investment.
Utensil Holders
Utensil holders combine function with sculptural presence in kitchen spaces. These cylindrical forms typically stand six to eight inches tall with diameters between four and five inches. Throw straight walls with adequate thickness to prevent tipping when filled with wooden spoons, whisks, and spatulas. Consider adding a slightly flared rim for visual interest and structural stability.
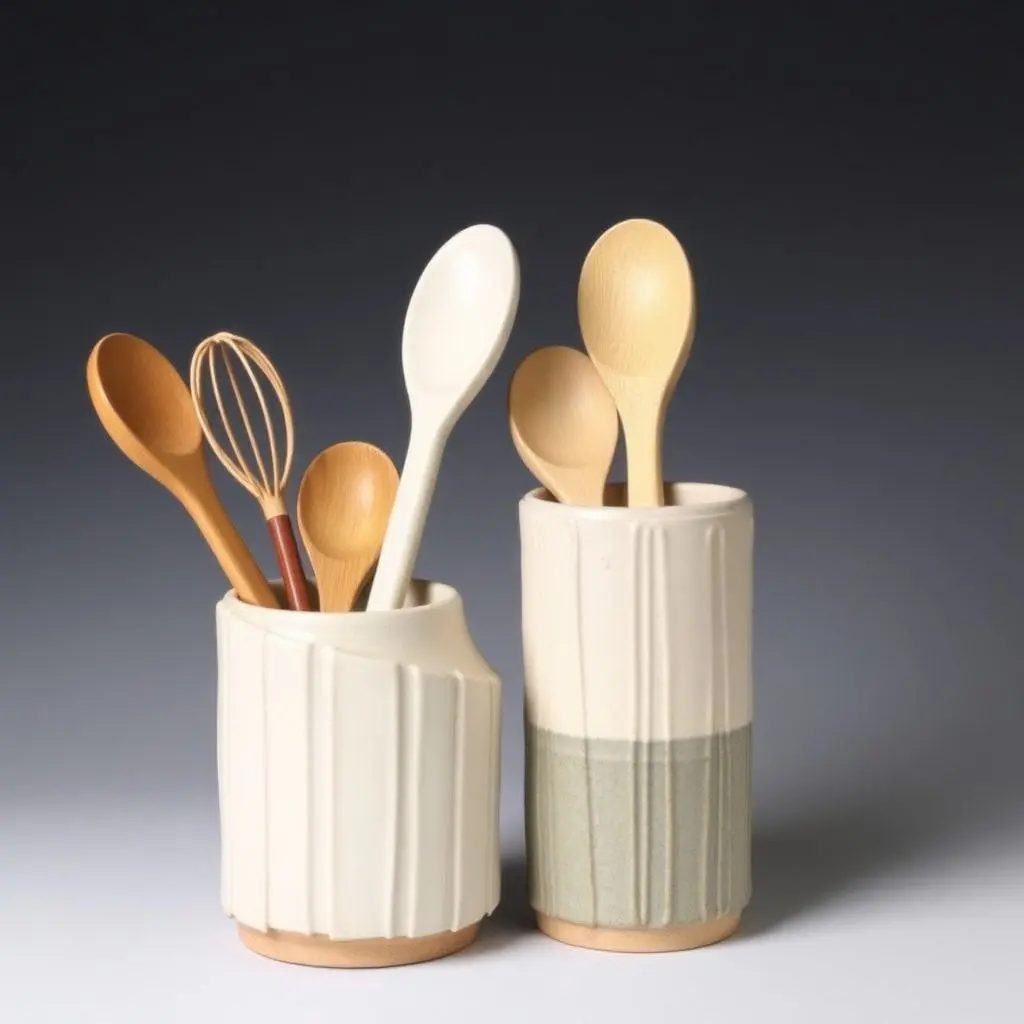
This project allows experimentation with surface decoration since the broad, visible exterior provides ample canvas. Try vertical ribbing, carved patterns, or applied decorative elements. The straightforward form focuses attention on developing clean throwing technique and exploring finishing options.
Planter Pots with Drainage
Planter pots marry aesthetic appeal with horticultural functionality. Throw cylinder or slightly tapered forms in sizes ranging from small succulent holders to substantial containers for houseplants. The essential feature involves creating a drainage hole in the base, which you can pierce after throwing or incorporate through design.
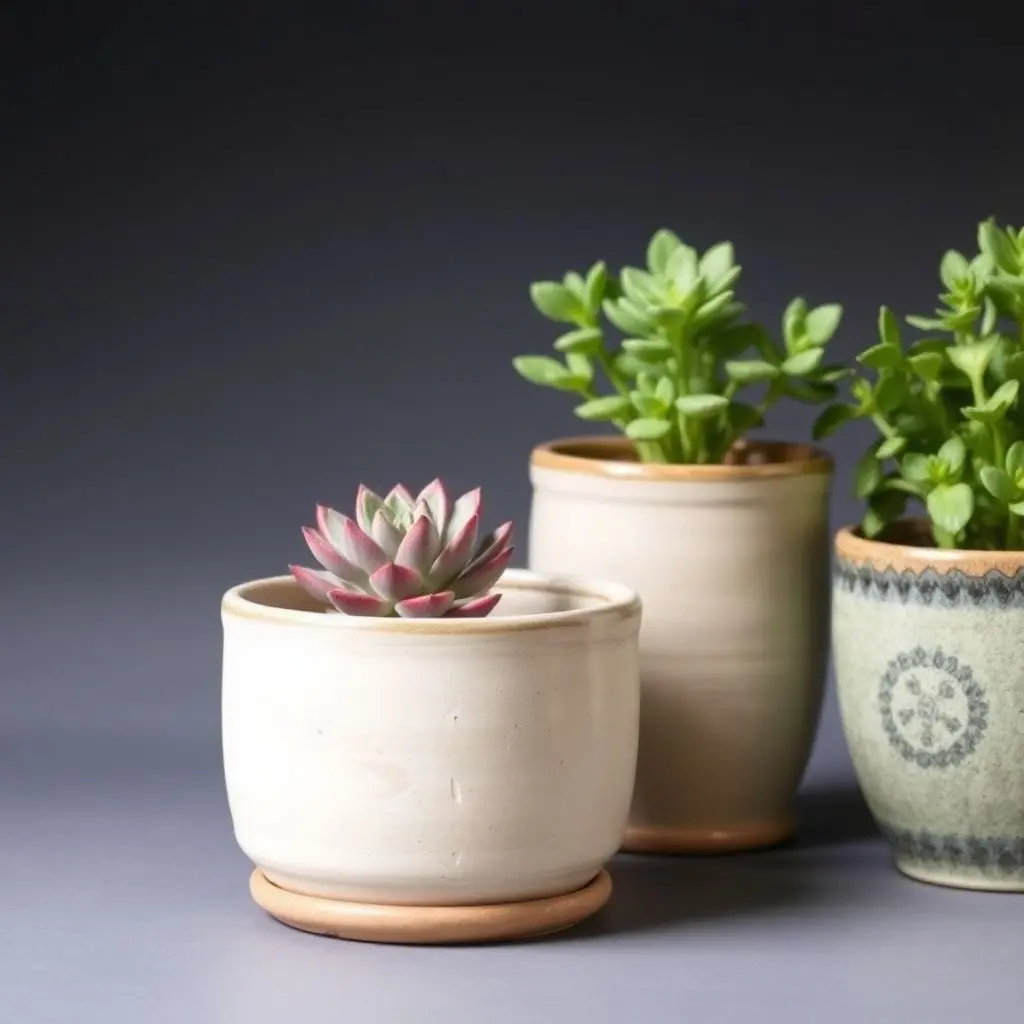
Consider throwing matching saucers to protect furniture from water drainage. Experiment with different rim treatments, from simple rolled edges to pronounced outward flares. This project teaches you to create forms that balance visual appeal with practical requirements, and the various sizes needed for different plants provide opportunities to work with diverse clay quantities.
Butter Dishes
Butter dishes consist of two components: a base tray and a domed cover. Throw the base as a shallow dish approximately six inches long and four inches wide, or create a round version with similar proportions. The cover requires throwing a dome shape that sits securely on the base without gaps while allowing easy removal.

This project advances your skills in creating complementary forms with precise fits. The shallow tray challenges you to work with low, wide forms, while the dome introduces compound curves. Successful butter dishes demonstrate control over multiple related pieces and understanding of how components interact functionally.
Garlic Keepers
Garlic keepers feature enclosed forms with ventilation holes that maintain optimal storage conditions. Throw a rounded body approximately five inches in diameter with walls that curve inward toward a narrow opening. After reaching leather-hard stage, pierce small holes around the body to allow air circulation while blocking light.
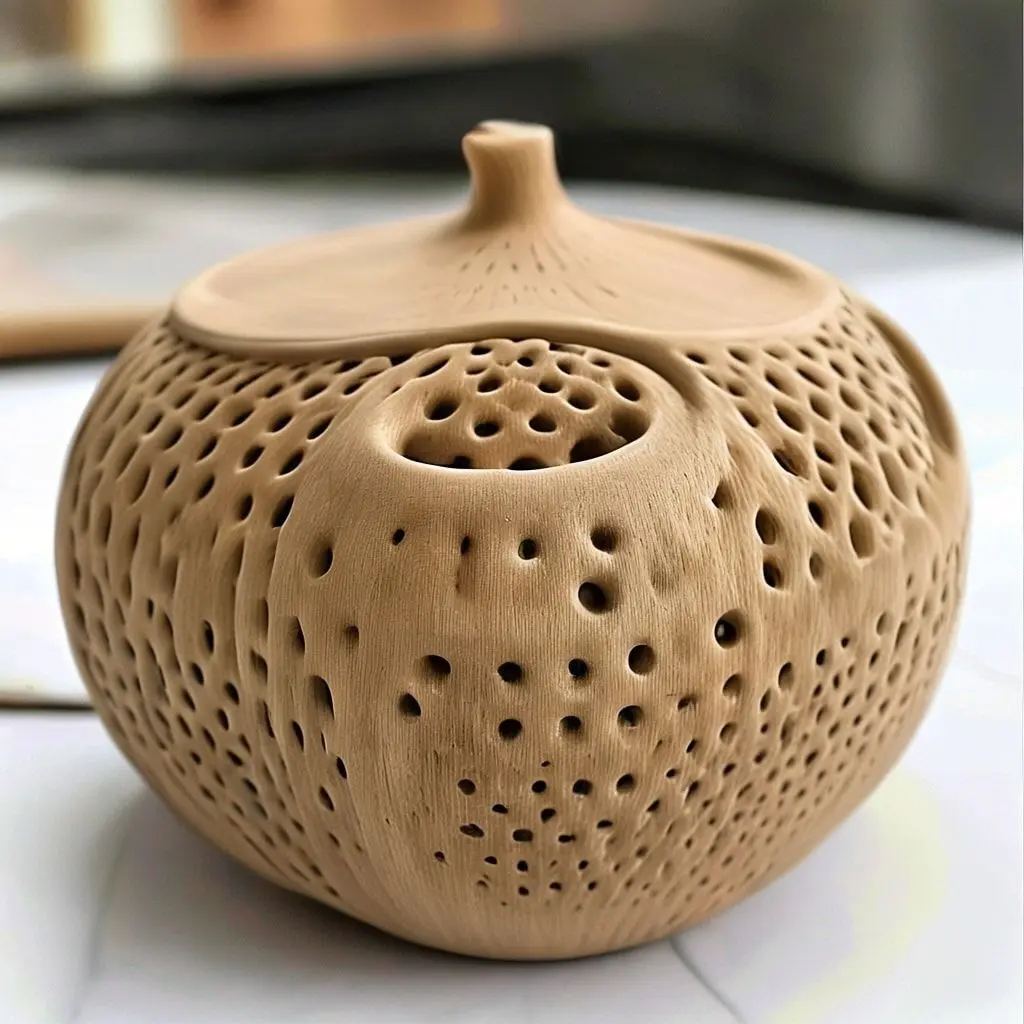
The project combines throwing with alteration and teaches you to create enclosed forms with functional perforations. Consider adding a small lid or leaving the top open with a curved rim. The specialized purpose encourages thinking about how form serves specific storage needs.
Wine Cups
Wine cups differ from standard stemware by eliminating the stem entirely, creating handleless vessels that cradle comfortably in the hand. Throw forms with generous bowls that hold eight to ten ounces, tapering to narrower bases. The proportions should feel balanced when held, with adequate weight to prevent tipping.
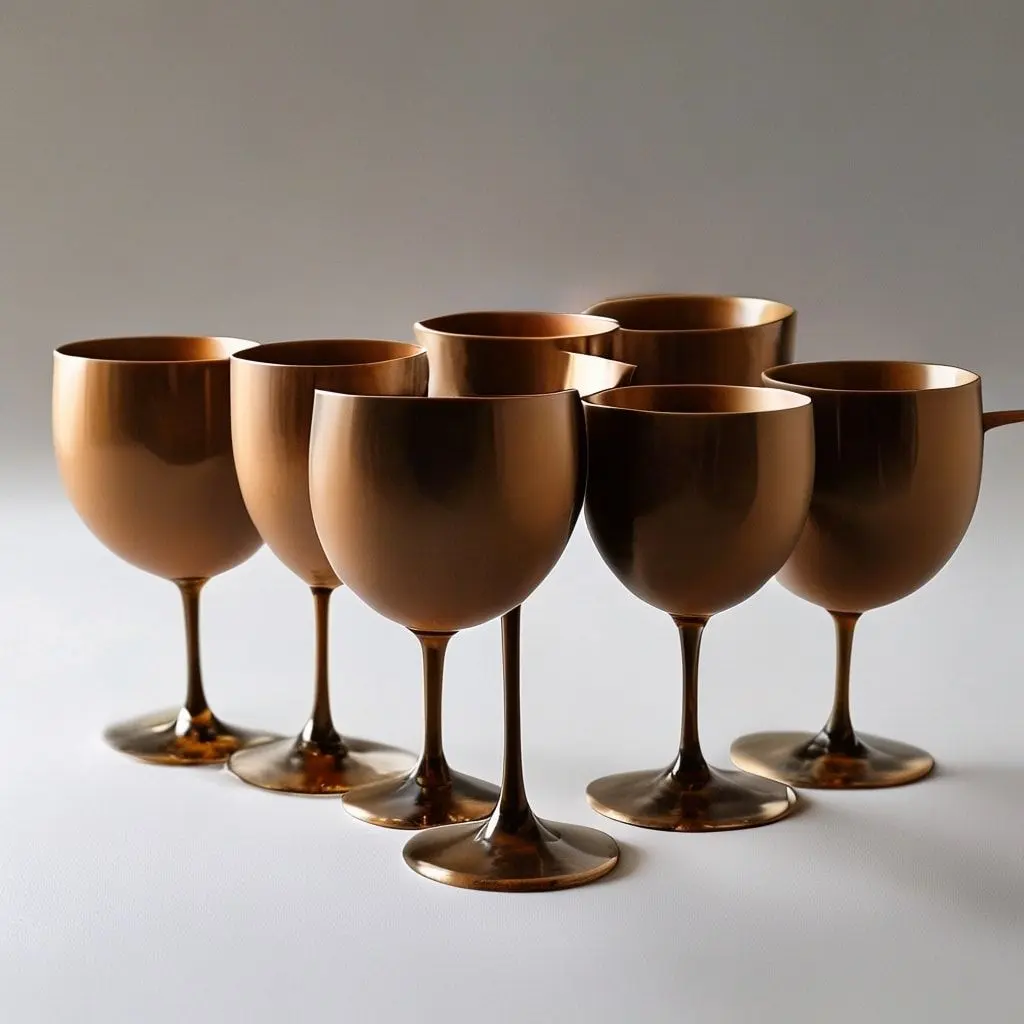
This project explores how form affects both aesthetics and function in drinking vessels. The absence of handles or stems places complete focus on the thrown shape and how it interacts with the hand. Experiment with different interior curves, as the bowl shape influences aroma concentration and drinking experience.
Soap Dishes
Soap dishes present an opportunity to create small, practical items with built-in drainage features. Throw shallow oval or round dishes approximately four inches across with slightly raised edges. Create drainage ridges by impressing parallel lines into the wet clay, or add raised bumps that elevate soap above standing water.
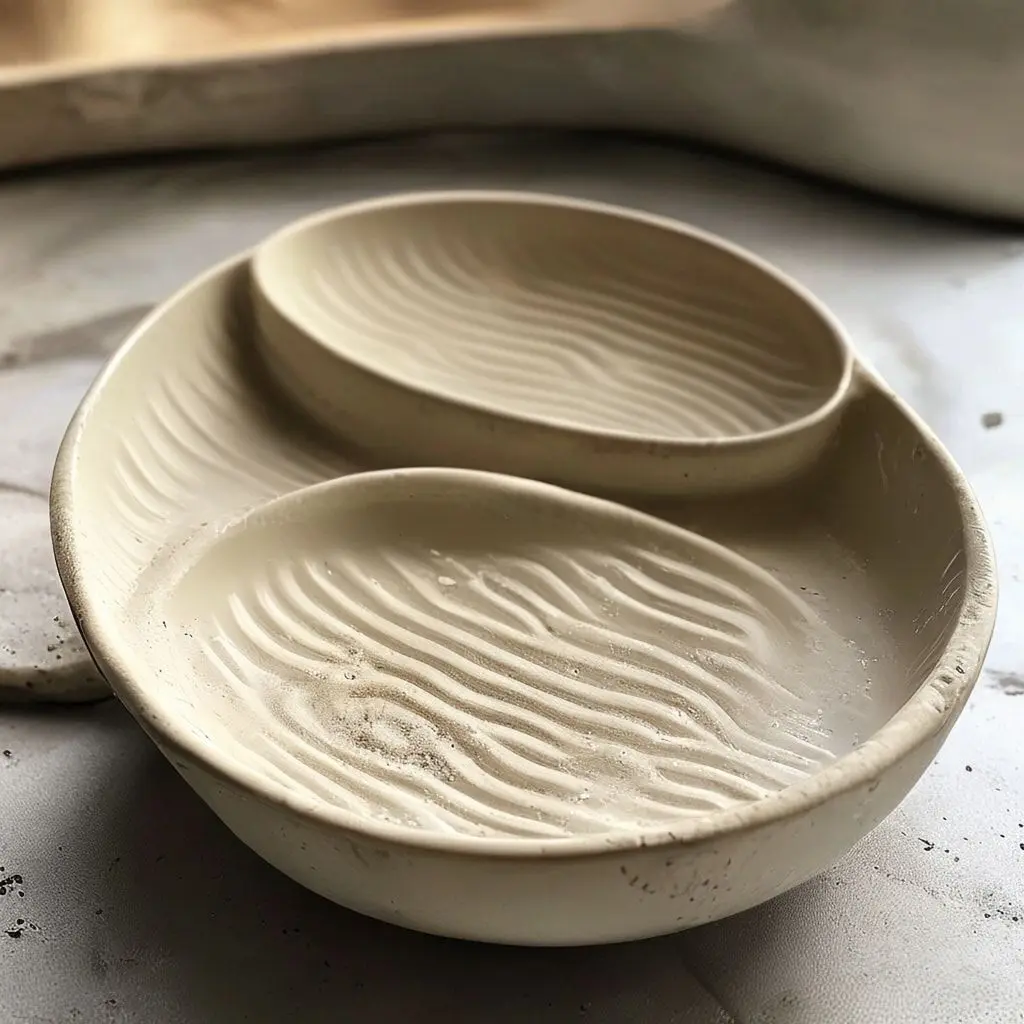
The small scale allows experimentation with various surface treatments and glaze combinations. This project teaches you to incorporate functional elements into simple thrown forms and consider how design details affect everyday utility.
Ramen Bowls
Ramen bowls require specific proportions to accommodate generous portions while allowing comfortable handling of chopsticks and spoons. Throw bowls approximately eight inches in diameter with walls that curve outward and upward to a height of three to four inches. The wide mouth provides access for eating while the depth contains liquid without splashing.
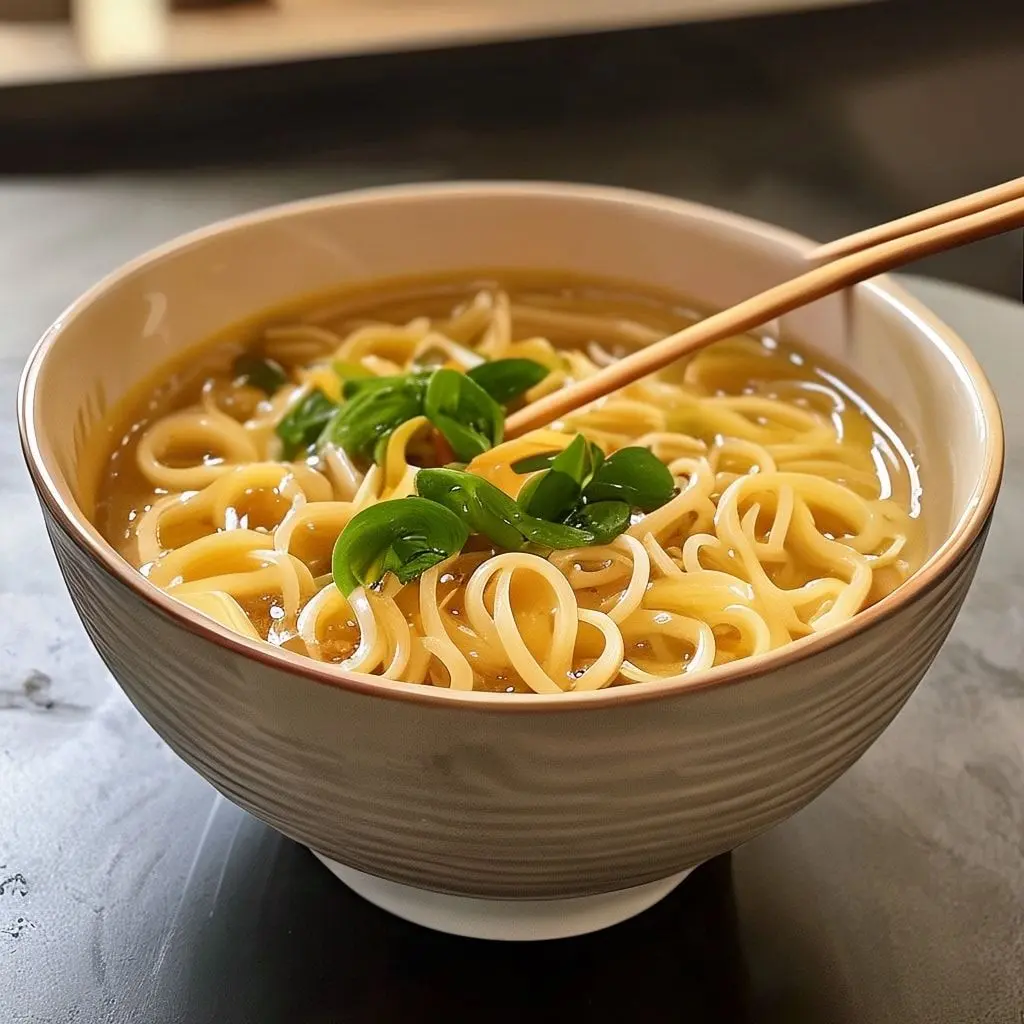
This specialized form teaches you to create vessels designed for specific culinary traditions. The substantial size requires confident throwing technique and adequate clay preparation. Consider adding subtle foot rings that elevate the bowl slightly, protecting table surfaces from heat.
Ikebana Vases
Ikebana vases support the Japanese art of flower arrangement, requiring forms with specific proportions that accommodate kenzan flower frogs and asymmetric compositions. Throw cylinders, spheres, or boat shapes with wide, stable bases and openings proportioned to the overall form. These vessels often feature low, horizontal orientations or dramatic vertical presence.
Creating ikebana vases introduces design principles from another artistic tradition and challenges you to think beyond conventional Western vessel forms. The project encourages experimentation with unusual proportions and consideration of negative space as an essential design element.
Conclusion
Wheel throwing offers endless opportunities for creative exploration and skill development. The nineteen projects presented here provide a structured progression from foundational forms to more complex creations, each building upon previously learned techniques. As you work through these ideas, remember that mastery develops through repetition and thoughtful practice rather than rushing toward finished products.
The beauty of wheel throwing lies in its combination of technical precision and creative expression. Each centered ball of clay presents new possibilities, and even familiar forms reveal fresh insights with repeated practice. Start with projects matching your current skill level, then gradually challenge yourself with more demanding forms. Document your progress through photographs, noting what worked well and which areas need improvement.
Your home studio becomes a laboratory for experimentation when you approach these projects with curiosity and patience. Allow yourself to make mistakes, as they provide the most valuable learning opportunities. Celebrate successful pieces while viewing less successful attempts as stepping stones toward greater competence. The tactile satisfaction of working with clay, combined with the functional beauty of finished pottery, makes wheel throwing a deeply rewarding pursuit that enriches both your creative life and daily living spaces.
Frequently Asked Questions:
What clay body works best for wheel throwing at home?
Mid-range stoneware clay with moderate grog content provides excellent workability for home potters. This clay type throws smoothly, tolerates beginner inconsistencies, and fires to durable results in most home kilns. Avoid highly grogged sculpture clay or porcelain when starting out.
How much clay should I use for a standard coffee mug?
Most coffee mugs require between one and one-point-five pounds of clay depending on desired size and wall thickness. Beginners should start with slightly more clay to account for learning waste, gradually reducing the amount as skills improve and efficiency increases.
Can I create functional pottery without access to a kiln?
While unfired clay pieces remain fragile and water-soluble, you can create air-dry clay sculptures for decorative purposes. However, functional pottery intended for food and liquid use requires kiln firing to vitrify the clay and make glazes food-safe.
How long should thrown pieces dry before trimming?
Most pieces reach ideal leather-hard consistency for trimming within twelve to twenty-four hours depending on clay type, thickness, and environmental humidity. The clay should feel firm but remain carveable without crumbling, similar to hard cheese in texture.
What basic tools do I need to start wheel throwing at home?
Essential tools include a pottery wheel, needle tool, wire cutting tool, sponge, rib, and trimming tools. A five-gallon bucket for water, canvas bat, and wooden modeling tools complete a functional starter kit. Additional specialty tools can be added as your skills and interests develop.