
15+ Creative Rubber Band Bracelets Without a Loom
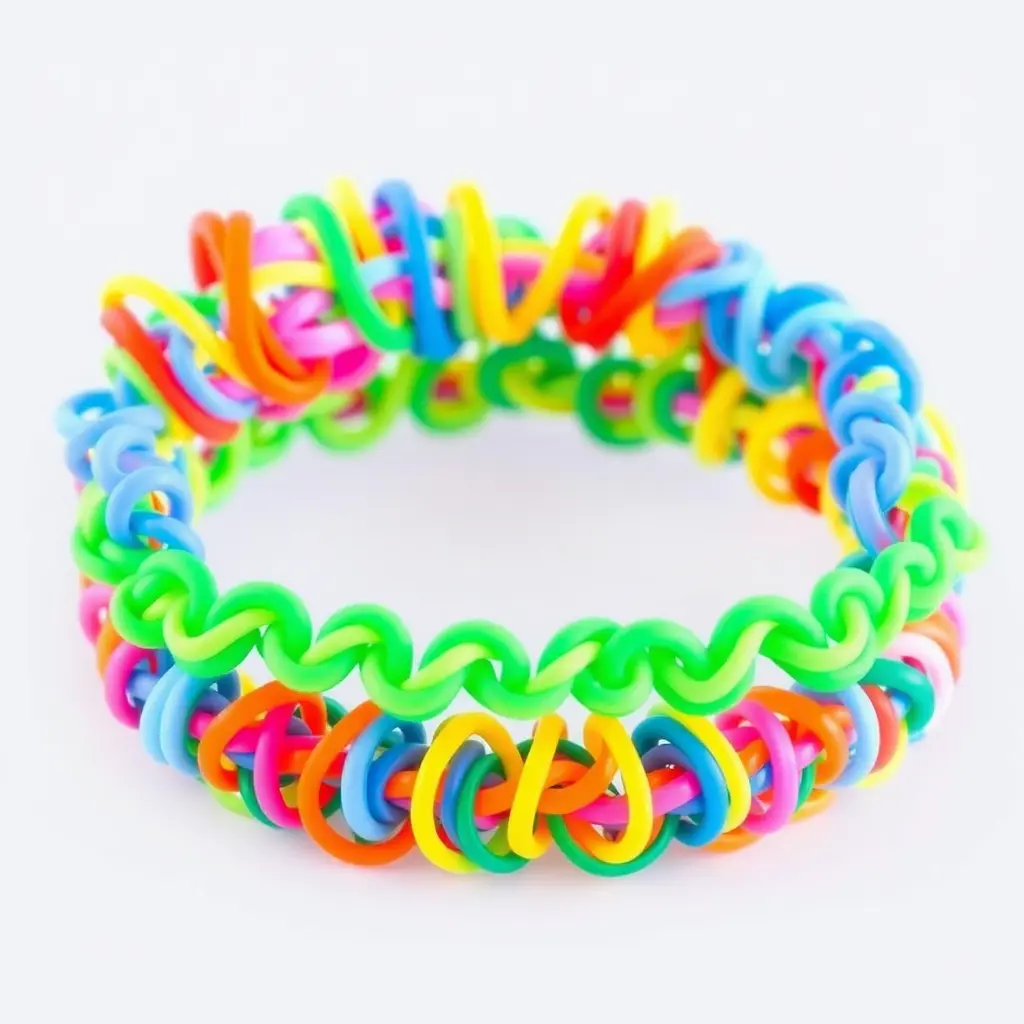
The colorful Creative Rubber Band Bracelets Without a Loom world of rubber band bracelets has captured the imagination of crafters everywhere, but here’s a secret many people don’t know: you don’t need an expensive loom to create stunning designs. Whether you’re a parent looking for budget-friendly craft activities or someone who wants to dive into this creative hobby without investing in specialized equipment, this guide will show you exactly how to make beautiful rubber band bracelets using simple household items.
The beauty of creating rubber band bracelets without a loom lies in its accessibility. With just your fingers, a couple of pencils, or even a fork from your kitchen drawer, you can craft intricate designs that rival anything made on traditional looming equipment. This comprehensive guide will walk you through multiple techniques, patterns, and creative approaches that prove you don’t need fancy tools to create something extraordinary. https://wonderfuldiy.com/wonderful-diy-colorful-rubber-band-bracelet/
What You’ll Need to Get Started
Before diving into specific patterns, let’s gather your basic supplies. The wonderful news is that most of these items are either already in your home or incredibly affordable to purchase.
Essential Materials:
- Colorful rubber bands (typically sold in craft stores for less than five dollars per pack)
- C-clips or S-clips for fastening (usually included with rubber band packages)
- Your fingers, two pencils, or a fork
Optional But Helpful:
- Small crochet hook (makes pulling bands easier)
- Beads or charms for decoration
- Different colored bands for pattern variety
Most craft stores carry rubber band packs containing 300 to 600 bands along with fastening clips. These latex-free options work perfectly for people with sensitivities and come in regular colors, neon shades, translucent variations, and even glow-in-the-dark options.
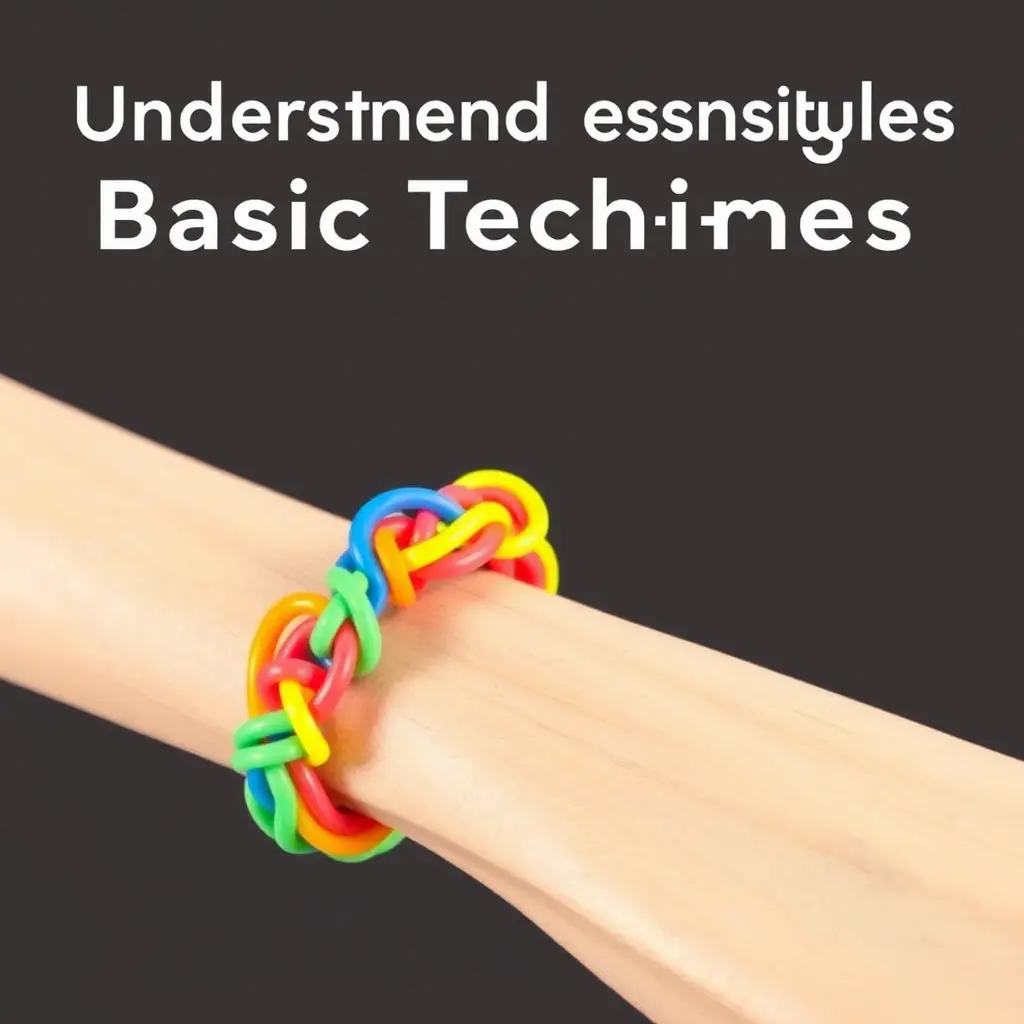
Understanding Basic Techniques
Before jumping into specific patterns, understanding fundamental techniques will make every design easier to master. All rubber band bracelets rely on the same core principle: creating loops that interlock with each other to form a flexible, wearable chain.
The foundational move involves the figure-eight twist. This technique appears in nearly every pattern and creates the starting point for your bracelet. You’ll twist one rubber band into an eight shape, loop it over two points (whether fingers, pencils, or fork tines), then continue building your pattern from there.
Another essential skill is the loop-over technique. This involves taking the bottom band and pulling it up and over the top bands, creating the interlocking effect that holds your bracelet together. Mastering this simple movement opens the door to countless pattern possibilities.
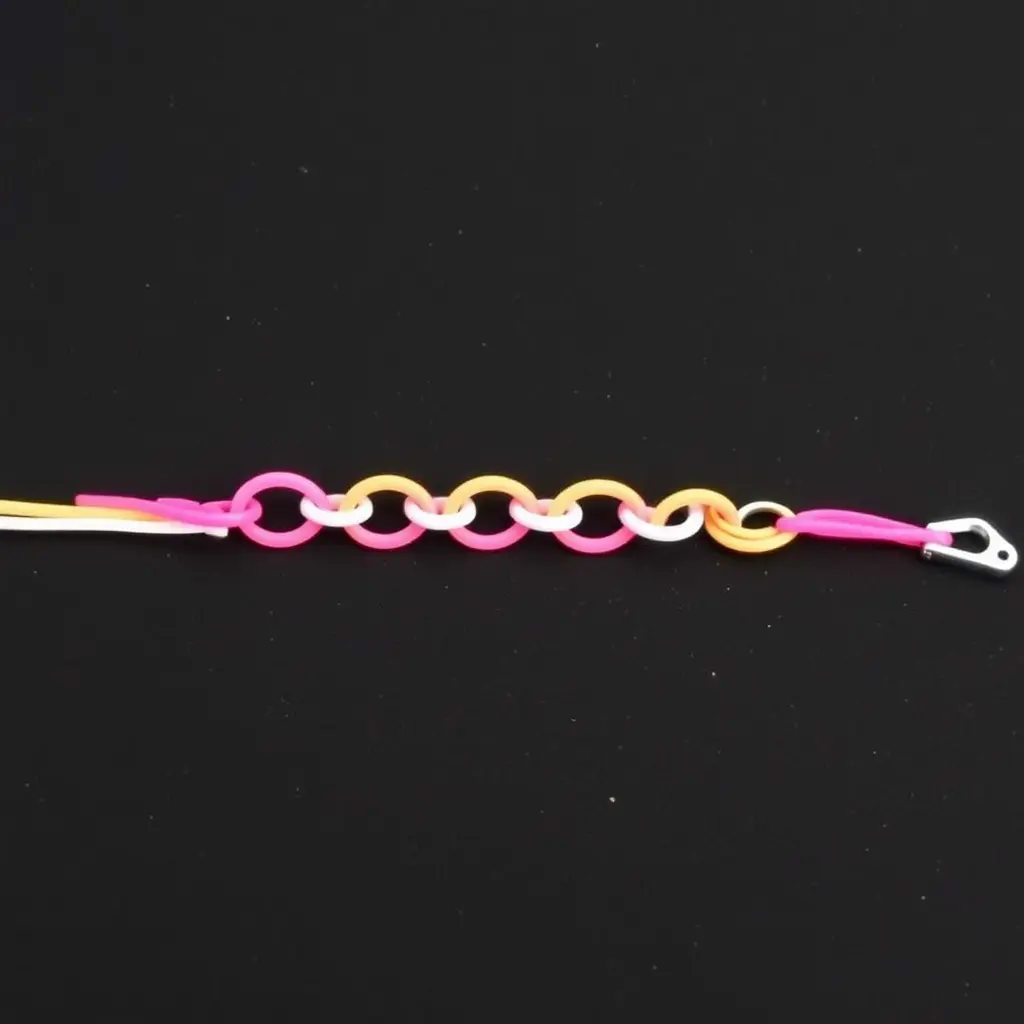
The Single Chain Bracelet
The single chain represents the most straightforward pattern and serves as the perfect starting point for beginners. This design requires only your fingers and creates a delicate, classic look.
Step-by-Step Instructions:
Start by taking your first rubber band and folding it in half. Pinch the two loops together, then take a second band and thread it through the loops of the first band. Fold this second band in half as well. Continue this process, always threading a new folded band through the loops of the previous one.
The chain grows quickly, and you’ll see a simple linked pattern emerge. For a child-sized bracelet, you’ll need approximately 19 to 24 rubber bands. For adults, plan for 26 to 28 bands depending on wrist size.
When your bracelet reaches the desired length, attach a C-clip or S-clip to both ends. The single chain stretches nicely and creates a minimalist look that works for any age.
Creative Variations:
Try alternating colors to create stripes, use a gradient from light to dark shades, or mix in sparkly bands for special occasions. The single chain also works beautifully as a foundation for adding charms or beads.
The Classic Finger Fishtail
The fishtail pattern creates a more intricate appearance than the single chain while remaining beginner-friendly. This technique uses your fingers as the loom and produces a woven effect that resembles, as the name suggests, a fish’s tail.
Creating the Foundation:
Hold up your index and middle fingers. Take your first rubber band, twist it into a figure eight, and place it over both fingers. Add two more bands on top without twisting them. You should now have three bands on your fingers with only the bottom one twisted.
Using your other hand or a small crochet hook, grab the bottom band on one side and pull it up and over your finger so it rests between your two fingers. Repeat on the other side. This creates your first fishtail link.
Add another band to the top (no twist), then repeat the process of pulling the bottom band over on both sides. Continue this pattern until your bracelet reaches the desired length.
Finishing Your Fishtail:
When you’ve achieved the right length, stop adding new bands. Continue pulling the bottom band over until only one band remains on your fingers. Attach your clip to this final band, remove it from your fingers, then connect the other end of the clip to the starting loops of your bracelet.
The fishtail typically requires 40 to 50 bands depending on your wrist size and desired tightness. This pattern looks particularly striking with two alternating colors.
Using Pencils as Your DIY Loom
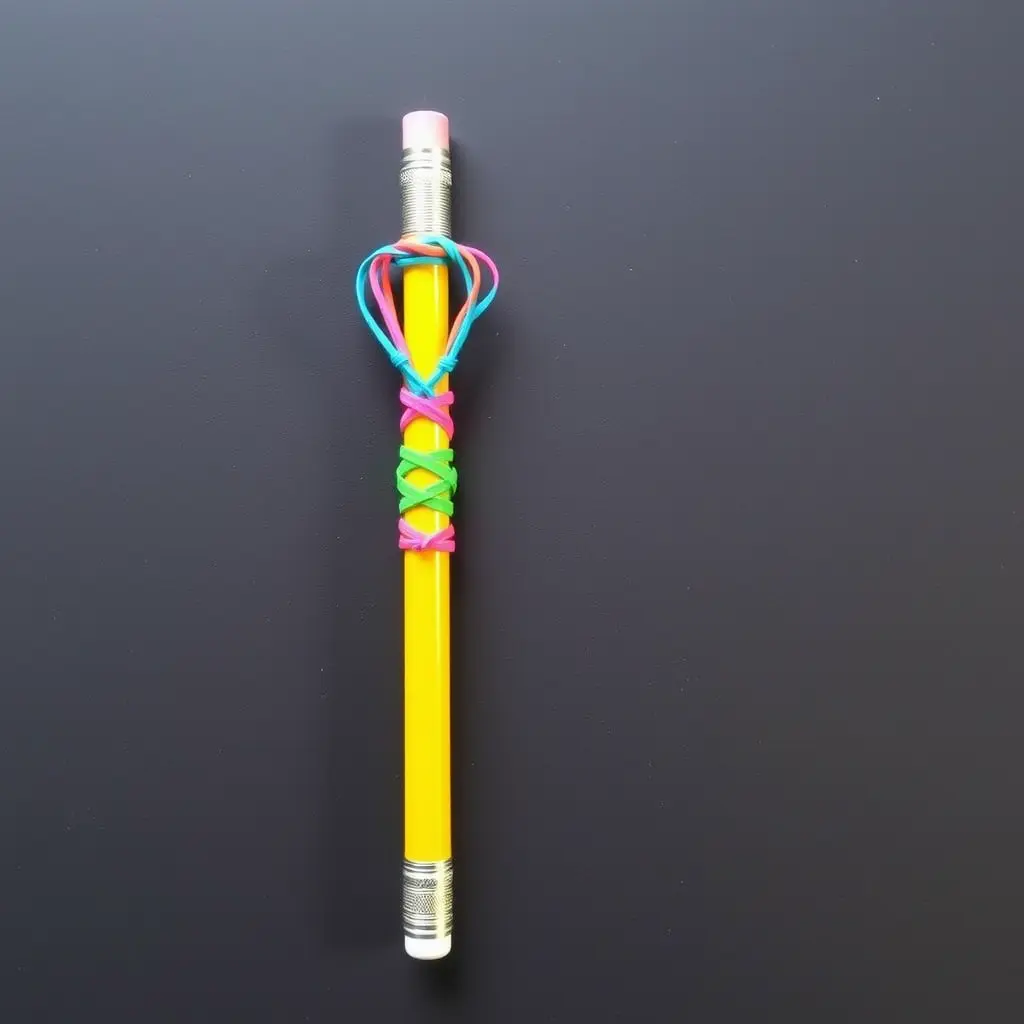
Pencils serve as an excellent alternative to traditional looms and work especially well for children who might struggle with the finger method. This approach provides more stability and makes it easier to see what you’re doing.
Setting Up Your Pencil Loom:
Hold two pencils parallel to each other, about two inches apart. You can secure them with rubber bands at the ends if they keep slipping, though many crafters find that simply holding them works fine.
Place your first rubber band over one pencil, twist it into a figure eight, and loop it over the second pencil. This creates the same foundation you’d use with the finger method. Add two more bands on top without twisting.
Pull the bottom band up and over the pencil on both sides, just as you would with fingers. The pencils make it easier to see the pattern forming and provide a more stable platform for working.
Pencil Method Advantages:
This technique particularly helps younger children who don’t have the finger dexterity for the traditional method. The visual aspect of watching the bracelet grow between the pencils makes the process more engaging. You can also pause mid-project and set the pencils down without losing your progress. The Fork Technique
Using a standard kitchen fork opens up possibilities for wider, more intricate patterns. The multiple tines create additional working spaces that result in thicker, more complex designs.
Using Fork as Your DIY Loom

Basic Fork Fishtail:
Hold your fork with the tines pointing up. Place your first rubber band on one outer tine, twist it into a figure eight, and loop it over the opposite outer tine. You’re using just two of the four tines for this pattern.
Add two more bands on top without twisting. Using a hook or your fingers, pull the bottom band up and over the top on both sides. Continue adding bands and looping the bottom one over until you reach your desired length.
Advanced Fork Patterns:
The fork’s multiple tines allow for triple or quadruple fishtail patterns. These use three or four tines respectively and create much thicker bracelets with a more elaborate appearance. Start with the basic two-tine pattern before advancing to these more complex variations.
For a triple fishtail, you’ll work across three tines, creating a wider bracelet with more visual interest. The quadruple pattern uses all four tines and produces a substantial piece that makes a bold statement.
Double Fishtail Design
The double fishtail builds on the basic fishtail technique but creates a wider, more intricate appearance. This pattern uses either your fingers or two pencils and alternates colors to create a stunning visual effect.
Creating the Double Effect:
Start with the same figure-eight foundation on your two fingers or pencils. However, instead of adding bands one at a time, you’ll add two bands simultaneously in alternating colors. This creates the double-layer appearance that gives this pattern its name.
Pull the bottom band over on both sides, then add two more bands. The key to this pattern lies in maintaining consistent color alternation and ensuring both bands in each pair move together when you loop them over.
The double fishtail requires approximately 80 to 100 bands total and creates a bracelet that’s noticeably wider and more substantial than the single fishtail.
Creative Pattern Variations
Once you’ve mastered the basic techniques, countless variations await your exploration. These creative twists transform simple patterns into unique designs.
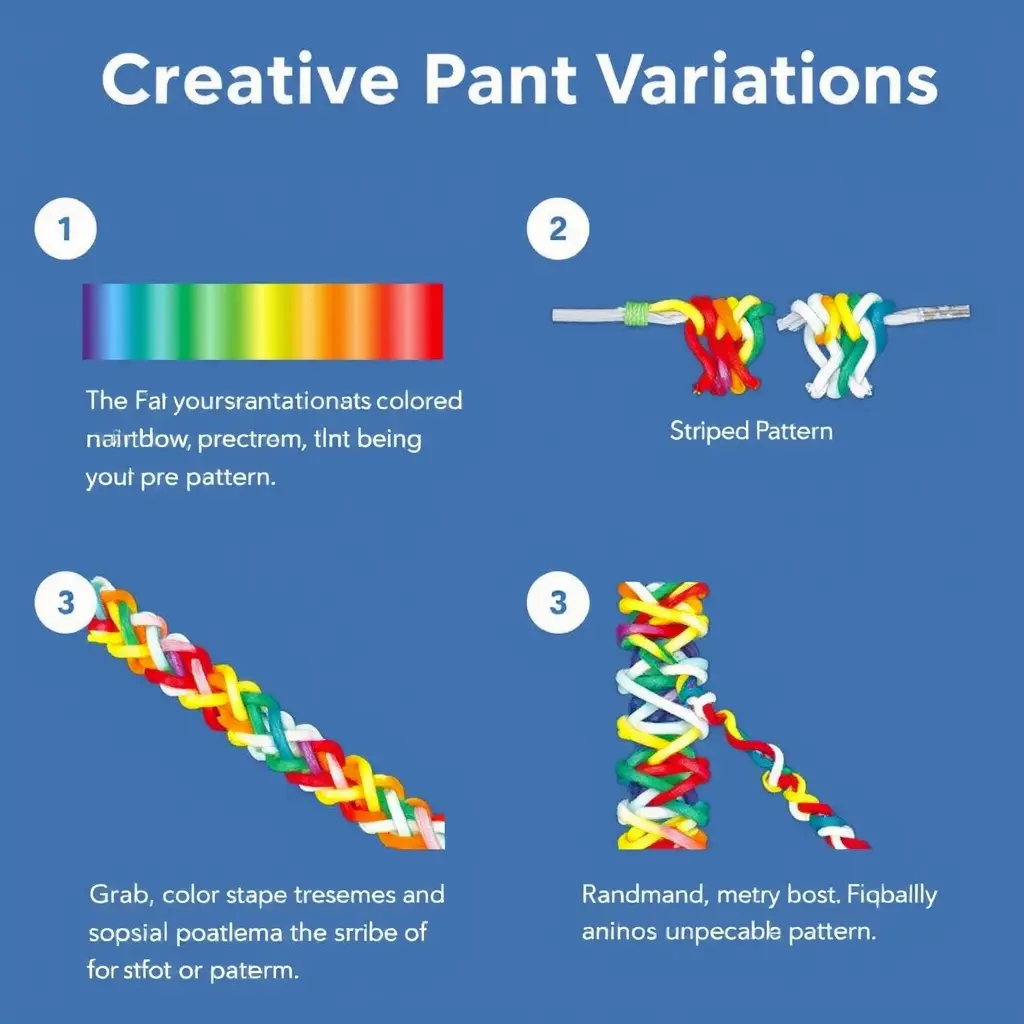
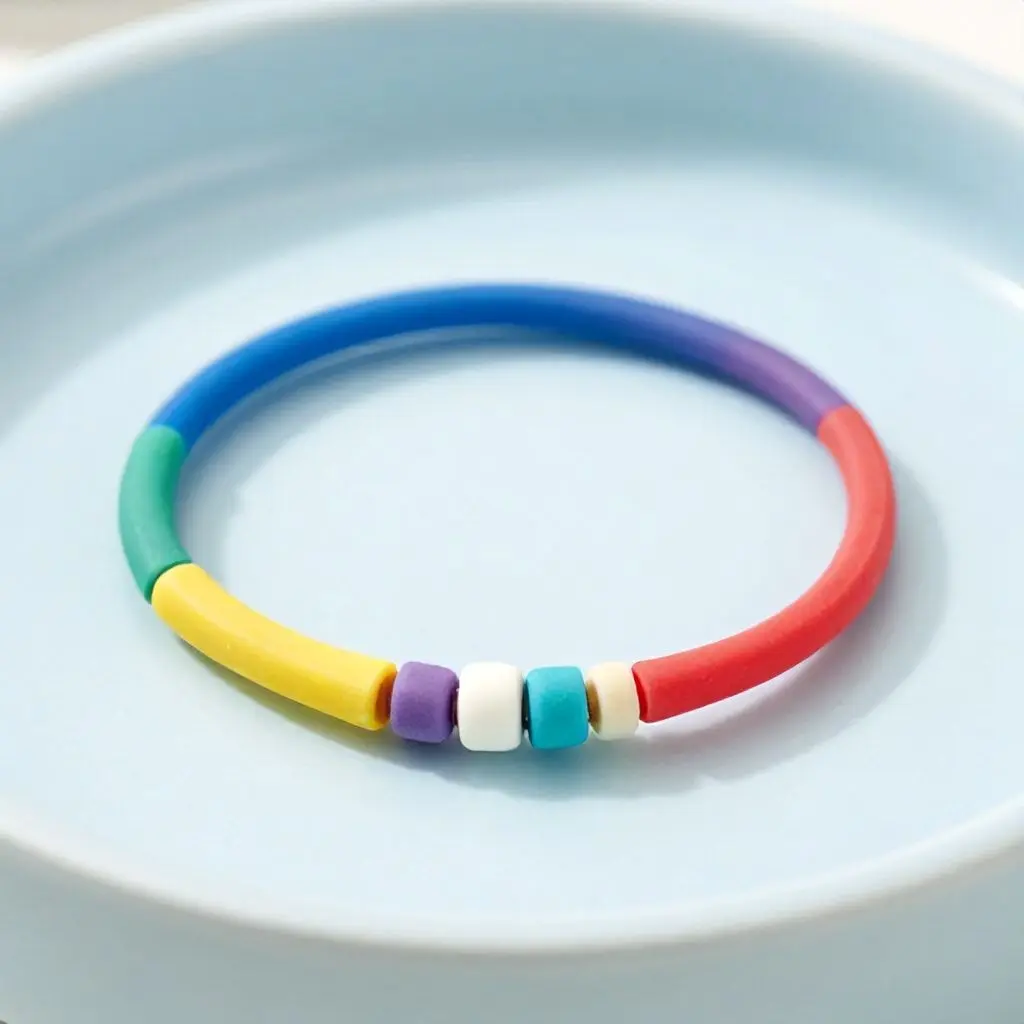
The Rainbow Gradient:
Arrange your colored bands in rainbow order and work through the spectrum as you create your bracelet. This creates a beautiful ombre effect that transitions smoothly from one color to the next.
Striped Patterns:
Alternate between two or three colors in a regular pattern. Try two bands of blue, two of white, and two of red for a patriotic look, or three bands of your school colors for spirit wear.
Random Color Mix:
Sometimes the most interesting designs come from spontaneity. Grab bands without looking and create a truly unique, unrepeatable pattern.
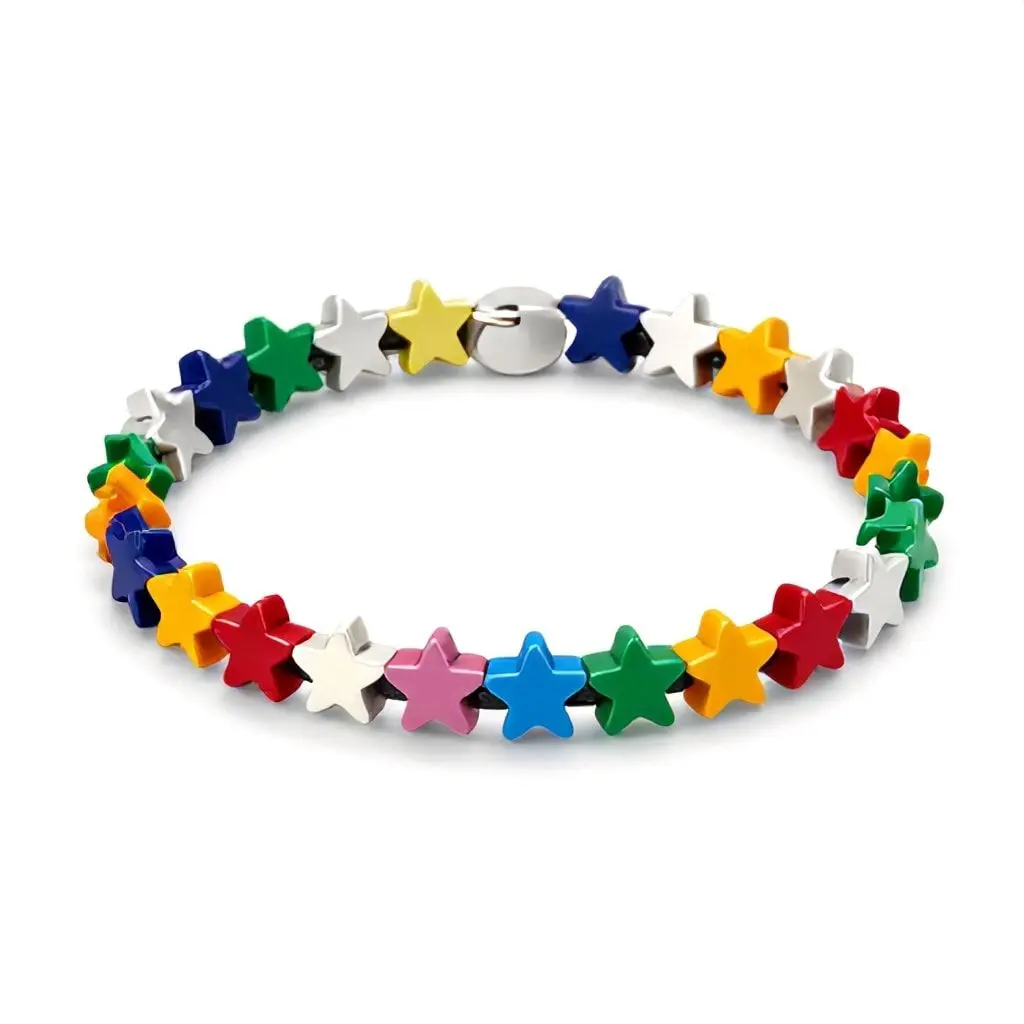
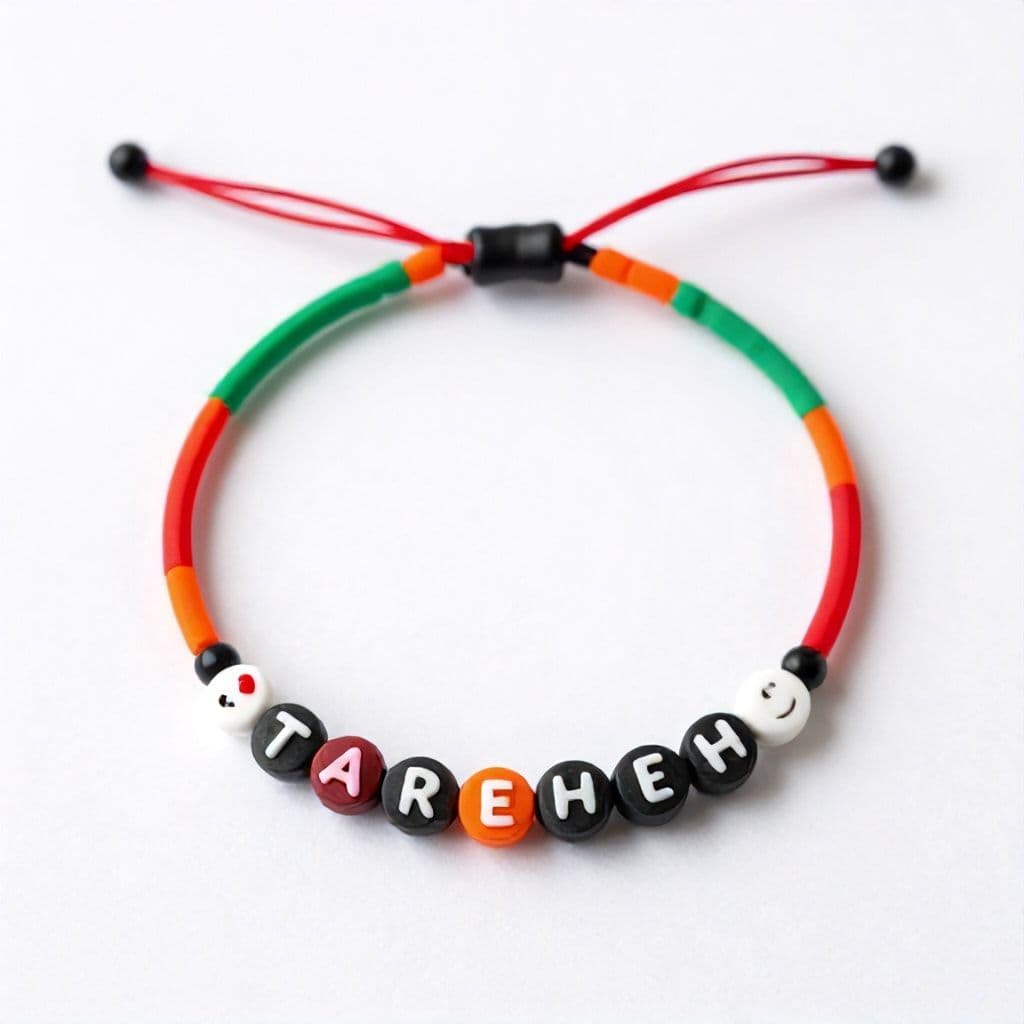
Adding Beads and Charms
Elevating your rubber band bracelets with beads and charms transforms them from simple crafts into personalized accessories. This customization allows you to create pieces that reflect your personality or make thoughtful handmade gifts.
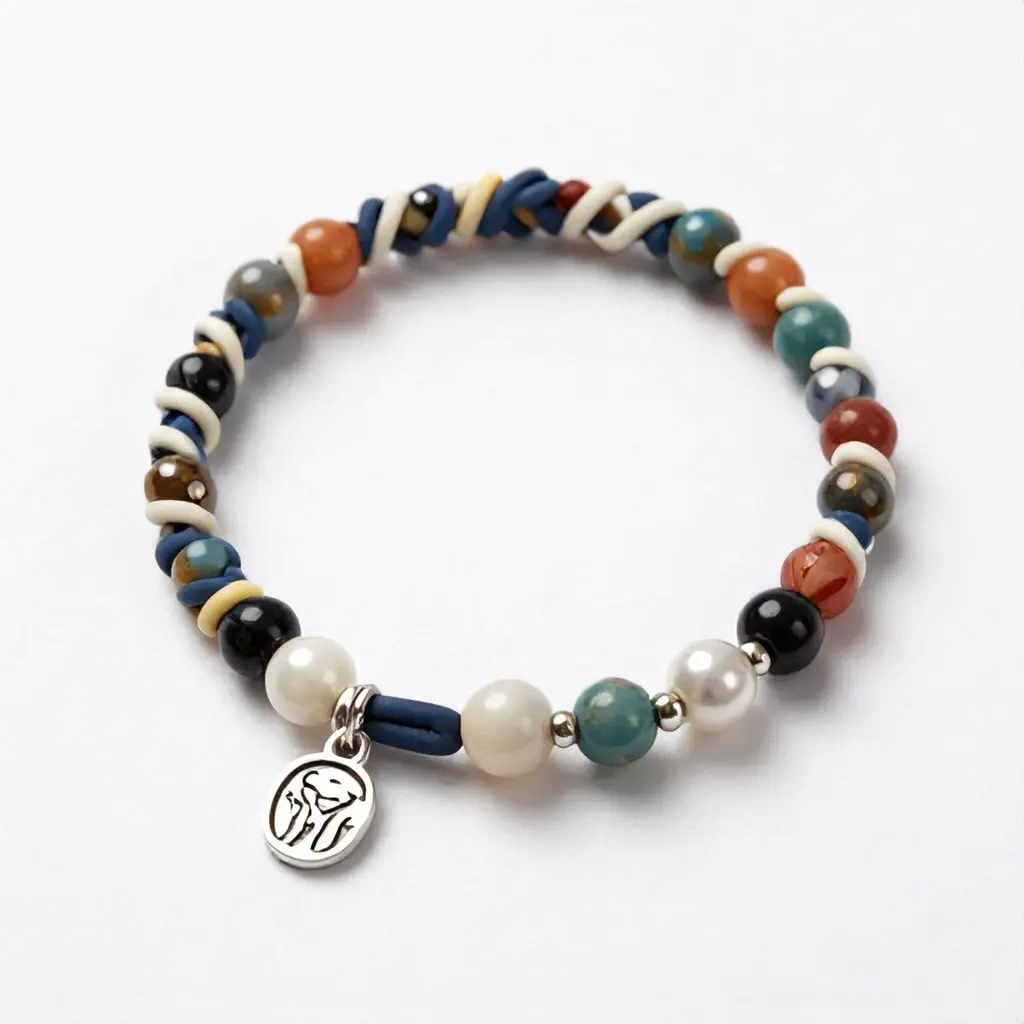
Incorporating Beads:
When working on a single chain or fishtail pattern, thread a bead onto a rubber band before adding it to your bracelet. The bead will slide into position as you continue the pattern, creating a decorative accent.
For a more uniform look, add beads at regular intervals. Plan your spacing ahead of time by counting how many bands separate each bead. This creates a polished, intentional appearance.
Attaching Charms:
Most rubber band bracelet kits include small charms specifically designed for this craft. These typically have a loop that you can thread a rubber band through. Attach the charm by incorporating this band into your pattern at the desired location.
You can also use jewelry jump rings to attach charms that don’t have loops specifically sized for rubber bands. This expands your options to include any small charm from craft stores or jewelry supplies.
The Ladder Design
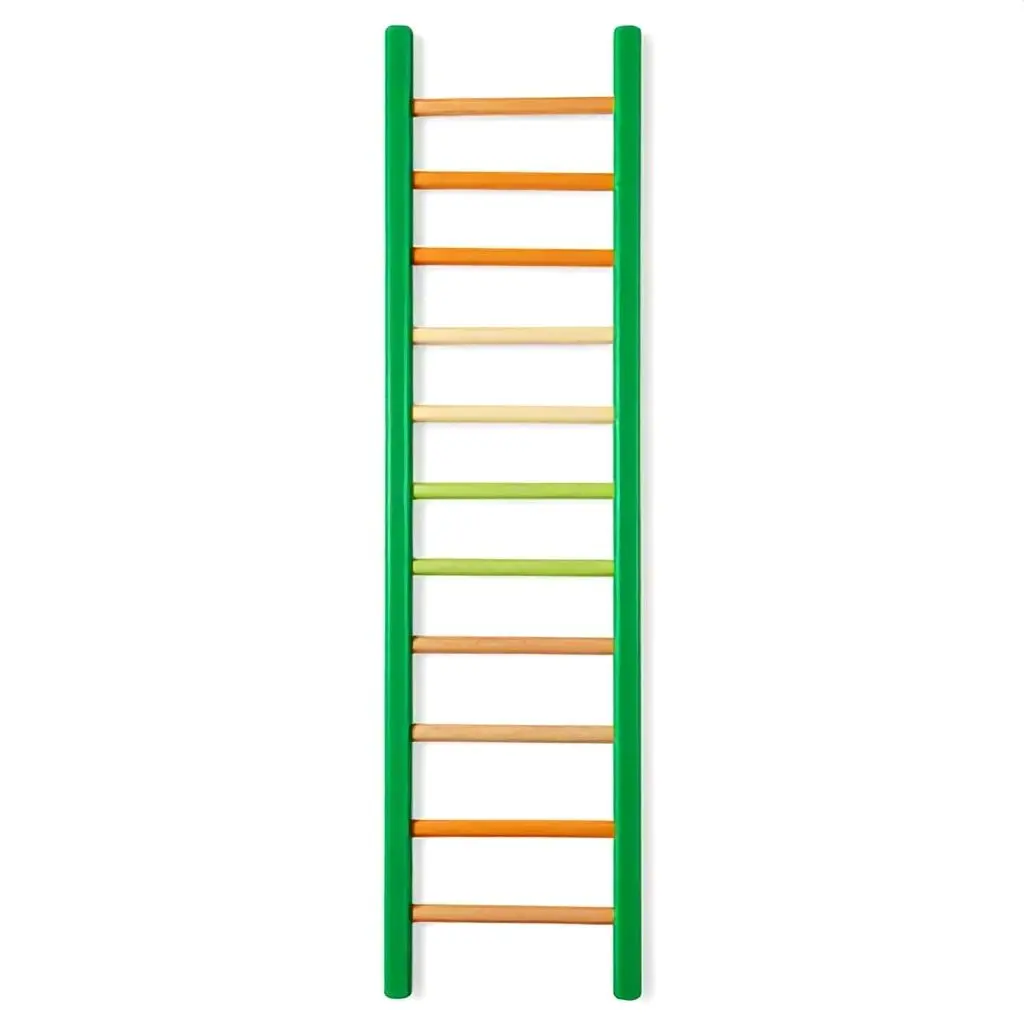
The ladder pattern creates a distinctive look with a center “rail” and crossing “rungs” that resemble a ladder. This pattern requires either a loom, fork, or pencils positioned to create multiple working points.
Basic Structure:
This pattern works best with a contrasting color scheme. Choose one color for your center rail and another for your rungs. The visual contrast makes the ladder effect more pronounced.
Using a fork or three pencils arranged in a triangle, you’ll create vertical bands for the rails and horizontal bands for the rungs. The pattern emerges as you work, creating a three-dimensional effect that stands out.
The ladder design requires more bands than simpler patterns, typically needing 60 to 80 total, but the impressive result justifies the extra effort.
Crochet Hook Method
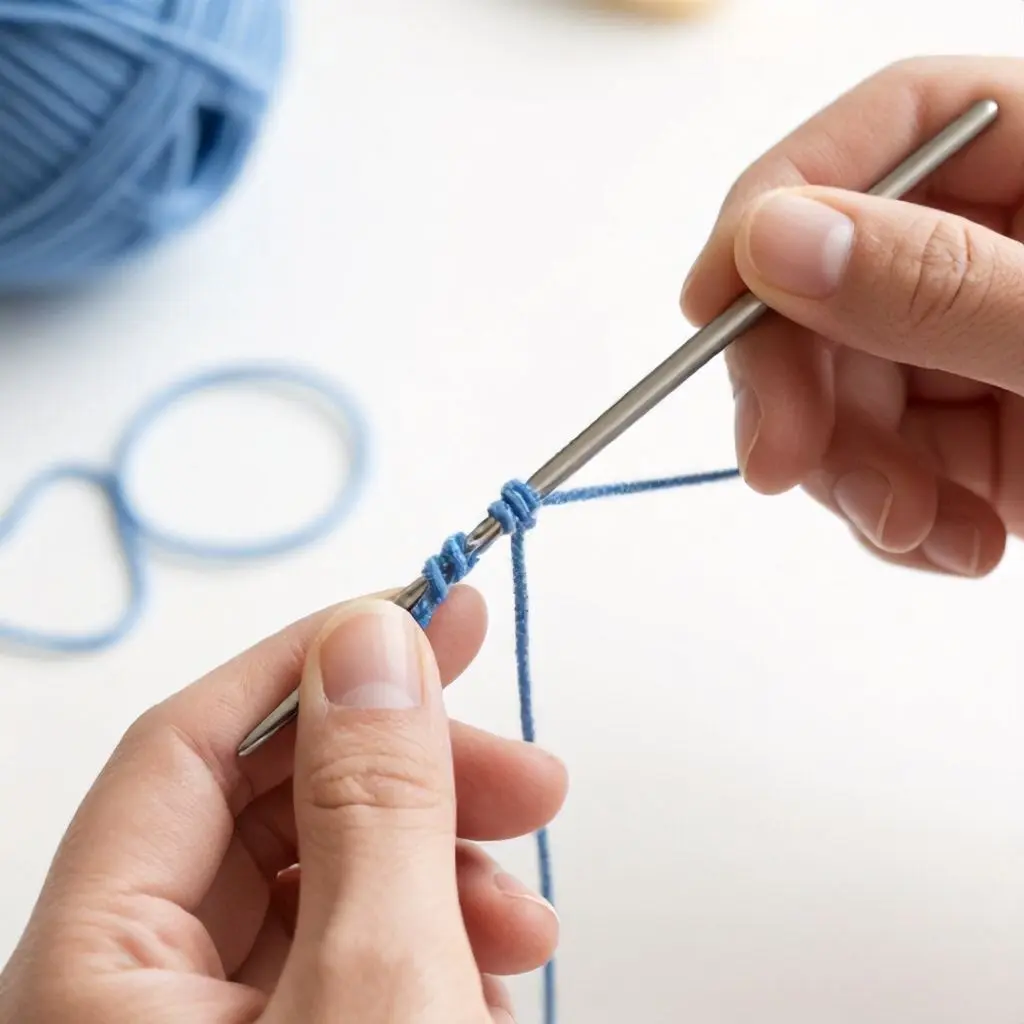
For crafters familiar with crochet or those who want maximum control over their work, the crochet hook method offers precision and ease. This technique requires only a double-ended crochet hook and your rubber bands.
Getting Started:
Hold your crochet hook in your dominant hand. Place a rubber band over the hook and pull another band through it, creating a slip knot. This forms your starting point.
Continue pulling new bands through the loops on your hook, always maintaining one or two loops on the hook as you work. The pattern grows quickly and provides excellent control over tension and appearance.
This method particularly suits people who find the finger method uncomfortable or those who want to work on intricate patterns that require precise loop manipulation.http://creative-rubber-band-bracelets-without-a-loom
Tips for Success
Several strategies will improve your rubber band bracelet making experience and help you create professional-looking results.
Maintain Consistent Tension:
Too tight, and your bracelet won’t stretch properly. Too loose, and it looks messy and may fall apart. Practice finding the sweet spot where bands hold together firmly but maintain flexibility.
Count Your Bands:
Before starting, lay out the approximate number of bands you’ll need. This prevents running out mid-project and ensures color patterns work out evenly.
Work Quickly with Finger Methods:
When using your fingers as the loom, work through the pattern relatively quickly. Your fingers can become uncomfortable if you stop for extended periods with bands stretched across them.
Take Breaks on Complex Patterns:
For intricate designs that take longer to complete, work in sessions. Using pencils or a fork allows you to set your project aside and return to it later without losing progress.
Common Mistakes and How to Avoid Them
Understanding potential pitfalls helps you create better bracelets faster and with less frustration.
Forgetting the Initial Figure Eight:
The first band must be twisted into a figure eight. Forgetting this step causes the entire pattern to fall apart. If your bracelet isn’t holding together, check whether you twisted that first band.
Pulling Bands Too Hard:
Rubber bands are durable but not indestructible. Pulling too forcefully can break them, interrupting your progress. Use firm but gentle pressure when looping bands over.
Inconsistent Pattern Following:
Especially with complex patterns, it’s easy to lose track of where you are in the sequence. Count out loud or develop a rhythm that helps you remember the pattern steps.
The Starburst Design
The starburst creates a stunning visual effect with a center point from which colors radiate outward like a star. This advanced pattern requires careful attention but produces impressive results.
This design works best when you have multiple colors and create each starburst section before connecting them into a complete bracelet. The three-dimensional appearance makes it a showstopper that receives compliments every time you wear it.
Teaching Children to Make Rubber Band Bracelets
Rubber band bracelets provide excellent opportunities for teaching children patience, pattern recognition, and fine motor skills. The activity offers valuable developmental benefits wrapped in a fun, creative package.
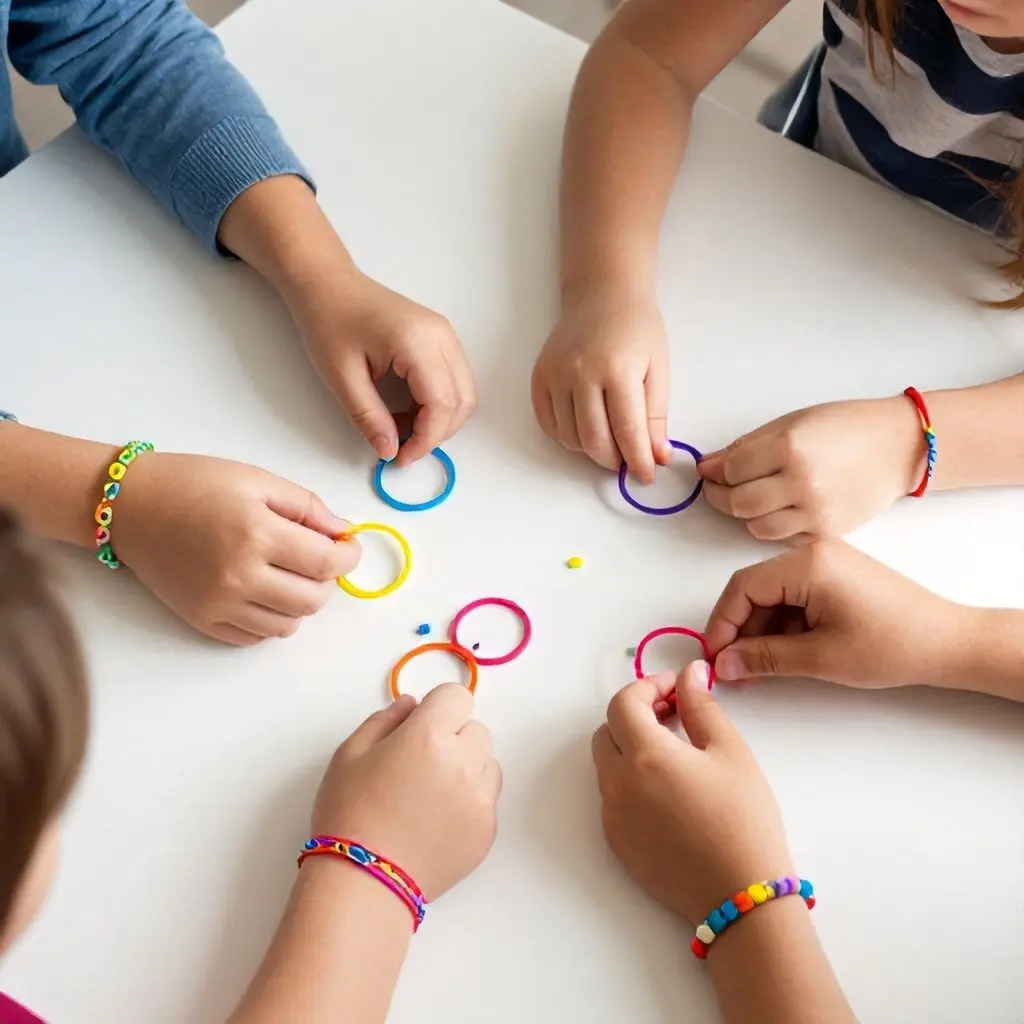
Age-Appropriate Approaches:
Children as young as five can learn the single chain or basic fishtail with adult supervision. Start with larger rubber bands if available, as they’re easier for small hands to manipulate.
For younger children, try working together. They can choose colors and hand you bands while you perform the actual looping. This collaboration teaches the pattern while building skills for independent work.
Older children and teenagers often enjoy challenging themselves with increasingly complex patterns. The sense of accomplishment from mastering difficult designs builds confidence and perseverance.
Creative Gift Ideas
Handmade rubber band bracelets make thoughtful, personalized gifts for various occasions. The low cost and high customization potential create perfect gift-giving opportunities.
Friendship Bracelets:
Create matching sets for you and your friends using your school colors or favorite color combinations. The time invested in making them demonstrates care and thoughtfulness.
Party Favors:
For birthday parties or gatherings, prepare simple single-chain bracelets in the party theme colors. Kids can wear them during the event and take them home as favors.
Holiday Gifts:
Design bracelets around holiday themes. Red and green for Christmas, orange and black for Halloween, pink and red for Valentine’s Day. Add themed charms to complete the seasonal look.
Caring for Your Rubber Band Bracelets
Proper care extends the life of your creations and keeps them looking fresh and vibrant.
Storage:
Keep finished bracelets in a cool, dry place away from direct sunlight. Excessive heat or UV exposure can degrade rubber over time, causing colors to fade and bands to become brittle.
Cleaning:
When bracelets get dirty, gently wash them with mild soap and cool water. Avoid hot water, which can cause rubber to deteriorate. Pat dry with a soft cloth rather than pulling or stretching wet bands.
Repair:
If a band breaks, you can often repair the bracelet by carefully removing the broken section and adding a new band in its place. Keep spare bands and clips on hand for quick fixes.
Beyond Bracelets: Other Rubber Band Projects
Once you’ve mastered bracelet making, apply these techniques to other creative projects.
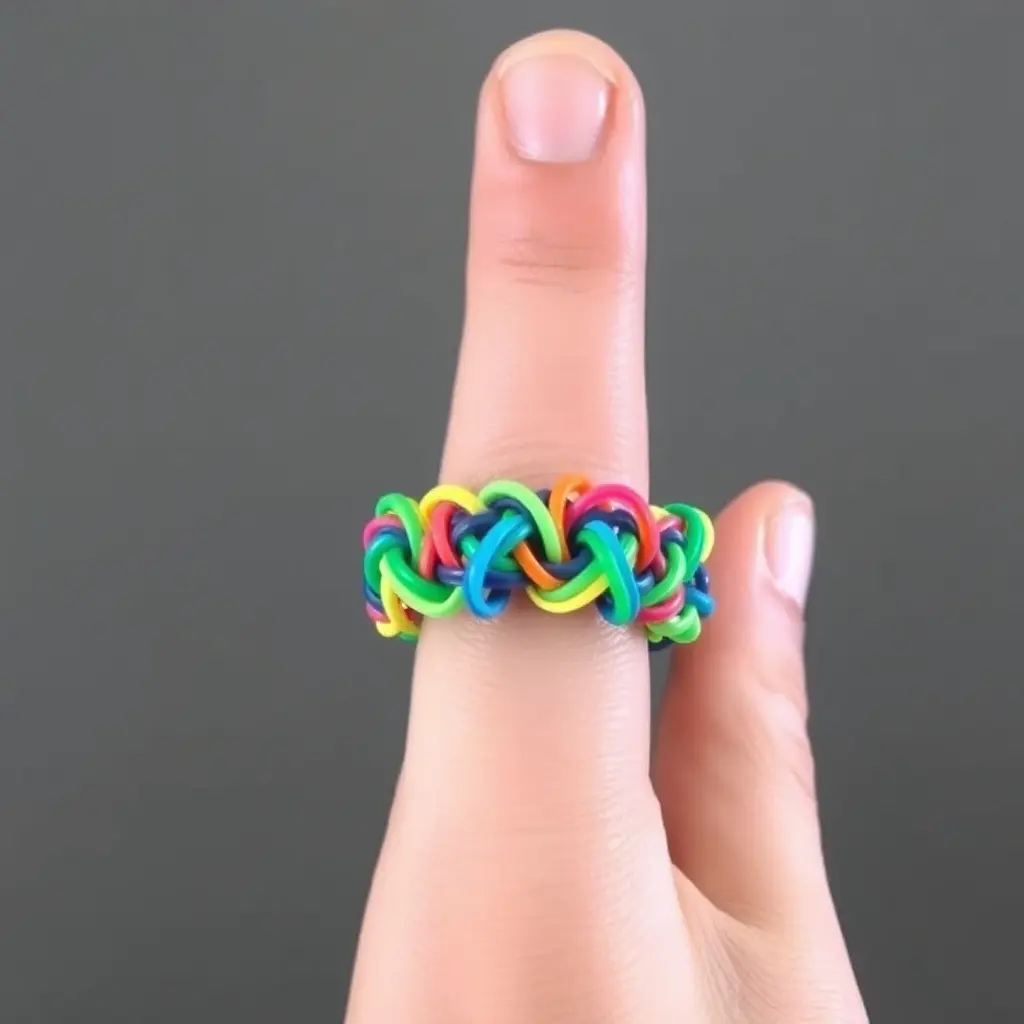
Rings:
Create mini versions of your favorite patterns using fewer bands. Rings require only 8 to 12 bands and make perfect quick projects or gifts.
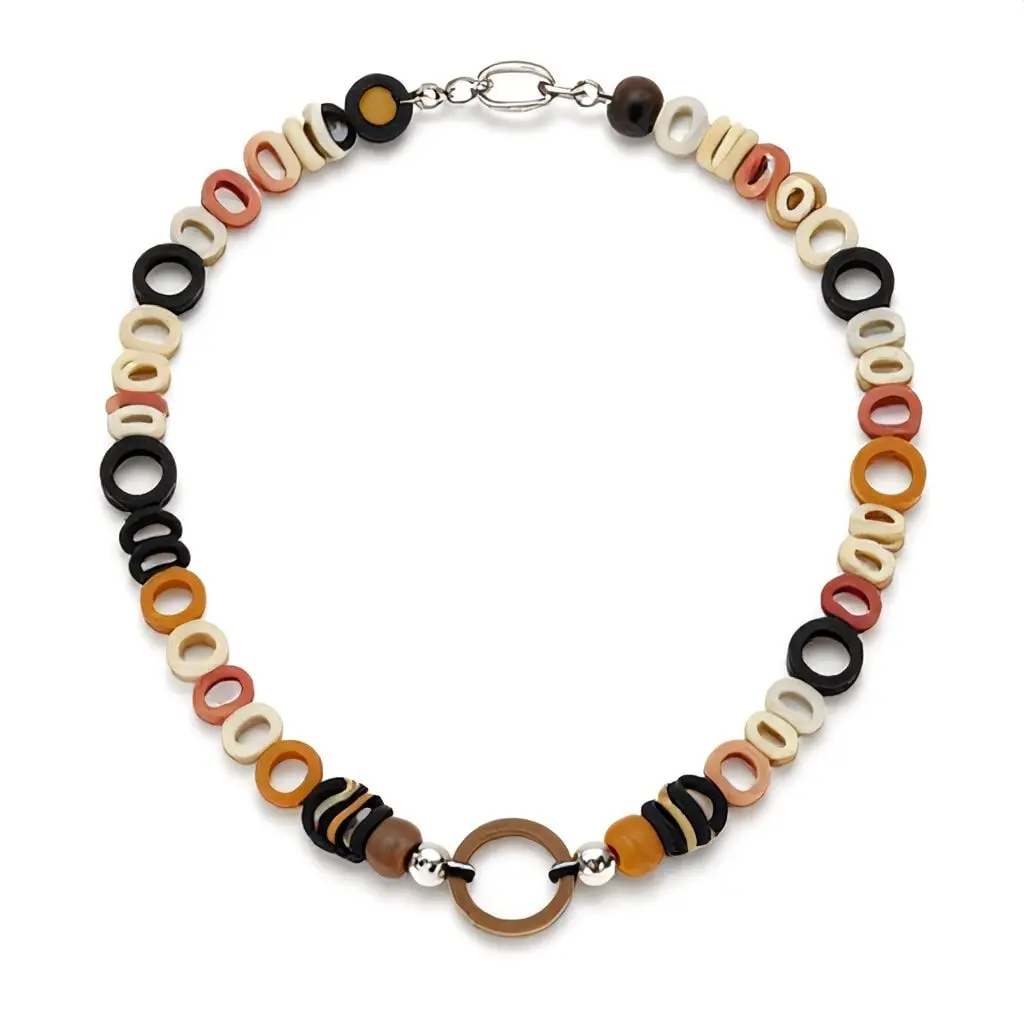
Necklaces:
Extend your patterns to necklace length by using significantly more bands. A typical necklace requires 150 to 200 bands depending on the desired length and pattern complexity.
Keychains:
Make shorter versions of patterns and attach them to keychain hardware available at craft stores. These practical items showcase your creativity while serving a useful purpose.
Hair Accessories:
Wrap rubber band designs around hair ties or create standalone pieces that can be woven into braids or used as decorative hair wraps.
Conclusion
Creating rubber band bracelets without a loom proves that creativity doesn’t require expensive equipment or specialized tools. Whether you choose to work with your fingers, repurpose pencils, or use a fork from your kitchen drawer, the possibilities for beautiful, personalized jewelry are endless.
The techniques covered in this guide provide a foundation for countless hours of creative exploration. From the simple elegance of the single chain to the intricate beauty of advanced patterns, each design offers opportunities to express your personal style and create meaningful handmade items.
Remember that every expert started as a beginner. Your first few bracelets might not be perfect, but each one teaches valuable lessons that improve your skills. The joy of watching a bracelet take shape under your fingers, the satisfaction of mastering a new pattern, and the delight of giving or wearing your handmade creation make this craft endlessly rewarding.
So gather your rubber bands, choose your favorite colors, and start creating. Your next beautiful bracelet is just a few loops away, and you don’t need anything more than what you already have at home to make it happen.
Frequently Asked Questions
Q: How many rubber bands do I need to make a bracelet? A: A basic single-chain bracelet requires 19-24 bands for children and 26-28 for adults. Fishtail patterns need 40-50 bands, while more complex designs like double fishtails require 80-100 bands. The exact number depends on your wrist size and desired tightness.
Q: Can I use regular rubber bands instead of loom bands? A: While you can technically use regular rubber bands, they’re not ideal. Loom bands are specifically designed for crafting, making them more durable, colorful, and consistent in size. Regular rubber bands may break more easily and don’t offer the same color variety. Loom band packs are inexpensive and worth the small investment.
Q: What’s the easiest pattern for beginners? A: The single chain is the simplest pattern to master and requires only basic folding and threading skills. Once comfortable with that, the basic finger fishtail is the next easiest option. Both patterns teach fundamental techniques that apply to more advanced designs.
Q: How do I keep the bracelet from falling apart? A: The key is ensuring your foundation band is twisted into a figure eight before adding other bands. Always secure both ends with proper clips, and maintain consistent tension throughout. Double-check that you’re pulling the correct (bottom) band over the top when looping.
Q: Can adults wear rubber band bracelets? A: Absolutely! Rubber band bracelets appeal to all ages. Many adults enjoy them as casual accessories, stress-relief crafts, or nostalgic fashion statements. Choose sophisticated color combinations or add elegant beads and charms to create age-appropriate designs that complement your personal style.
3 Comments