
17+ Stylish DIY Concrete Floor Ideas
DIY Concrete Floor Ideas ,Transforming concrete floors yourself offers tremendous satisfaction alongside significant cost savings compared to professional installations. With the right approach, basic tools, and quality materials, homeowners can achieve stunning floor finishes that rival expensive contractor work. DIY concrete floor projects range from simple painted designs requiring just a weekend to more complex staining and overlay applications that develop skills while delivering beautiful, durable results.
The appeal of DIY concrete flooring extends beyond budget considerations. Working hands-on with your floors allows complete creative control over colors, patterns, and finishes that reflect your personal style perfectly. The process builds confidence in home improvement abilities while creating spaces you feel deeply connected to because of your direct involvement. Modern concrete products designed specifically for homeowner application have made professional-looking results more accessible than ever, removing many technical barriers that once required specialized expertise.
Simple Painted Concrete Floors
Painting concrete represents the most accessible entry point for DIY floor transformation, requiring minimal specialized knowledge or equipment. Quality concrete floor paint creates durable, attractive surfaces suitable for basements, garages, workshops, and even living spaces when properly applied. The straightforward process involves cleaning, repairing, priming, and painting, making it achievable for beginners tackling their first concrete project.
Surface preparation determines paint adhesion and longevity more than any other factor. Begin by thoroughly sweeping and vacuuming to remove all loose debris. Degrease the floor using trisodium phosphate or concrete degreaser, scrubbing with stiff brushes and rinsing completely. Repair cracks and holes with concrete patching compound, allowing full curing before proceeding. Etch the surface with muriatic acid solution or use mechanical grinding to create texture that helps paint grip, then rinse thoroughly and allow complete drying.
Apply concrete primer designed for your specific paint type, following manufacturer directions regarding coverage and drying time. Once primer cures, roll on concrete floor paint using thick-nap rollers designed for rough surfaces. Two coats typically provide adequate coverage and durability. Consider adding texture to paint in high-traffic areas by broadcasting fine sand into the wet final coat, which improves slip resistance. Seal painted floors with clear concrete sealer after paint fully cures to enhance protection and simplify cleaning.
DIY Concrete Staining Projects
Concrete staining delivers rich, translucent color that penetrates surfaces rather than coating them, creating natural-looking floors with depth and character. Two main stain types serve DIY enthusiasts with different characteristics and applications. Acid stains react chemically with concrete to produce earth-tone colors with organic variation, while water-based stains offer broader color palettes with more predictable results. Both create permanent color changes suitable for interior and exterior applications.
Water-based stains prove more user-friendly for beginners, featuring low odor, easy cleanup, and safer handling compared to acid stains. These stains come ready to use or as concentrates requiring dilution, with application accomplished through spraying, rolling, or brushing. Multiple thin coats build desired color intensity while maintaining translucency that lets concrete texture show through. Experimentation on inconspicuous areas or sample boards helps determine dilution ratios and coat quantities needed for desired effects .https://casolia.com/diy-concrete-floor-ideas/
Acid staining requires more precaution due to caustic chemical components but creates uniquely beautiful variegated finishes impossible with other methods. Proper safety equipment including respirators, goggles, and acid-resistant gloves becomes essential. Application involves spraying diluted acid stain onto dampened concrete, allowing several hours for chemical reaction, then neutralizing with baking soda solution before thoroughly rinsing. The unpredictable nature of acid staining means results vary based on concrete composition, creating one-of-a-kind floors. Both stain types require protective sealing after application to preserve color and provide moisture resistance.
Creating Painted Patterns and Designs
Painted patterns transform plain concrete into custom artistic surfaces using basic tools and creativity. Geometric designs, checkered patterns, faux tile layouts, and border treatments add visual interest without expensive materials or specialized skills. Painter’s tape becomes your primary tool for creating crisp edges and precise patterns that look professionally executed
Popular DIY patterns include checkerboard designs achieved by taping alternating squares and painting in contrasting colors. Diagonal patterns create dynamic visual movement, while grid layouts mimic tile without grout lines to maintain. Stencils enable more complex designs including medallions, borders, and repeating motifs. Many home improvement stores stock floor stencils, or you can cut custom designs from stencil material for truly unique results.
Begin pattern projects with thoroughly cleaned, repaired concrete painted in your chosen base color. Once the base coat cures completely, measure and mark your pattern using chalk lines for accuracy. Apply painter’s tape along pattern lines, pressing edges firmly to prevent paint bleeding. Roll or brush on contrasting paint colors, removing tape while paint remains slightly wet for cleanest edges. Multiple colors can be incorporated by working in stages, allowing each color to dry before taping and painting the next. Seal completed patterns with multiple coats of clear concrete sealer to protect your artwork and simplify maintenance.
DIY Concrete Floor Polishing
Polishing concrete yourself delivers beautiful, low-maintenance floors at fraction of professional costs, though it requires renting specialized equipment and investing time in proper technique development. The process involves progressively grinding concrete with diamond abrasives of increasing fineness, followed by chemical densifiers that harden surfaces and polishing pads that create desired sheen. While labor-intensive, DIY polishing proves achievable for determined homeowners willing to work methodically.
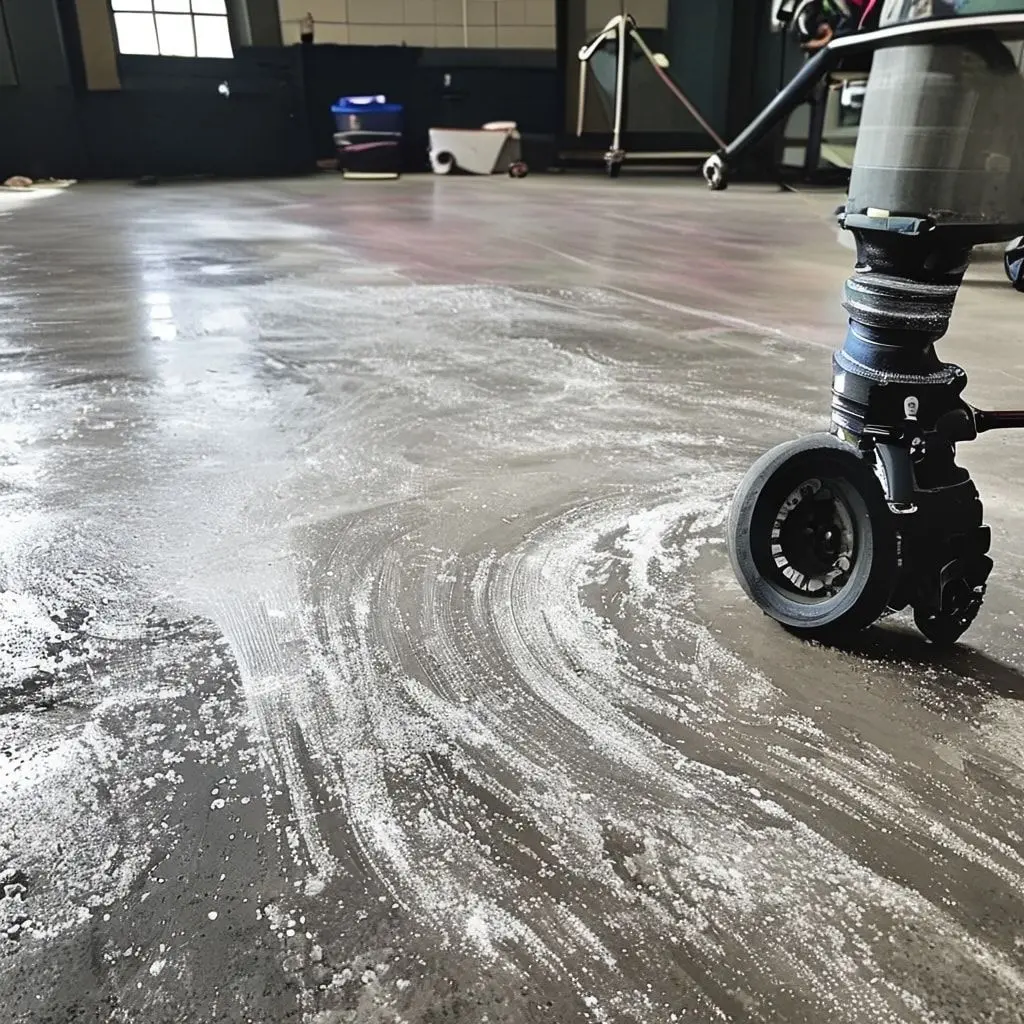
Equipment rental includes concrete grinders fitted with diamond grinding discs in various grits from coarse to fine. Smaller hand-held grinders handle edges and tight spaces. Begin with coarse 30 or 40 grit diamonds to remove surface imperfections and expose aggregate if desired. Progress through medium grits of 80, 120, and 150, then fine grits of 400, 800, and higher depending on desired polish level. Each grit level requires complete coverage of the floor, overlapping passes to ensure uniform grinding.
After final grinding stages, apply chemical densifier that penetrates concrete and reacts with calcium to harden the surface. Allow appropriate dwell time, then burnish with high-grit polishing pads to develop sheen. Multiple densifier applications may be needed for maximum hardness. The final polish level ranges from matte to high gloss based on how fine you grind and polish. Expect the entire process to take several days for average rooms when working alone. The results provide durable, beautiful floors that require only occasional damp mopping for maintenance.
Garage Floor Epoxy Application
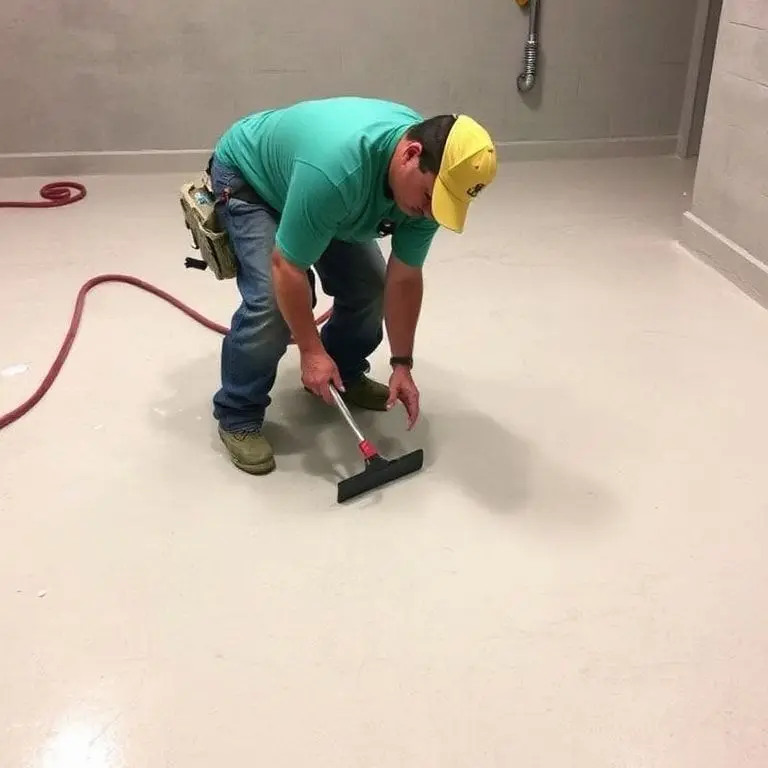
Epoxy coating systems transform garage floors from stained concrete into attractive, durable surfaces that resist chemicals, oil, and abrasion. DIY epoxy kits designed for homeowner application include everything needed except basic tools, with comprehensive instructions guiding the process. While professional installations deliver superior longevity, DIY epoxy provides excellent results when applied carefully according to product directions.

Proper surface preparation proves absolutely critical for epoxy adhesion. Thoroughly clean the floor removing all oil, grease, dirt, and existing coatings. Most epoxy kits include etching solution that opens concrete pores for mechanical bonding. Apply etching solution, scrub vigorously, and rinse completely. The concrete should feel rough like 80-grit sandpaper when dry. Grind or shot-blast stubborn areas that resist etching. Repair all cracks and ensure the floor is completely dry before proceeding, as moisture causes adhesion failure.
Mix epoxy components according to kit instructions, combining resin and hardener thoroughly. Working in sections, roll epoxy onto the floor using thick-nap rollers, maintaining wet edges to prevent lap marks. Most systems allow broadcasting decorative color flakes into wet epoxy for speckled terrazzo-like appearance. Apply flakes generously for full coverage or sparingly for subtle effect. After initial epoxy cures per manufacturer timing, apply clear topcoat to seal flakes and provide additional protection. Cure time before vehicle traffic typically ranges from three to seven days. Properly applied DIY epoxy lasts five to ten years with normal garage use.
Stenciled Concrete Floor Designs
Stenciling enables intricate designs on concrete floors without freehand painting skills or expensive stamping equipment. This technique works beautifully over painted or stained base coats, adding decorative elements that personalize spaces. Stencils come in countless patterns from simple geometric shapes to elaborate medallions, borders, and all-over designs suitable for various room sizes and styles.
Position stencils on fully cured base-coated floors, securing with spray adhesive or painter’s tape. Use stencil brushes or dense foam rollers with minimal paint, building color through multiple light applications rather than single heavy coats that bleed under stencil edges. Specialty stencil paints designed for concrete provide best results with proper opacity and durability. Work systematically across the floor, repositioning stencils carefully to maintain pattern alignment.
Consider scale when selecting stencil designs. Large rooms accommodate bigger, bolder patterns while smaller spaces suit delicate designs. Border stencils define room perimeters elegantly without overwhelming floor area. Medallion stencils create focal points in entryways or under dining tables. Multiple stencil designs can be layered for complex effects, though simpler approaches often prove more successful for beginners. Always seal stenciled floors with multiple coats of concrete sealer to protect decorative work and ensure longevity.
Concrete Overlay Application
Overlays provide DIY solutions for resurfacing damaged, stained, or outdated concrete without removal and replacement costs. These cement-based toppings bond to existing concrete, creating fresh surfaces ready for decorative treatments. Self-leveling overlays prove particularly user-friendly for DIYers, flowing smoothly to create even surfaces with minimal troweling skill required.
Surface preparation begins with thorough cleaning and profile creation through grinding or scarifying to ensure mechanical bonding. Repair significant cracks or spalling, and apply bonding primer per product instructions. Mix overlay material according to manufacturer specifications, achieving consistency similar to pancake batter for self-leveling products or thicker for trowel-applied varieties. Pour self-leveling overlay in ribbons across the floor, spreading with gauge rake to proper thickness, then allowing material to flow and self-level.
Trowel-applied overlays require more technique, using finishing trowels to spread material evenly at specified thickness. Work in manageable sections, maintaining wet edges to prevent visible seams. Some overlays accept stamping or texturing while still workable, enabling decorative effects. After appropriate curing time, stain, polish, or coat overlays as desired. Seal completed overlays to protect surfaces and enhance appearance. Overlay projects typically complete over long weekends, transforming floors dramatically while building valuable skills.
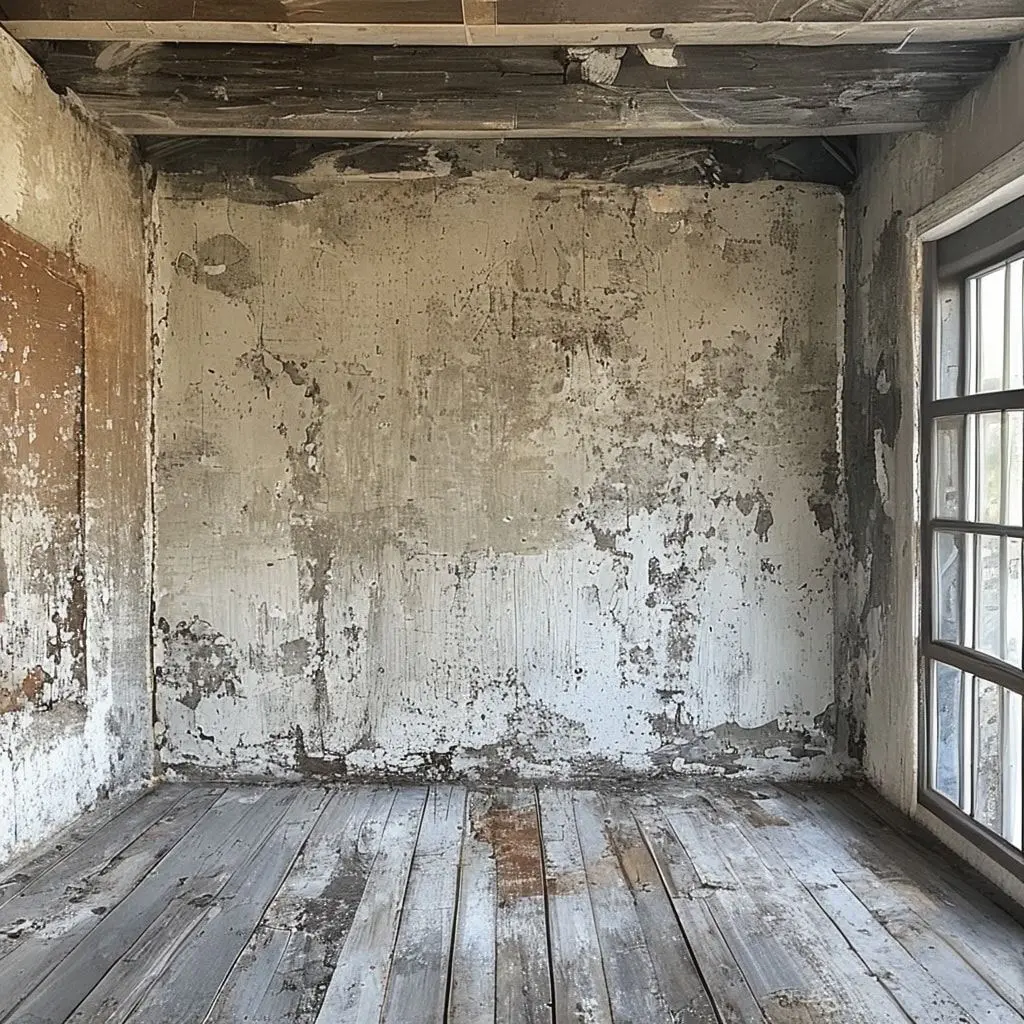
Acid-Washed Concrete Effects
Acid washing creates textured, slightly irregular surfaces with subtle color variations that add character to plain concrete. This technique involves applying diluted muriatic acid that etches surfaces, removing cement paste and exposing fine aggregate beneath. The process proves relatively simple for DIYers but requires careful safety precautions due to acid’s caustic nature.
Work in well-ventilated areas wearing complete protective gear including respirator, goggles, rubber gloves, and boots. Mix muriatic acid with water according to recommended ratios, always adding acid to water rather than reverse to prevent dangerous reactions. Apply diluted acid using acid-resistant sprayers or watering cans, working in small sections. The acid fizzes and foams as it reacts with concrete. After several minutes of reaction time, neutralize with baking soda solution, then rinse thoroughly with water, using wet vacuums to remove all residue.
The etched surface exhibits subtle texture and slightly lighter color than untreated concrete. Multiple acid applications increase etching depth for more pronounced texture. Acid washing serves as excellent preparation for subsequent staining or painting by opening concrete pores for better penetration and adhesion. The technique works well in garages, basements, and outdoor spaces where slightly irregular finishes add rustic charm. Always seal acid-washed concrete to protect the newly exposed surface and prevent future staining.
Painted Faux Tile Floors
Creating the appearance of individual tiles through painting delivers high-end looks at DIY-friendly costs. This technique uses painter’s tape to mask faux grout lines between painted tile sections, resulting in floors that convincingly mimic ceramic or stone tile from normal viewing distances. The approach works particularly well in kitchens, bathrooms, and entryways where tile naturally belongs.
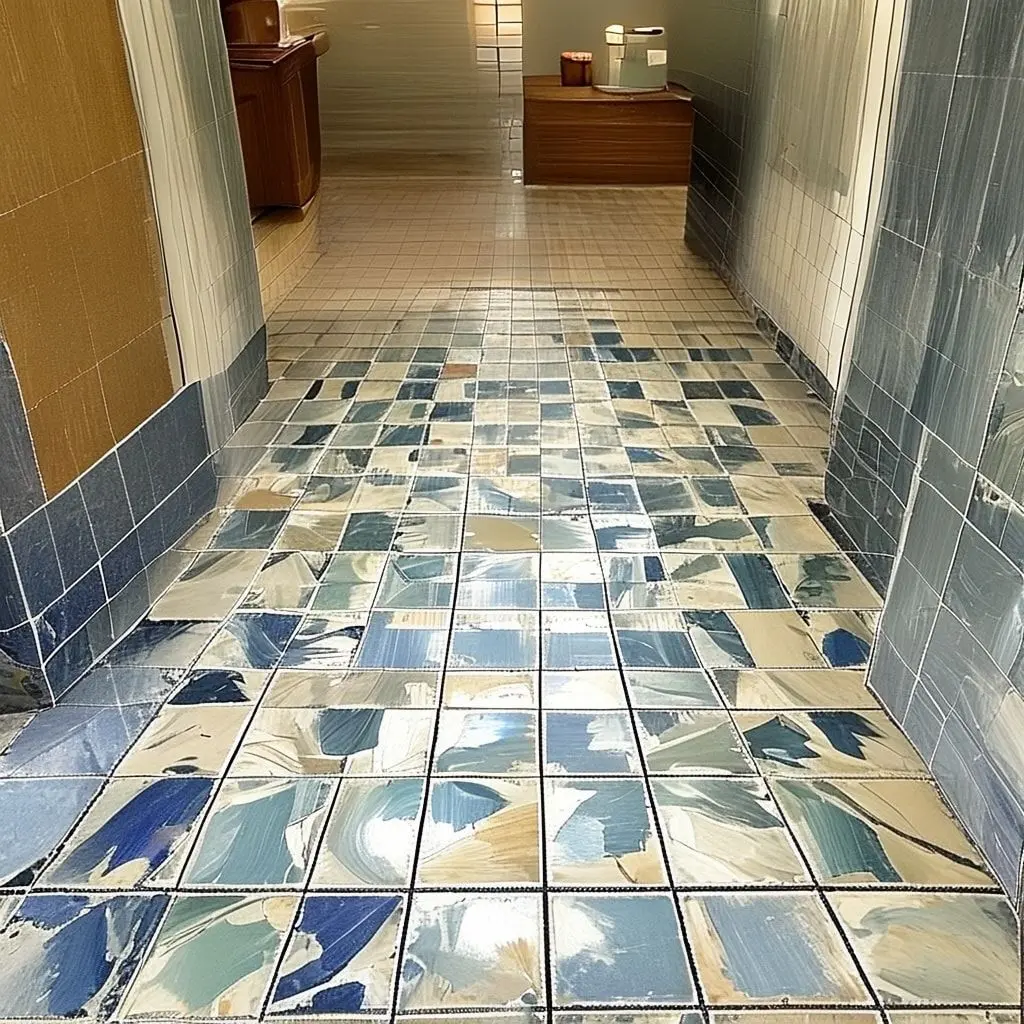
Plan your tile layout carefully, marking grout line positions with chalk lines to ensure straight, evenly spaced rows. Standard tile sizes range from 12×12 inches to 18×18 inches, with narrower 12×24 inch planks creating contemporary looks. Apply base coat paint in your chosen tile color, allowing complete curing. Tape grout lines using painter’s tape in widths from quarter inch to half inch depending on desired grout appearance. Some DIYers prefer taping the tiles themselves rather than grout lines, painting grout color over base coat.
Consider using multiple paint colors to create varied tile appearances, or apply subtle glazing techniques within individual tile sections for dimensional interest. Sponging, ragging, or dry-brushing add texture suggesting natural stone. After paint cures, carefully remove all tape. Touch up any areas where paint bled under tape edges using small artist brushes. Apply multiple coats of clear concrete sealer, which pools slightly in taped grout lines, creating convincing depth. The completed floors provide tile aesthetics with concrete’s seamless, grout-free maintenance advantages.
DIY Stamped Concrete Techniques
While professional stamped concrete requires specialized equipment, DIYers can achieve similar textured effects using alternative methods. Texture skins, rollers, and hand tools create convincing stone, brick, and tile impressions in concrete overlays or repair patches. Though limited to smaller areas than professional stamping, these techniques deliver satisfying results for patios, walkways, entryways, and accent sections within larger floors.

Stampable overlay products designed for DIY application provide several hours of working time, unlike standard concrete’s rapid setting. Mix overlay according to instructions, spreading at appropriate thickness over prepared substrate. Color can be integral within the mix or applied as dry-shake hardener to surfaces. Before overlay sets, press texture mats, skins, or rollers firmly into surfaces, creating desired patterns. Release agents prevent sticking while adding antiquing color to recessed areas.
Smaller hand tools including flexible texture mats measuring just a few square feet prove manageable for individuals working alone. Systematic pressing across the surface creates seamless patterns when tools are positioned carefully. Some DIYers improvise texturing tools from objects like crumpled paper, actual leaves, or carved foam. After initial curing, clean surfaces and apply antiquing stains if desired for enhanced depth. Seal stamped areas thoroughly to protect texture and color. While stamping limited areas proves realistic for DIYers, extensive stamping projects may justify professional assistance.
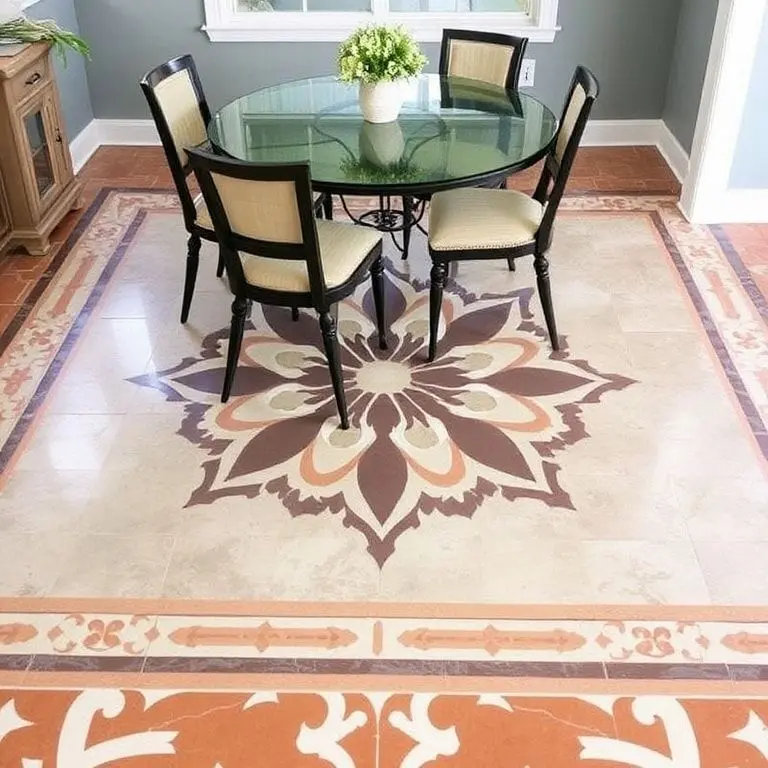
Concrete Floor Stencil Border Designs
Border treatments define room perimeters and add decorative interest without covering entire floors with pattern. Stenciled borders work beautifully in combination with solid-colored centers, creating framed effects that make spaces feel more finished and intentional. This approach requires less time and materials than all-over patterns while delivering significant visual impact.
Measure room perimeters and plan border width and positioning. Common border widths range from six to eighteen inches, with larger rooms accommodating wider borders comfortably. Mark border outlines using chalk lines for accuracy. Many border stencils feature repeating patterns designed to connect seamlessly around room perimeters. Position the first stencil section carefully in an inconspicuous corner, as any pattern mismatch where ends meet will be least noticeable there.
Apply contrasting paint colors using stencil techniques described earlier, working systematically around the room. Take time repositioning stencils accurately to maintain consistent pattern flow. Consider using metallic paints in gold, silver, or copper for elegant borders over neutral floor colors. Geometric border patterns suit contemporary spaces while flowing vine or floral designs enhance traditional interiors. Seal borders along with the rest of the floor for uniform protection and sheen.
Garage Floor with Decorative Flakes
Decorative vinyl flakes broadcast into wet epoxy or paint create attractive speckled floors reminiscent of terrazzo while hiding minor imperfections and providing slip resistance. This popular garage floor treatment proves entirely DIY-friendly, with flake chips available in countless color combinations from subtle neutrals to bold multi-color blends. Full-broadcast applications using generous flake quantities create seamless appearances, while light broadcasts produce subtle speckled effects.
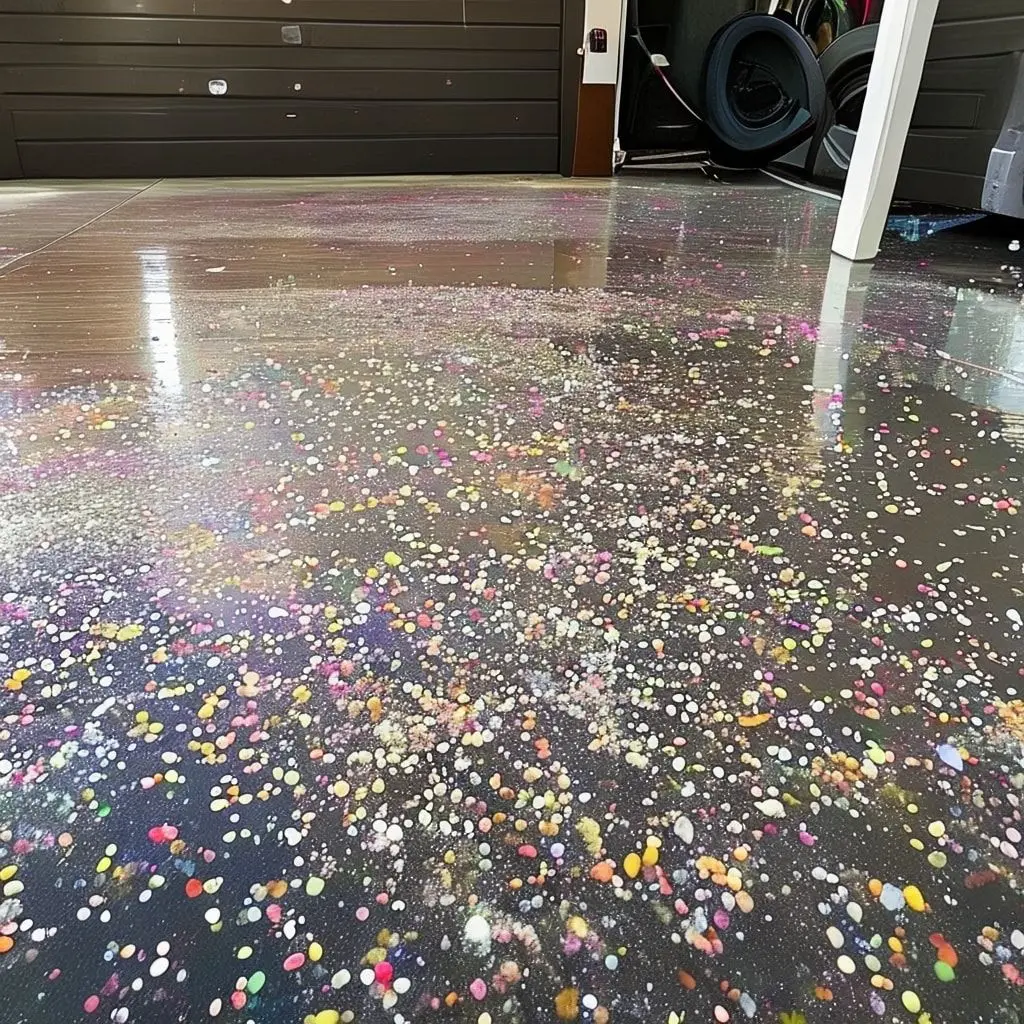
After preparing garage floors and applying base epoxy or specialized flake paint, broadcast flakes while coating remains wet. Toss flakes upward in arcing motions, allowing them to fall and embed in wet coating. Work systematically to achieve even coverage. Full broadcasts require substantial flake quantities, sometimes one pound per 50 square feet or more. Light broadcasts use far less. Excess flakes that don’t adhere fall to the floor after coating dries and are simply swept away.
After the base coat with embedded flakes cures per manufacturer timing, vacuum thoroughly to remove loose flakes. Apply clear topcoat to seal flakes permanently and provide additional protection. Some systems recommend two topcoat applications for maximum durability. The finished floor features colorful, textured appearance that hides dirt, tire marks, and other garage floor challenges while remaining easy to clean. Properly applied flake floors serve homeowners reliably for many years.
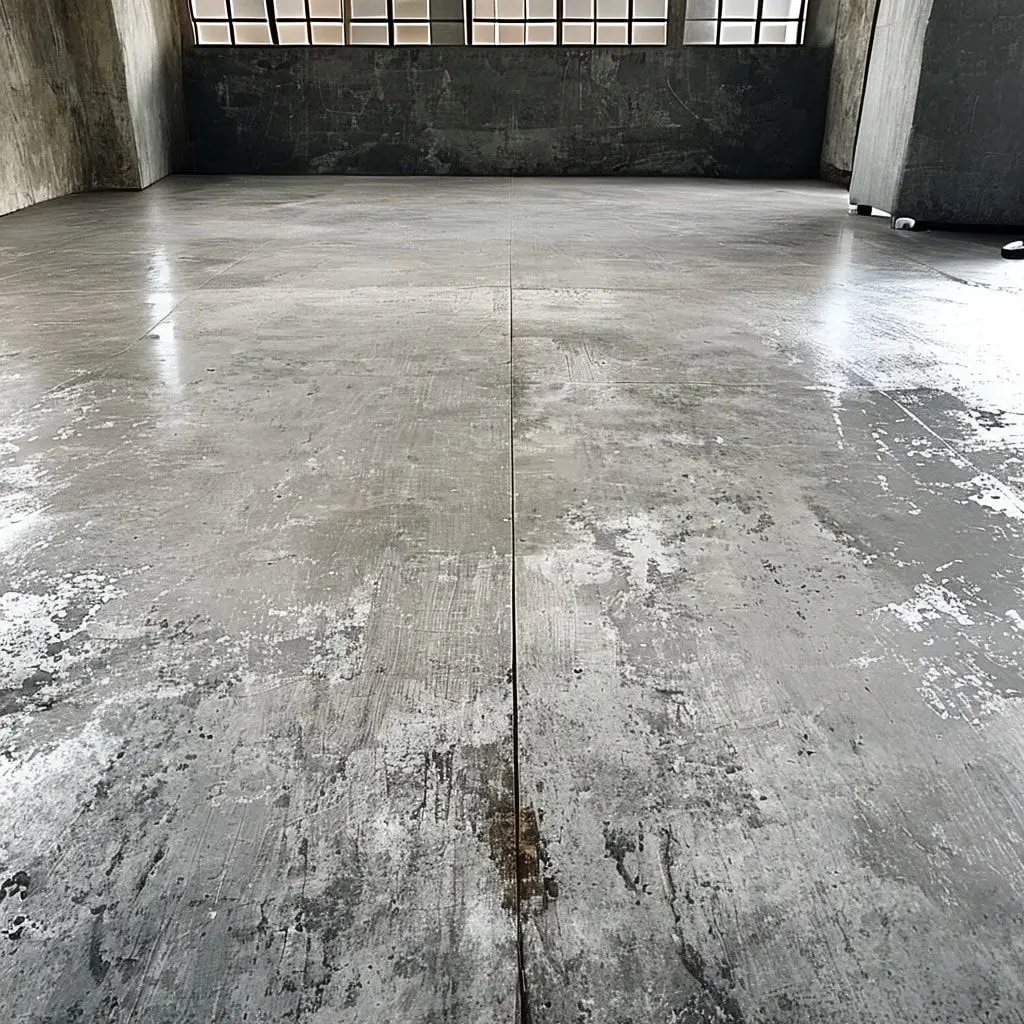
Simple Gray Concrete Sealing
Sometimes the most stylish choice involves embracing concrete’s natural gray appearance, simply sealing surfaces for protection without decorative coloring or patterns. This minimalist approach suits industrial aesthetics, modern design schemes, and practical spaces where concrete’s honest character feels appropriate. Quality sealing transforms raw concrete into refined floors that resist staining, dusting, and moisture damage.
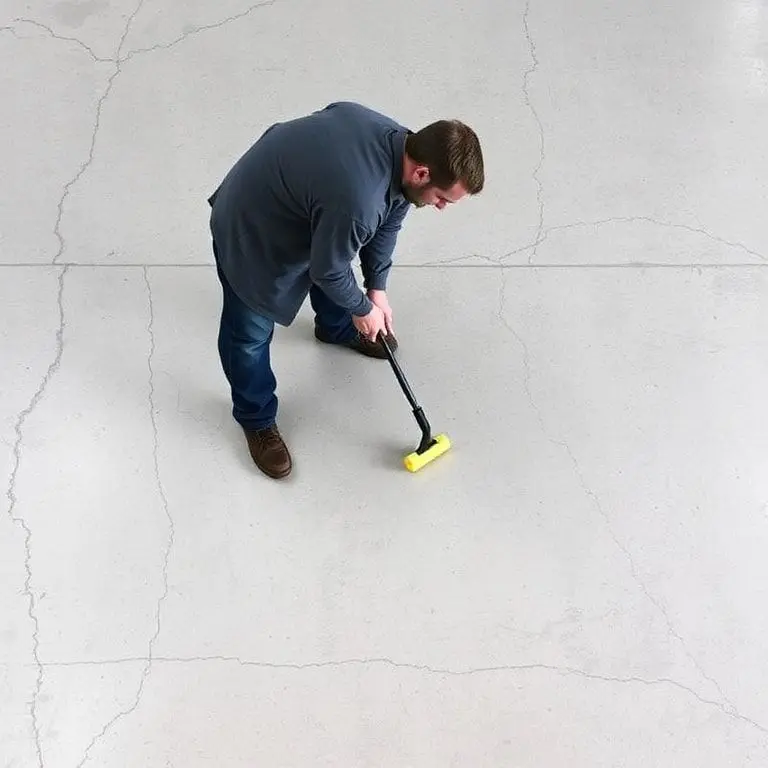
Begin with thorough cleaning using concrete degreaser and stiff brushes to remove all contamination. Repair any cracks or surface damage using appropriate patching materials. Light grinding or acid etching may improve sealer penetration on dense concrete. Allow surfaces to dry completely, as trapped moisture prevents proper sealer penetration and bonding. Test moisture levels using plastic sheet method, taping plastic to the floor overnight and checking for condensation underneath.
Choose between penetrating sealers that soak into concrete or topical sealers that form protective films on surfaces. Penetrating sealers maintain natural appearance while providing moisture and stain resistance, though they offer minimal sheen enhancement. Topical acrylic or epoxy sealers add gloss while providing surface protection. Apply sealers using roller or sprayer per product instructions, typically requiring multiple coats for adequate protection. Penetrating sealers absorb quickly while topical varieties pool and require spreading for even coverage. Properly sealed concrete floors maintain their appearance indefinitely with periodic resealing every few years.
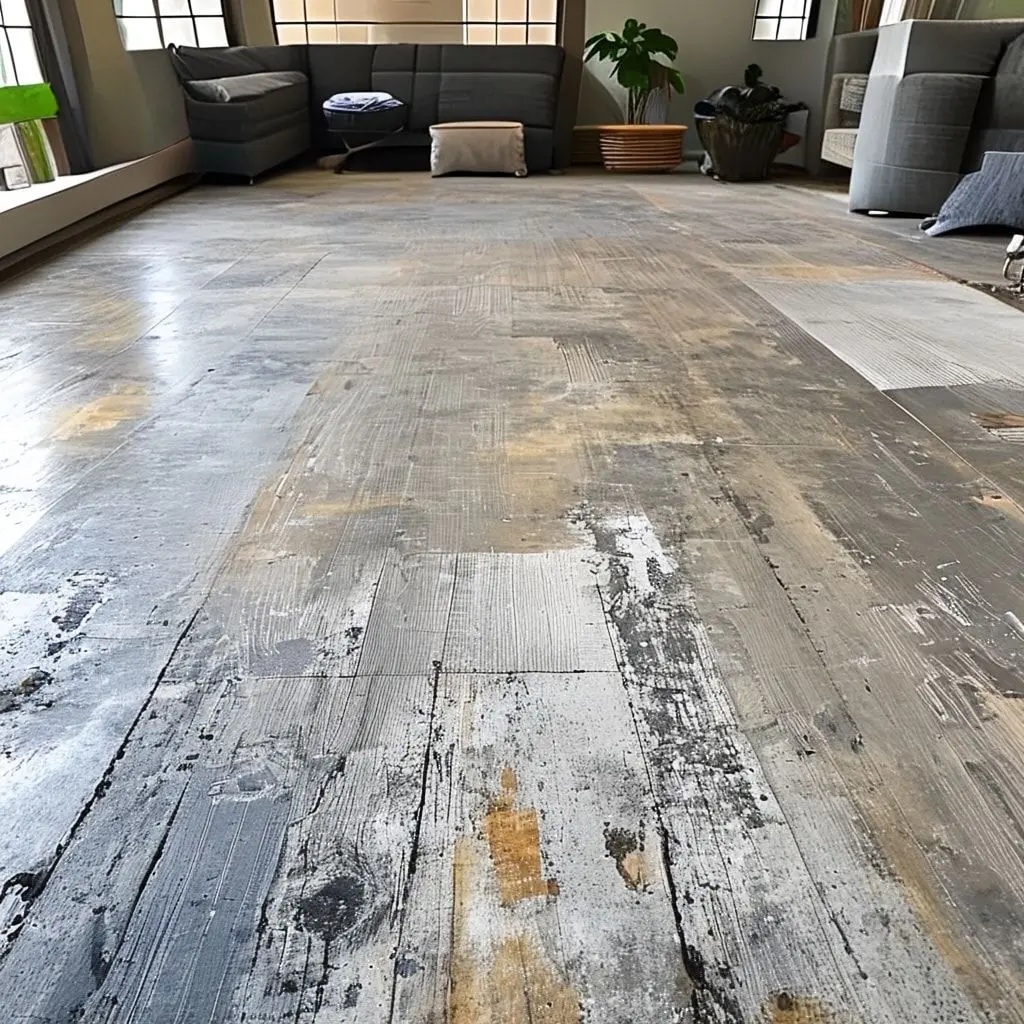
Painted Concrete with Distressed Finish
Creating intentionally aged, distressed appearances suits industrial lofts, rustic homes, and farmhouse aesthetics where imperfection adds character. This technique involves applying paint then selectively removing portions to reveal concrete beneath or expose underlayer paint colors. The result suggests years of wear and patina that soften concrete’s modern associations.
Apply base coat paint in darker color, allowing complete curing. Apply topcoat in contrasting lighter color such as white or cream over the dried base. After topcoat dries but before full curing, use various tools to distress surfaces selectively. Sandpaper removes paint from edges and high spots that would naturally experience wear. Wire brushes create linear scratches suggesting dragging or scraping. Some DIYers add deliberate paint chips using putty knives or chain strikes for enhanced authenticity.
Vary distressing intensity across the floor, with heavier removal in traffic paths and lighter distressing in protected areas for realistic wear patterns. Apply multiple paint colors in layers for complex effects where distressing reveals several underlayers. After achieving desired appearance, seal distressed floors with matte or satin finish sealer, avoiding glossy products that appear too new and pristine. The casual, lived-in character of distressed finishes disguises future wear, as new marks blend into existing patina.
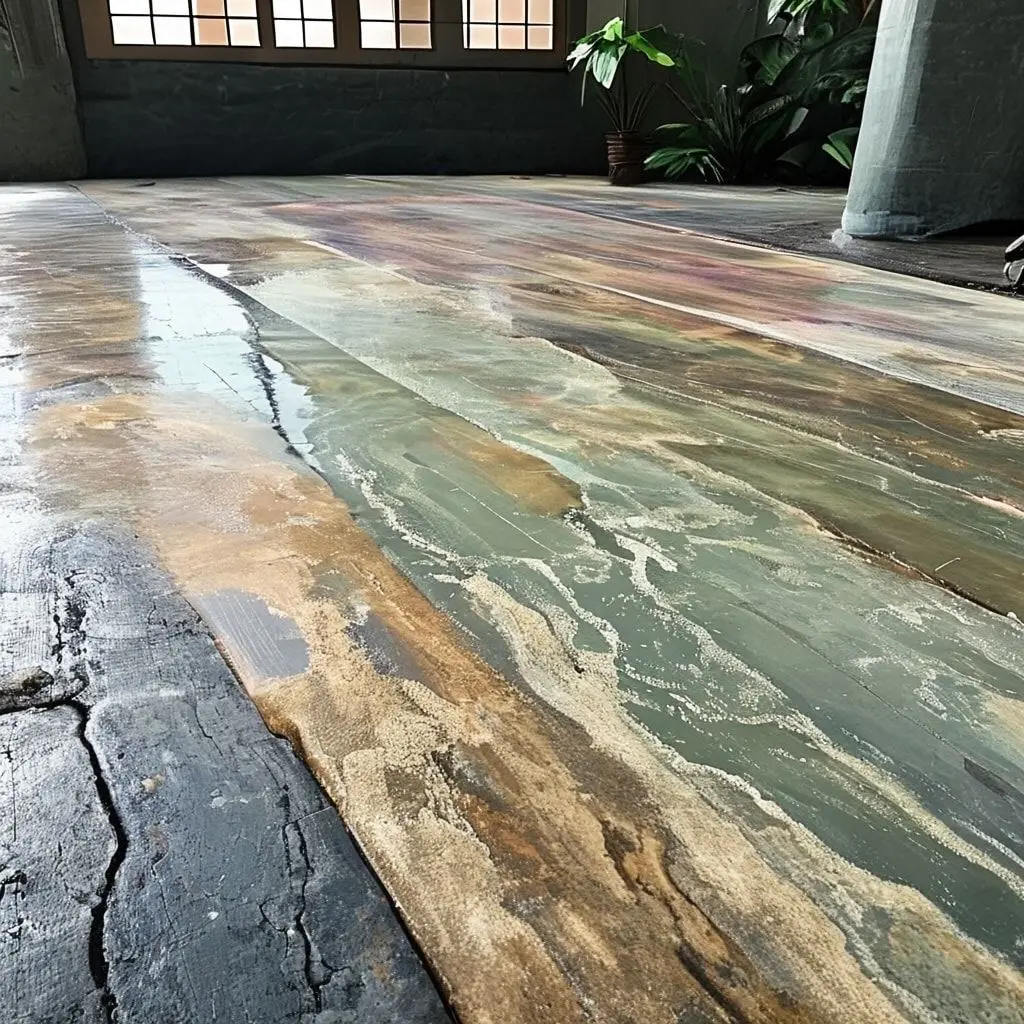
Concrete Floor Ombre Effects
Ombre techniques create gradual color transitions that add artistic sophistication to concrete floors. This approach involves blending from dark to light across floor surfaces, typically starting with saturated color along one wall and fading to pale tones or white at the opposite side. The gradient effect works with paints or stains, creating focal points that draw the eye while maintaining elegant simplicity.
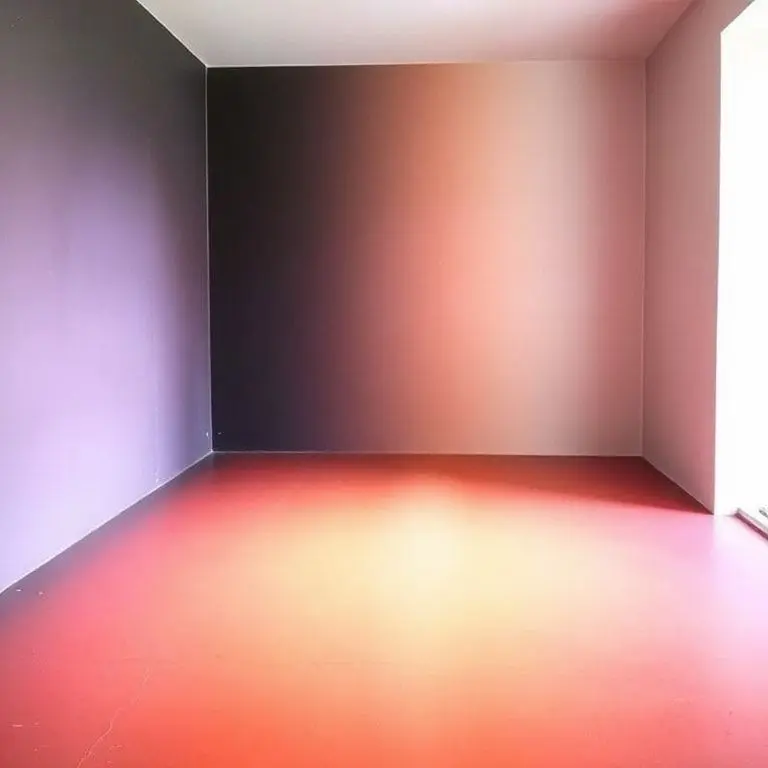
Achieving convincing ombre requires working methodically and quickly. Apply your darkest color heavily along the starting wall, rolling or brushing outward several feet. Apply your lightest color at the opposite wall, again working inward. In the center meeting area, blend where colors overlap using clean, slightly damp rollers or large brushes, working wet paint together before it dries. Some DIYers prefer mixing intermediate color shades that bridge dark and light, applying these transitional colors between endpoints for more controlled gradients.
Water-based stains blend more easily than paints due to their thinner consistency and longer open time. Work in strips across the floor width, maintaining wet edges to prevent visible lines. Multiple thin applications build color gradually for smoother transitions than attempting dramatic shifts in single coats. Practice on cardboard or scrap material helps develop blending technique before tackling actual floors. Seal completed ombre floors to protect the gradient and provide necessary moisture resistance.
Budget-Friendly Basement Floor Makeover
Basements present ideal learning environments for DIY concrete floor projects, offering low-pressure practice spaces where imperfections matter less than in main living areas. Simple painting, basic staining, or combination approaches transform damp, dreary basements into usable spaces at minimal cost. These projects build confidence and skills applicable to more visible areas later.

Address moisture issues before decorative treatments, as damp concrete causes paint and sealer failure. Test for moisture using plastic sheet method or calcium chloride tests. Install vapor barriers or apply moisture-mitigating sealers if needed. Clean basement floors thoroughly, removing efflorescence with wire brushes and white vinegar. Fill cracks and repair damaged areas. Simple painting in light colors dramatically brightens dark basements while costing just a few hundred dollars in materials.
Water-based concrete stains provide another budget-friendly option, offering broader color choices than acid stains at lower cost and with easier application. Consider two-tone designs that paint or stain border areas in darker colors while keeping center sections lighter, adding visual interest without additional expense. Seal all basement floor treatments with quality concrete sealers that provide moisture protection from below. Even basic treatments transform basements from forgotten storage areas into functional living, recreation, or hobby spaces.
Creating Your Perfect DIY Concrete Floor
DIY concrete floor projects offer rewarding combinations of creativity, skill development, and practical home improvement that few other renovations match. Starting with simpler techniques like painting or basic staining builds confidence before attempting more complex polishing or overlay applications. Each project teaches valuable lessons about surface preparation, material working characteristics, and finishing techniques that improve future results. The money saved through DIY work can be invested in higher-quality materials that enhance durability and appearance.

Success requires realistic assessment of your skill level, available time, and project scope. Simple weekend painting projects suit busy homeowners while extensive polishing demands committed effort over multiple days. Don’t hesitate to tackle portions of larger projects yourself while hiring professionals for particularly challenging aspects. Many homeowners successfully prepare surfaces and apply decorative treatments themselves, bringing in contractors only for final sealing or specialty steps requiring expensive equipment.
The techniques described provide starting frameworks for exploration rather than rigid prescriptions. Concrete’s forgiving nature allows experimentation, with most mistakes correctable through grinding, overlay application, or simply painting over unsuccessful attempts. Embrace the learning process, celebrate small victories, and enjoy creating beautiful, durable floors that reflect your personal style and hands-on effort. The satisfaction of walking on floors you transformed yourself makes DIY concrete projects deeply rewarding beyond their practical and financial benefits.
Frequently Asked Questions
What is the easiest DIY concrete floor project for complete beginners?
Simple painting represents the most beginner-friendly concrete floor project. It requires only basic tools like rollers and brushes, with straightforward steps including cleaning, repairing, priming, and painting. Quality concrete floor paint delivers durable results when properly applied, and mistakes can be corrected by sanding and repainting. Start with low-visibility areas like garages or basements to build confidence before tackling main living spaces.
How much money can I save by doing concrete floors myself instead of hiring professionals?
DIY concrete floors typically cost 50 to 75 percent less than professional installations when comparing similar finishes. Basic painted floors might cost just two to three dollars per square foot in materials versus eight to twelve dollars professionally installed. Staining costs three to five dollars DIY versus ten to twenty dollars with contractors. Savings increase with larger projects, though factor in tool rental costs and your time investment when calculating actual savings.
What tools and equipment do I need for basic DIY concrete floor projects?
Essential tools include stiff-bristled scrub brushes, shop vacuum, paint rollers with extension poles, thick-nap roller covers for concrete, paint trays, painter’s tape, and measuring tape. Additional helpful items include floor squeegee for cleaning, mixing paddles for drill, and appropriate safety gear including gloves, goggles, and respirator. Rental items for advanced projects include floor grinders, shot blasters, or concrete scarifiers. Most basic projects require minimal investment in tools already owned by DIY enthusiasts.
How long do DIY concrete floor finishes typically last before needing refinishing?
Properly applied DIY finishes last three to ten years depending on treatment type and traffic levels. Painted floors typically need repainting every three to five years in high-traffic areas. Stained and sealed concrete lasts five to seven years before requiring resealing. Epoxy garage floors endure five to ten years with normal use. Polished concrete potentially lasts decades with minimal maintenance. Regular cleaning and timely resealing extends any concrete floor finish significantly beyond minimum expectations.
Can I do concrete floor projects in occupied homes or do I need to move out?
Most DIY concrete floor projects can be completed while living in your home, though room accessibility is lost during application and curing periods. Work room by room to maintain living space functionality. Adequate ventilation during application of stains, paints, and sealers becomes essential for occupied homes. Low-VOC products minimize odors. Plan projects when you can avoid treated areas for appropriate curing times ranging from 24 hours for paints to several days for epoxy. Basements and garages prove easiest since living disruption remains minimal.


3 Comments