7+ Creative DIY Water Hose Holder Ideas
A tangled garden hose sprawled across your lawn is more than just an eyesore. It creates tripping hazards, damages grass underneath, and shortens the lifespan of your hose through unnecessary wear and kinks. The good news is that building your own water hose holder doesn’t require advanced carpentry skills or a significant investment. With basic tools and materials, you can create functional and attractive storage solutions that transform your outdoor space while keeping your garden hose organized and readily accessible.
The beauty of DIY water hose holders lies in their versatility. Whether you prefer a rustic farmhouse aesthetic, modern minimalism, or something uniquely personal, you can customize your holder to match your yard’s existing decor. From simple wall-mounted options to elaborate freestanding posts with decorative elements, these projects offer practical solutions for every skill level and budget. Most importantly, proper hose storage protects your investment by preventing sun damage, tangling, and premature deterioration that occurs when hoses remain exposed to the elements.
Classic Freestanding Wooden Post Holder
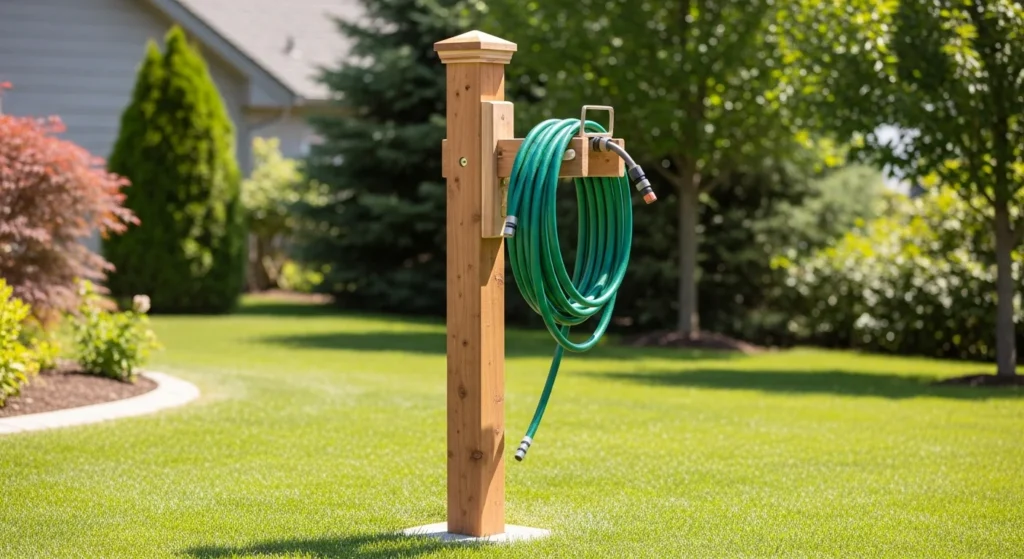
The freestanding wooden post holder represents one of the most popular DIY water hose holder ideas for good reason. This versatile design works beautifully in any location throughout your yard, particularly near spigots that aren’t close to walls or fences. The basic construction involves a 4×4 cedar or pressure-treated post, a wall-mounted hose rack attachment, and a decorative post cap to finish the top.
Building this water Hose Holder starts with selecting quality lumber that can withstand outdoor conditions. Cedar naturally resists rot and insects, making it an excellent choice despite being slightly more expensive than standard pine. Cut your post to your desired height, typically between 48 to 60 inches, depending on how high you want your hose to hang. Remember that several inches will be buried underground, so account for this in your measurements.
Installation requires digging a hole approximately 10 to 12 inches deep. Pour water into the hole until it’s about one-third full, then place your post inside. Add quick-set concrete mix directly into the hole and stir it with a paint stick until you achieve an oatmeal-like consistency. Work quickly because the concrete sets within minutes. Use a level to ensure your post stands perfectly vertical before the concrete hardens. This step is crucial because adjustments become impossible once the material sets.
After allowing the concrete to cure overnight, attach your chosen hose rack using exterior-grade wood screws. Position the rack about 12 inches from the top of the post for optimal functionality. Finish the project by applying exterior stain or paint to protect the wood from weather damage. A fence post cap adds a polished look while preventing water from seeping into the top grain of the wood, which could cause splitting during freeze-thaw cycles.
Repurposed Galvanized Bucket Hose Reel
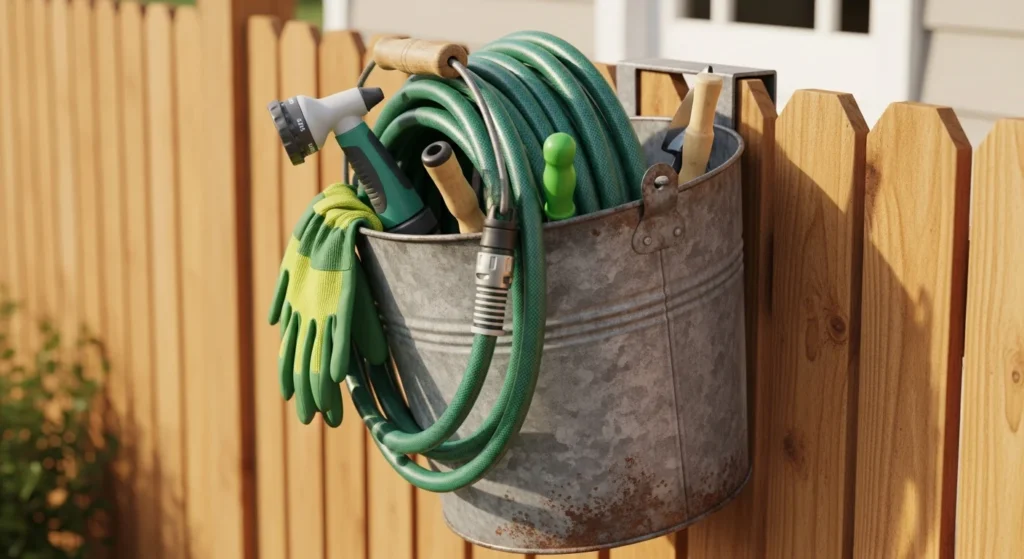
For those seeking a charming vintage aesthetic, transforming an old galvanized bucket into a water hose holder offers both functionality and rustic appeal. This project requires minimal construction skills and can be completed in less than an hour. The natural curve of the bucket perfectly cradles a coiled hose while the interior provides bonus storage space for nozzles, gardening gloves, and other small tools.
Start by selecting a bucket with a diameter that accommodates your hose length comfortably. Five-gallon buckets work well for standard 50-foot hoses, while smaller three-gallon versions suit shorter hoses or compact spaces. If your bucket shows signs of rust or wear, embrace these imperfections as they add authentic character. Alternatively, clean and paint the bucket to match your outdoor color scheme.
Mount the bucket to a sturdy surface using heavy-duty screws through pre-drilled holes in the back. Position it at a height that makes coiling and uncoiling the hose comfortable, typically around waist level. The bucket should tilt slightly forward to prevent water from pooling inside after rain. This drainage consideration helps prevent mosquito breeding and keeps stored items dry.
The beauty of this design extends beyond hose storage. The bucket’s interior becomes a convenient catchall for everything you need during watering sessions. Store spray nozzles, hand trowels, pruning shears, or packets of plant food right where you need them. This consolidated storage eliminates frustrating searches for attachments when you’re ready to water.
Decorative Garden Hose Pot with Planter
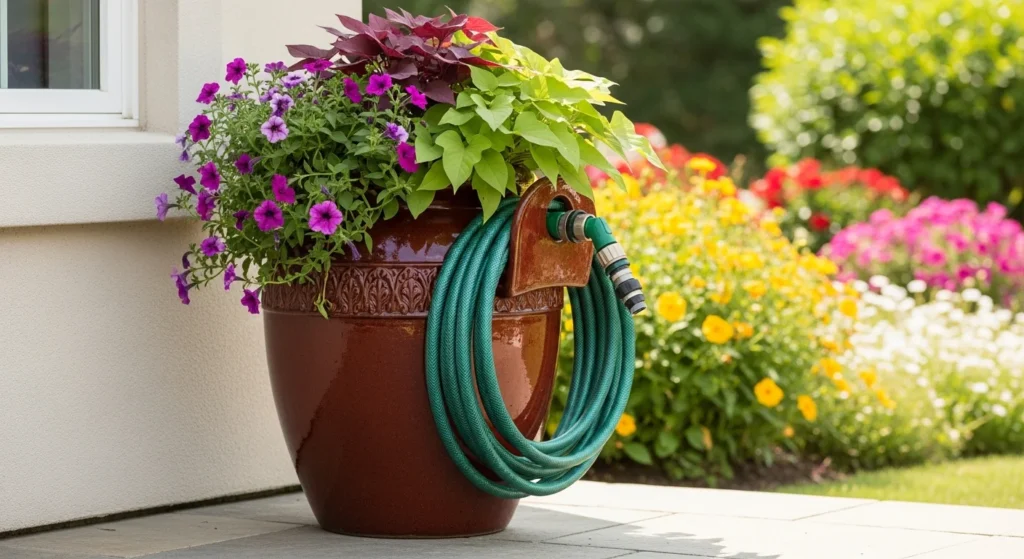
Combining form and function, a garden hose pot with an integrated planter disguises practical storage as an attractive landscape feature. This dual-purpose design transforms a necessity into a decorative element that enhances rather than detracts from your outdoor aesthetics. Large ceramic or resin planters work perfectly for this application, offering weather resistance and visual appeal.
Select a planter large enough to accommodate your coiled hose with room to spare. The pot should measure at least 18 inches in diameter for a 50-foot hose. Before beginning, drill several additional drainage holes in the bottom of the pot to prevent standing water. Proper drainage is essential because trapped moisture can promote mildew growth on your hose and attract mosquitoes.
Create an access hole near the base of the pot using a drill with a 2-inch hole saw attachment. Position this opening on the side facing your water spigot. Thread your hose through this hole, allowing it to connect to the faucet while the bulk of the hose coils neatly inside the pot. When not in use, the hose remains hidden while you enjoy the flowering plants or trailing vines you’ve placed on top.
This design offers exceptional versatility in positioning. Unlike wall-mounted options, hose pots can be relocated easily if you redesign your landscape or need storage in a different area. Choose plants that complement your climate and sun exposure. Trailing petunias, sweet potato vine, or ornamental grasses create beautiful cascading effects that draw the eye upward while keeping the hose concealed below.
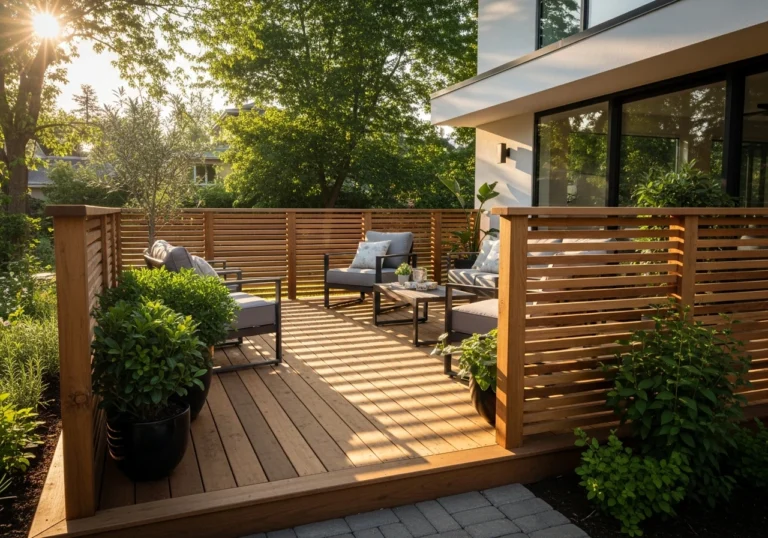
Simple Wall-Mounted Fence Bracket
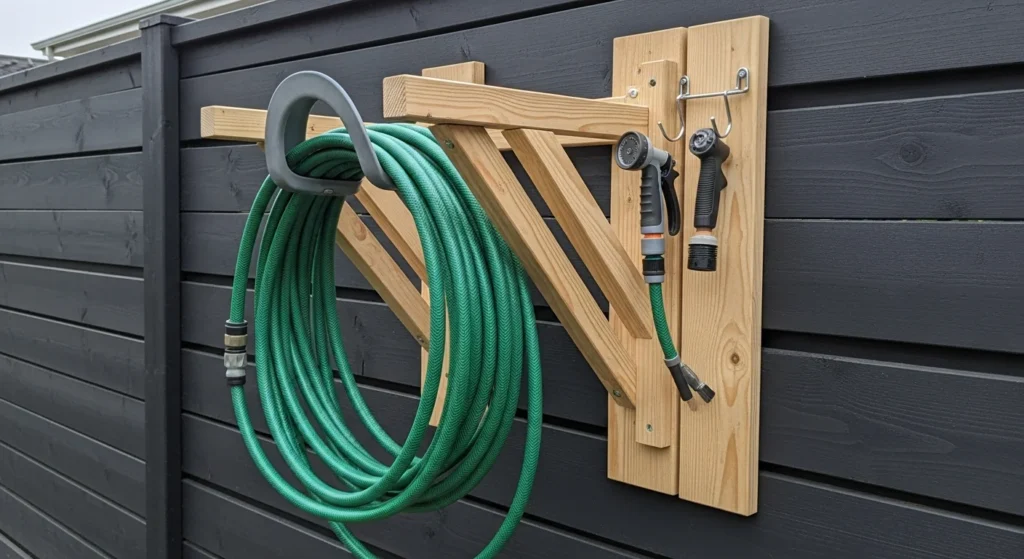
For gardeners working with limited space or tight budgets, a simple wall-mounted fence bracket provides an effective solution. This straightforward design attaches directly to existing fences, shed walls, or house siding, utilizing vertical space that would otherwise go unused. The entire project can be completed for under twenty dollars using basic lumber and hardware.
Construct the bracket using three pieces of scrap wood: one vertical backboard and two angled support arms. The backboard attaches to your fence post or wall, while the support arms extend outward to create a cradle for your coiled hose. Cut the support pieces at 45-degree angles where they meet the backboard for maximum stability. This angled construction distributes the hose’s weight evenly and prevents sagging over time.
Attach the bracket using pocket hole screws or standard exterior wood screws driven into studs or fence posts. The vertical backboard should be at least 18 inches long to provide adequate support. Position the lower support arm about 12 inches from the bottom of the backboard, with the upper arm near the top. This spacing accommodates most standard garden hoses when coiled.
Consider adding decorative elements to elevate this utilitarian design. Paint or stain the wood to match your fence or house trim. Add small hooks along the backboard for hanging spray nozzles, hand tools, or a small bucket. Some builders attach house numbers or decorative metal accents to transform a simple bracket into an attractive focal point.
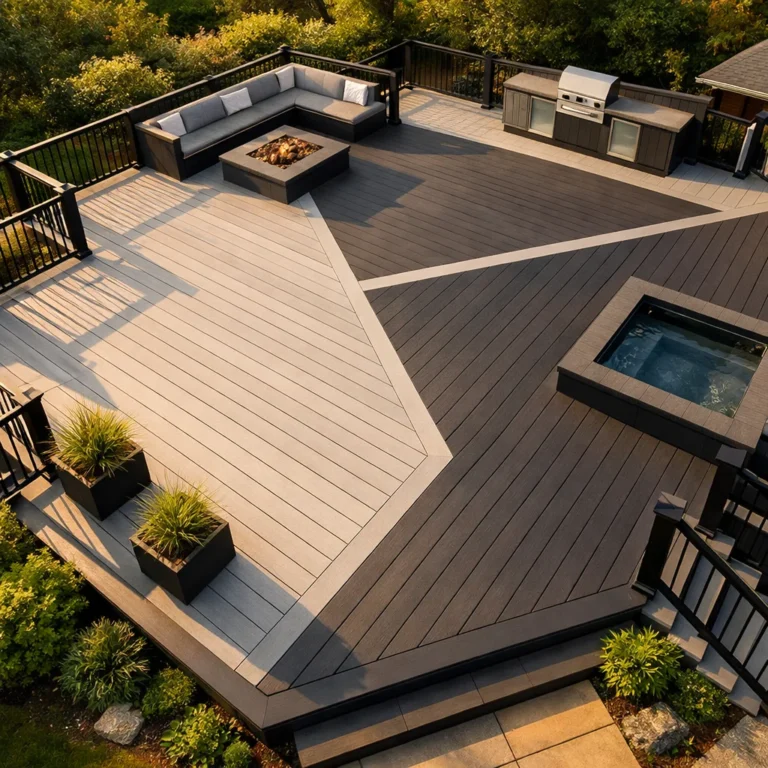
Under-Deck Storage Drawer System
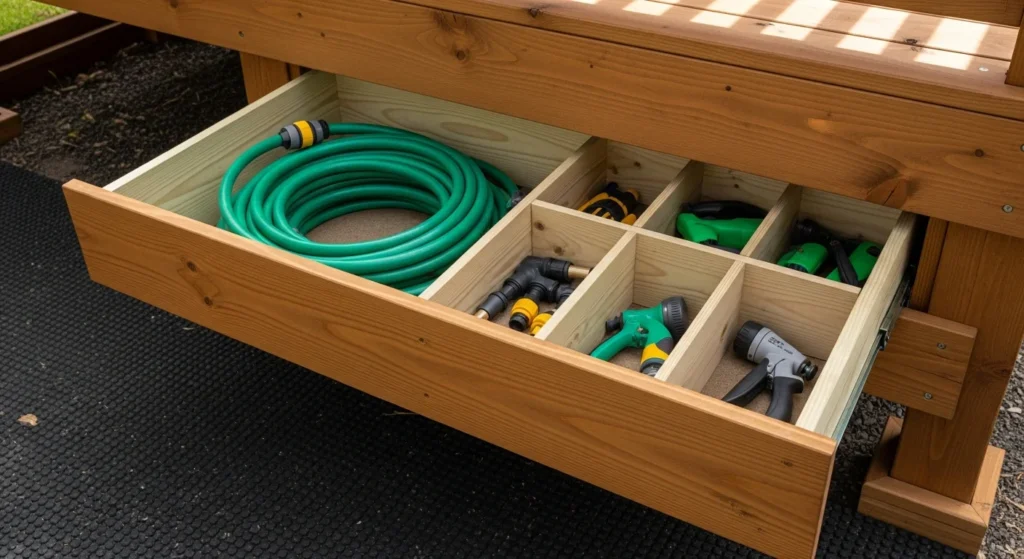
Homeowners with elevated decks possess valuable hidden storage potential beneath their outdoor living spaces. An under-deck drawer system maximizes this often-wasted area while keeping your hose completely out of sight when not needed. This intermediate-level project requires basic carpentry skills but delivers professional-looking results that add functionality to your deck.
Design your drawer to fit the specific dimensions of your under-deck area. Measure carefully, accounting for joists, supports, and any plumbing or electrical components. Build a sturdy frame using pressure-treated lumber that can withstand ground moisture and occasional water exposure. Install the drawer on heavy-duty slides rated for outdoor use and capable of supporting the combined weight of your coiled hose and any additional items you plan to store.
Weather-resistant construction is paramount for this project. Apply multiple coats of exterior sealant to all wood surfaces, paying special attention to end grain where moisture absorption occurs most readily. Consider lining the drawer bottom with outdoor carpet or rubber matting to protect your hose from splinters and provide cushioning.
The drawer should extend fully for easy access to your entire hose length. Add dividers inside to create separate compartments for different hoses, nozzles, fertilizer attachments, and other watering accessories. This organization prevents tangling and makes finding specific items effortless. Install a simple latch or lock mechanism if you want to secure the drawer when not in use.
Vintage Tire Rim Wall Mount
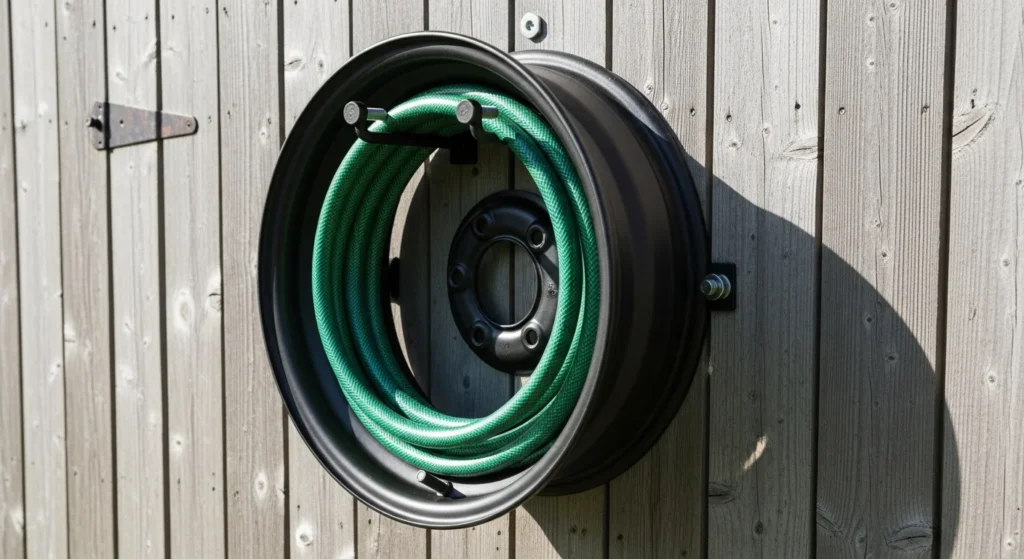
Repurposing old tire rims creates an industrial-chic water hose holder that costs virtually nothing while adding unique character to your outdoor space. This creative approach appeals to gardeners who appreciate upcycled design and want their storage solutions to serve as conversation pieces. Steel tire rims prove surprisingly durable and perfectly shaped for holding coiled hoses.
Source your tire rim from junkyards, auto repair shops, or online marketplaces where they’re often available for free or minimal cost. Clean the rim thoroughly, removing any residual rubber, grease, or road grime. Steel wool or a wire brush attachment for your drill makes quick work of stubborn buildup. Once clean, assess whether the rim needs rust treatment or if the patina adds desirable rustic appeal.
Secure the rim to a fence, shed wall, or house siding using heavy-duty lag bolts. Pre-drill holes through the rim at three or four equidistant points around the circumference. These mounting points distribute stress evenly and prevent the rim from spinning when you coil or uncoil your hose. Ensure your mounting surface can support the weight by anchoring into studs or solid fence posts.
Customize your tire rim water hose holder through creative finishing techniques. Spray paint creates a sleek modern look in colors like matte black, metallic copper, or vibrant hues that pop against your house or fence color. Alternatively, embrace the raw metal aesthetic for an authentic industrial vibe. Some DIY enthusiasts weld multiple rims together to create sculptural holders capable of organizing several hoses.
Pallet Wood Tool Station with Hose Storage
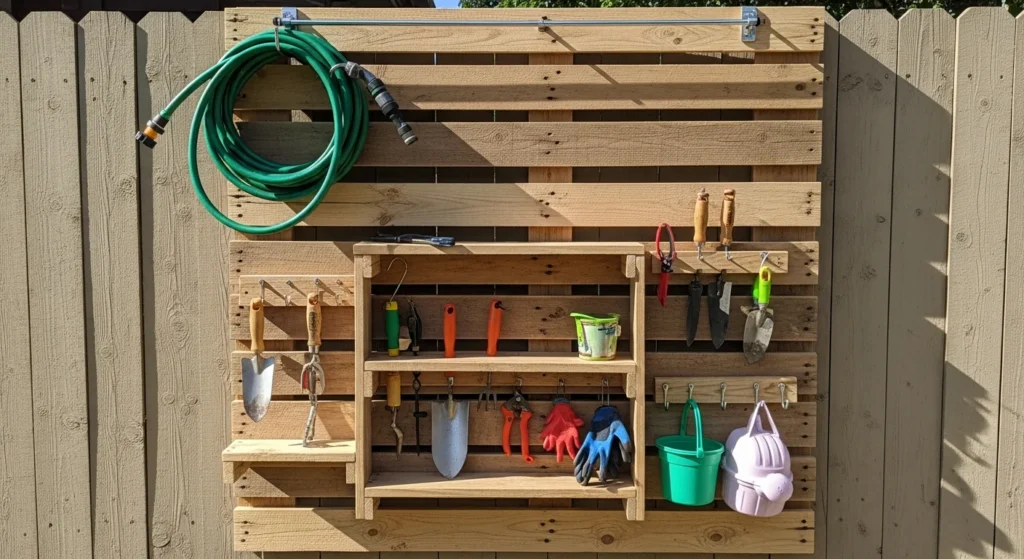
Reclaimed pallet wood offers endless possibilities for creating comprehensive garden tool organization systems that include dedicated hose storage. This all-in-one solution centralizes your watering equipment, hand tools, and supplies in a single attractive unit. Beyond practical benefits, pallet projects align with sustainable practices by giving new life to materials that might otherwise end up in landfills.
Disassemble your pallet carefully, removing nails and setting aside boards in good condition. Select pieces free from excessive splitting, rot, or chemical staining. Sand rough surfaces to prevent splinters while maintaining the rustic texture that makes reclaimed wood appealing. Arrange boards to create a backing panel approximately 36 to 48 inches tall.
Install a utility hook near the top of your pallet board for hanging your coiled hose. Below this, attach smaller hooks, shelves, or tool holders for organizing trowels, pruners, gloves, and watering attachments. Create a small shelf using horizontal pallet boards to hold fertilizer containers, plant markers, or a watering can. The modular nature of pallet wood allows complete customization based on your specific storage needs.
Finish your pallet station with exterior-grade stain or leave the wood natural for maximum rustic appeal. Mount the completed unit to a fence or exterior wall where it’s easily accessible from your garden. The vertical design minimizes ground space usage while providing impressive storage capacity. As your needs evolve, simply add or rearrange components without rebuilding the entire system.
Conclusion
Creating your own DIY water hose holder transforms a mundane necessity into an opportunity for creative expression and practical problem-solving. Whether you choose the classic elegance of a freestanding wooden post, the vintage charm of a repurposed bucket, or the comprehensive organization of a pallet tool station, each project delivers tangible benefits beyond simple storage. Your hose lasts longer when protected from sun exposure and ground contact. Your yard looks more polished without tangled hoses creating visual clutter. Most importantly, you gain the satisfaction of building something useful with your own hands.
The projects outlined here represent starting points rather than rigid templates. Feel free to adapt dimensions, materials, and decorative elements to suit your specific needs, available space, and personal aesthetic preferences. Consider your yard’s layout, the length of hose you typically use, and how frequently you need access when selecting your ideal design. Some situations call for portable solutions, while others benefit from permanent installations that anchor your garden’s organizational framework.
Remember that proper installation and quality materials determine your holder’s longevity and performance. Invest in exterior-grade fasteners that won’t rust. Use weather-resistant wood or properly seal standard lumber. Take time to ensure level installation and secure mounting. These foundational steps ensure your DIY water hose holder serves you well for many seasons.
Starting your first DIY water hose holder project might feel daunting, but the skills you develop transfer to countless other outdoor improvements. Begin with simpler designs if you’re new to outdoor building projects, then tackle more ambitious plans as your confidence grows. Your garden deserves organized, accessible watering tools, and your creative vision deserves expression in every corner of your outdoor space.
Frequently Asked Questions
What materials work best for outdoor water hose holders?
Cedar, pressure-treated lumber, and galvanized metal are ideal for outdoor water hose holders because they resist rot, insects, and weather damage. Cedar naturally repels moisture and insects without chemical treatment, making it a premium choice. Pressure-treated wood offers excellent durability at a lower cost but requires proper sealing. Galvanized metal buckets, tire rims, and steel brackets provide rust resistance and can withstand years of outdoor exposure. Always use exterior-grade screws and hardware to prevent rust and failure.
How deep should I set a freestanding water hose holder post?
A freestanding water hose holder post should be buried 10 to 12 inches deep for adequate stability. This depth prevents the post from shifting during use or tipping over when you pull the hose. Use quick-set concrete to secure the post, filling the hole after adding water first. Always check that your post is perfectly level using a carpenter’s level before the concrete sets. For taller posts or locations with high wind exposure, consider going slightly deeper for added security.
Can I make a water hose holder without concrete?
Yes, several water hose holder designs don’t require concrete installation. Wall-mounted brackets attach directly to fences, sheds, or house siding using lag bolts. Repurposed buckets or decorative pots simply sit on the ground near your spigot. Under-deck drawer systems integrate into existing structures. Fence spike products allow you to drive posts into the ground without digging or concrete. Choose your method based on soil type, holder weight, and how permanent you want the installation.
How do I prevent my wooden water hose holder from rotting?
Prevent wooden water hose holder rot by using naturally resistant wood like cedar or redwood, or choose pressure-treated lumber designed for ground contact. Apply multiple coats of exterior-grade stain or sealant to all surfaces, especially end grain where moisture penetrates most easily. Install a decorative post cap on top of freestanding posts to prevent water from entering the wood grain. Ensure proper drainage around the base so water doesn’t pool against the wood. Reapply protective finishes every two to three years.
What is the ideal height for mounting a water hose holder?
The ideal mounting height for a water hose holder is between 36 to 48 inches from the ground, roughly waist to chest height for most adults. This positioning makes coiling and uncoiling your hose comfortable without excessive bending or reaching. Adjust based on your height and the hose weight you typically handle. For wall-mounted reels, position them slightly higher if you want the coiled hose to hang clear of ground debris. Consider clearance below the water hose holder if you plan to store a watering can or bucket underneath.