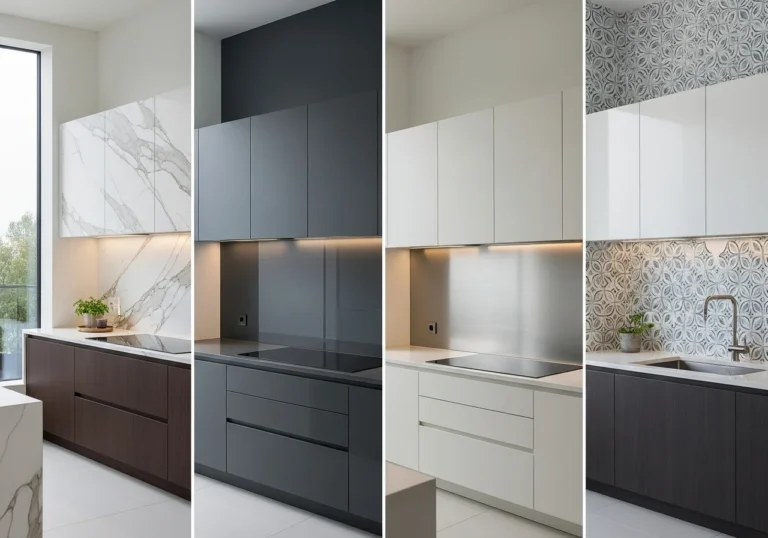
8+ Affordable Insulation Ideas for Your Home
Rising energy costs have become a significant concern for homeowners across the country. When winter cold seeps through walls or summer heat invades living spaces, the discomfort is matched only by the financial burden of skyrocketing utility bills. Affordable Home Insulation Ideas The good news is that proper insulation can dramatically reduce these expenses while improving home comfort year-round.
Many homeowners mistakenly believe that effective insulation requires a substantial investment or professional installation. While comprehensive insulation projects can be costly, numerous affordable solutions exist that deliver impressive results without emptying your wallet. Whether you’re looking to tackle a complete home insulation overhaul or simply want to address problem areas, understanding your options is the first step toward a more energy-efficient home.
This comprehensive guide explores budget-friendly insulation ideas that balance effectiveness with affordability. From simple weatherproofing techniques that cost less than twenty dollars to slightly larger investments that pay for themselves through energy savings, these solutions cater to various skill levels and budgets. You’ll discover how to identify where your home loses the most energy, which materials offer the best value, and how to implement these improvements yourself or know when professional help makes sense.
Understanding the Basics of Home Insulation
Before diving into specific solutions, it’s helpful to understand how insulation works and why certain areas of your home deserve priority attention. Insulation functions by creating a thermal barrier that slows heat transfer between your home’s interior and the outside environment. During winter, it prevents warm air from escaping, while in summer, it blocks external heat from penetrating your living spaces.
The effectiveness of insulation is measured by its R-value, which indicates resistance to heat flow. Higher R-values provide greater insulating power. Different areas of your home require different R-values based on climate and building codes. For instance, attics typically need R-values between R-30 and R-60, while exterior walls generally require R-13 to R-21.
Understanding where your home loses the most energy helps prioritize insulation efforts. Heat naturally rises, making attics a primary escape route for warm air. Windows and doors account for significant energy loss through gaps and poor sealing. Basement and crawlspace walls often lack adequate insulation, creating cold floors and drafty conditions. Identifying these problem areas allows you to target improvements where they’ll have the greatest impact.
Seal Air Leaks with Weatherstripping and Caulking
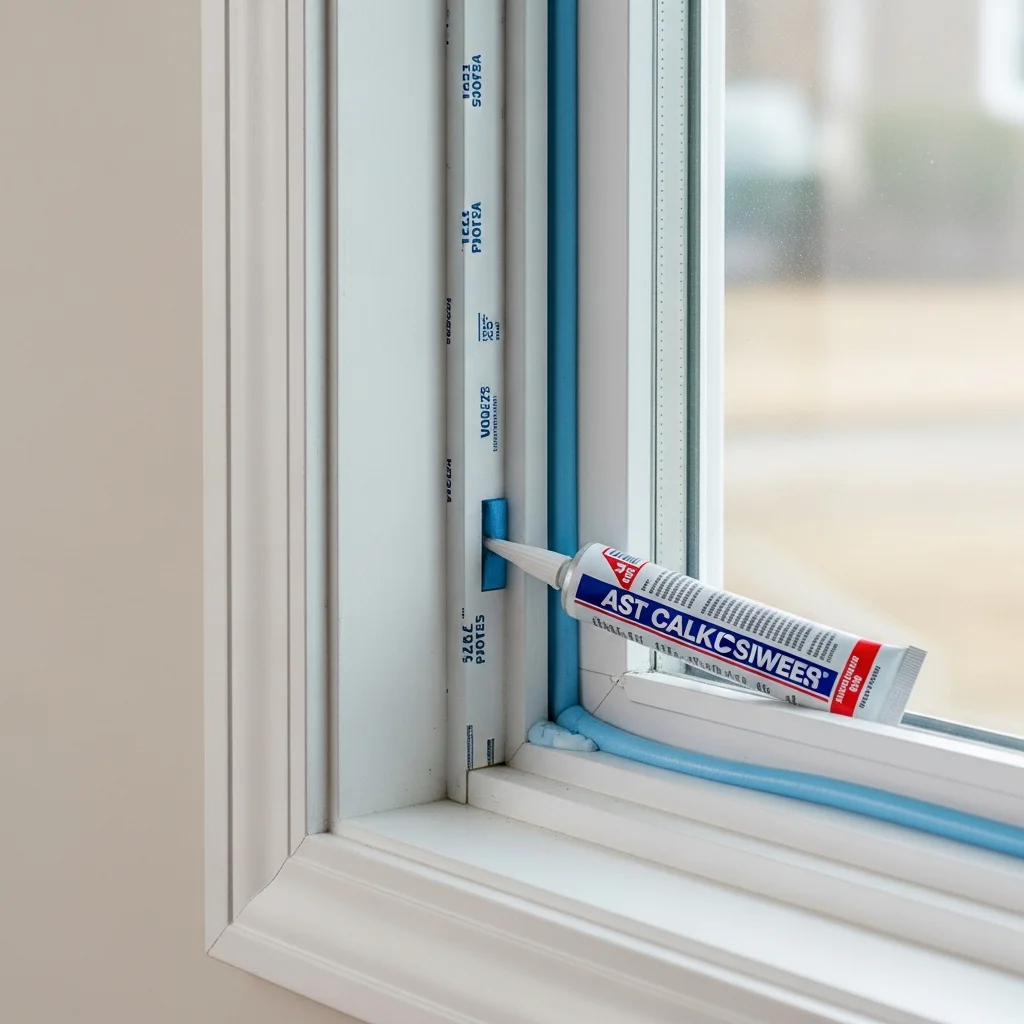
The most cost-effective insulation improvement involves sealing air leaks around windows and doors. Even small gaps can allow substantial heat transfer, essentially negating the benefits of wall insulation. A gap measuring just one-eighth inch under a door permits as much cold air entry as a hole measuring 2.4 inches in diameter in your exterior wall.
Weatherstripping provides an excellent solution for moving components like doors and operable windows. Various materials are available, including foam tape, vinyl, rubber, and metal strips. Peel-and-stick foam tape represents the most budget-friendly option, typically costing under ten dollars per door or window. Installation requires no special tools and takes just minutes per opening.
you also maybe like 15+ Creative Polymer Clay Extruder Ideas
For stationary gaps around window frames and door jambs, caulk provides a permanent seal. Silicone or acrylic latex caulk costs between three and eight dollars per tube, enough to seal multiple windows. The application process is straightforward: clean the surface, cut the caulk tube nozzle at a 45-degree angle, and apply a continuous bead along the gap. Smooth with a wet finger for a professional finish.
This simple weatherproofing combination can reduce heating and cooling costs by five to ten percent annually, according to environmental protection agencies. The materials cost less than fifty dollars for an entire house, making this one of the highest return-on-investment home improvements available.
Install Window Insulation Film
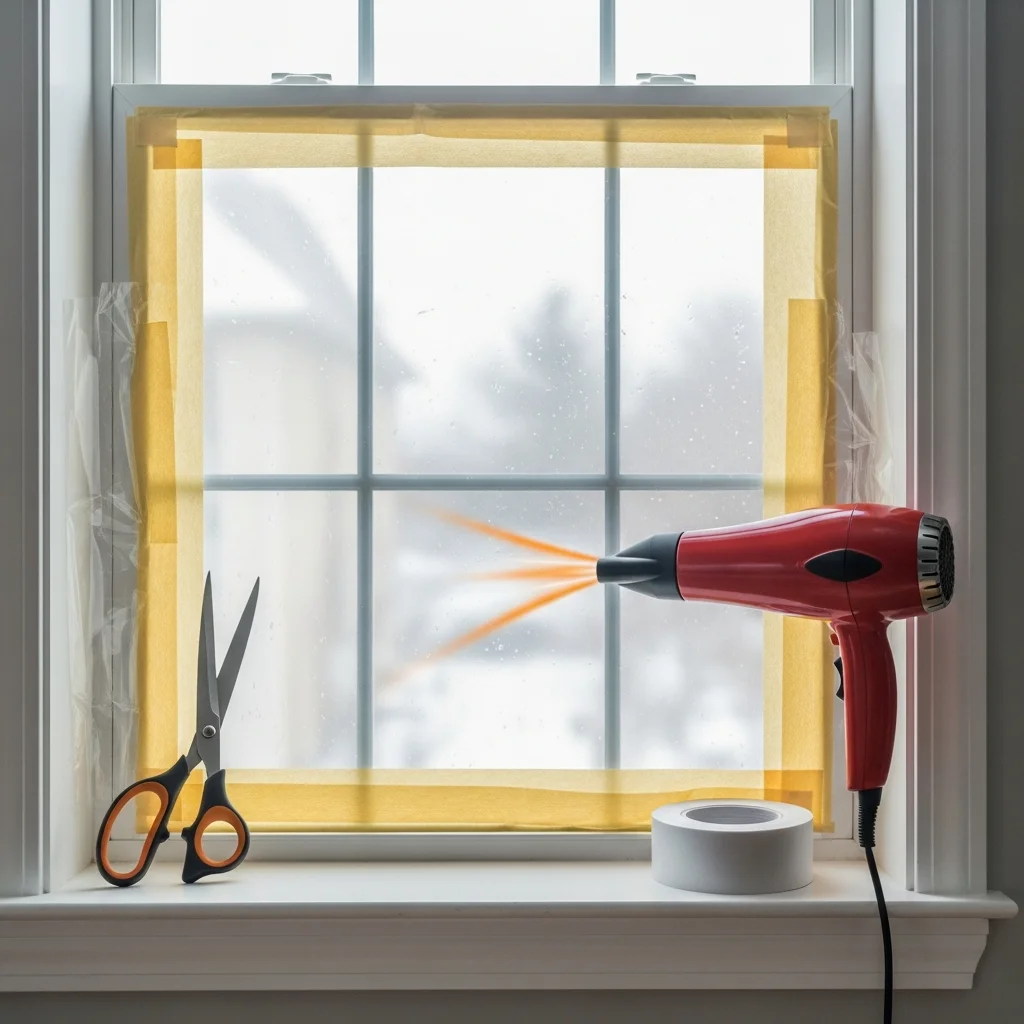
Window insulation kits offer an affordable way to reduce heat loss through glass surfaces during cold months. These kits contain clear plastic film that adheres to window frames, creating an insulating air pocket between the film and glass. The trapped air layer significantly reduces heat transfer while maintaining natural light transmission.
Installation requires only basic household items: scissors, double-sided tape, and a hair dryer. Clean the window frame thoroughly, apply the included tape around the perimeter, press the film onto the tape, and use a hair dryer to shrink the film taut. Affordable Home Insulation IdeasThe heat causes the plastic to tighten, eliminating wrinkles and creating a nearly invisible barrier.
Window insulation kits typically cost between eight and twenty dollars per window, depending on size. For homes with multiple drafty windows, purchasing multi-window packs provides better value. The film can remain in place throughout winter and easily removes in spring without damaging paint or finishes.
Beyond thermal benefits, window film also provides noise reduction and blocks drafts that create uncomfortable cold spots near windows. Homeowners report noticeable temperature improvements in rooms with insulated windows, allowing thermostat settings to be lowered without sacrificing comfort.
Create Door Snakes for Gap Blocking
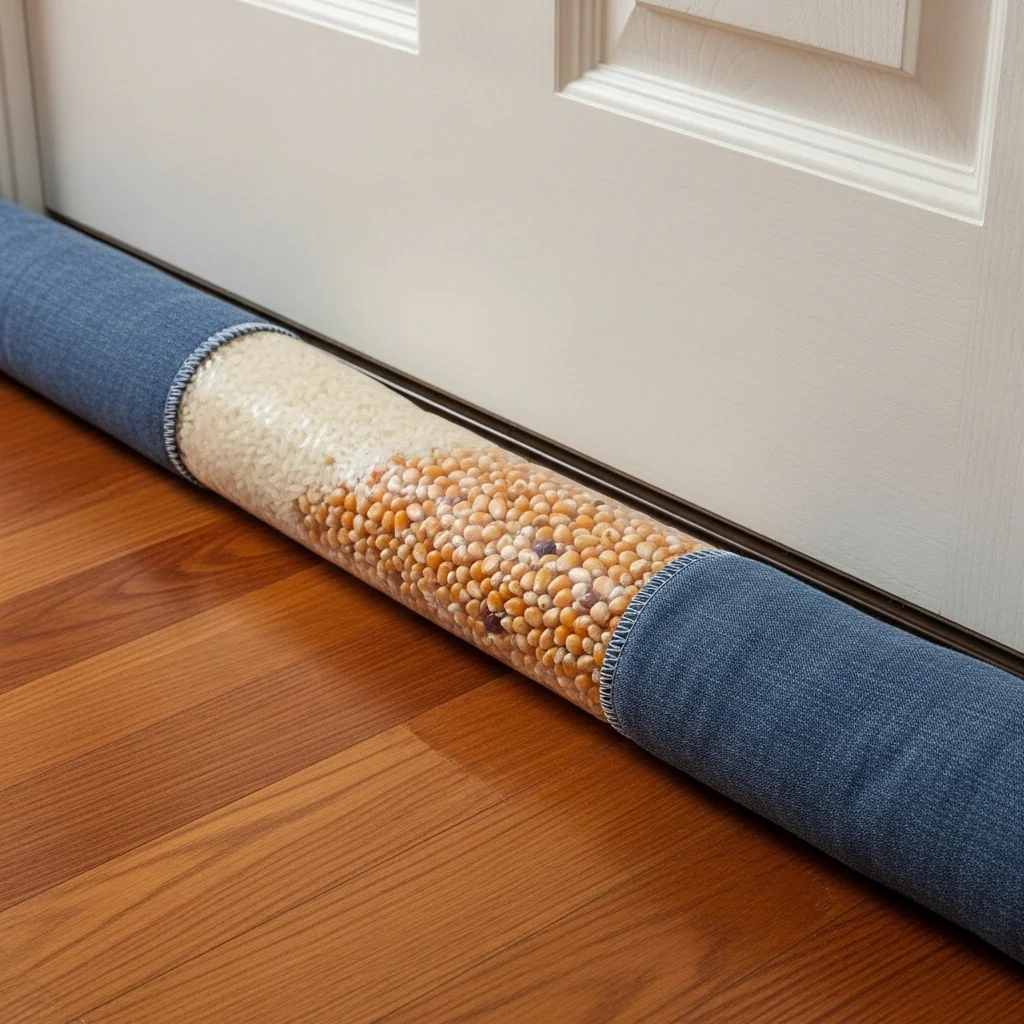
Door snakes represent one of the simplest and most affordable insulation solutions available. These cylindrical draft blockers sit along the bottom of doors, preventing cold air infiltration and warm air escape through the gap between the door and threshold. While commercial door snakes cost between five and fifteen dollars, creating homemade versions costs virtually nothing.
The basic construction involves filling a fabric tube with insulating material. Old socks, pant legs from worn jeans, or fabric scraps work perfectly as the outer covering. For filling, options include rice, dried beans, popcorn kernels, old fabric scraps, or polyester stuffing from worn pillows. Simply sew one end closed, fill the tube to desired density, and sew the other end shut.
For added effectiveness, create a double-sided door snake that blocks drafts from both sides of the door. Measure your door width and add a few inches for a snug fit. The weight of the filling material helps the snake stay in position against the door bottom.
Door snakes work particularly well for interior doors leading to unheated spaces like garages, basements, or three-season porches. They also help maintain room-to-room temperature control, allowing you to heat or cool only the spaces you’re using. This zoned approach to climate control can reduce energy consumption substantially.
Add Fiberglass Batts to Your Attic
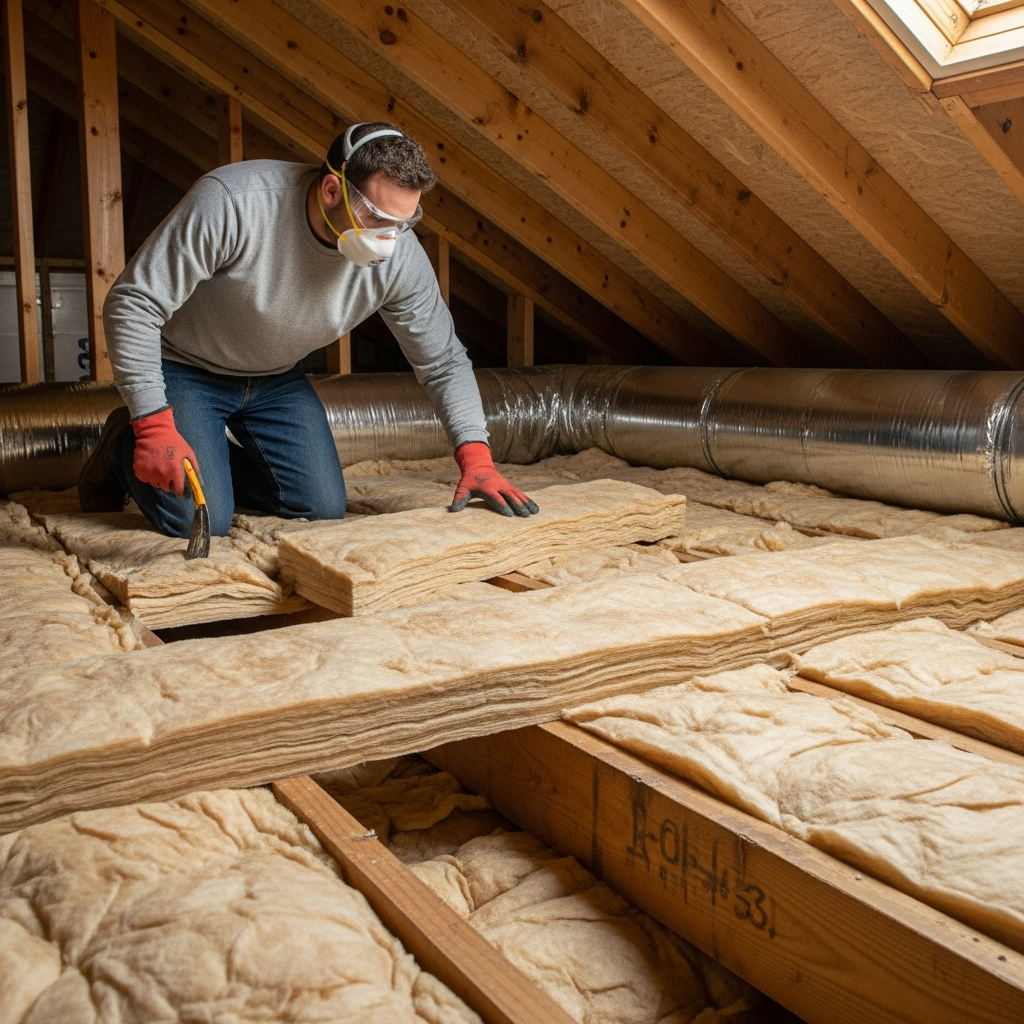
Fiberglass batt insulation remains one of the most cost-effective solutions for improving attic insulation. These pre-cut panels fit between floor joists and provide substantial thermal resistance at a reasonable price point. Material costs range from thirty cents to one dollar fifty per square foot, making attic insulation accessible for budget-conscious homeowners.
Installing fiberglass batts requires minimal special equipment, making it suitable for do-it-yourself projects. However, proper safety precautions are essential. Wear long sleeves, gloves, protective eyewear, and a dust mask to prevent skin irritation and avoid inhaling glass fibers. Work during cooler parts of the day, as attics can become dangerously hot.
When installing batts, avoid compressing the material, as this reduces its insulating effectiveness. The insulation should fill the cavity between joists without being stuffed or packed down. For maximum effectiveness, install batts perpendicular to floor joists first, then add a second layer running parallel to joists, creating a cross-hatch pattern that eliminates gaps.
Check your existing attic insulation depth before adding more. If current insulation measures less than ten inches, adding fiberglass batts can significantly improve thermal performance. The recommended depth for most climates ranges from thirteen to eighteen inches, providing R-values between R-38 and R-60.
Use Blown-In Cellulose for Hard-to-Reach Areas
Blown-in cellulose insulation offers excellent value for insulating irregular spaces, wall cavities, and attic floors. Made from recycled newspaper and cardboard treated with fire retardants and pest deterrents, cellulose provides an eco-friendly option with superior R-values ranging from 3.2 to 3.8 per inch.
While professional installation costs between sixty cents and two dollars thirty per square foot, renting equipment for DIY installation significantly reduces expenses. Many home improvement stores rent insulation blowers for approximately fifty dollars per day, plus a deposit. For an average attic, one or two people can complete installation in a single day.
Cellulose excels at filling small gaps and voids that batts cannot reach, creating a more complete thermal barrier. The material settles into irregular spaces around pipes, wiring, and structural members, eliminating air pockets that reduce insulation effectiveness. This comprehensive coverage often results in better overall thermal performance compared to batt insulation.
One consideration with cellulose is its tendency to settle over time, potentially reducing effectiveness by up to twenty percent. To compensate, install slightly more than the target depth initially. The material also absorbs moisture more readily than fiberglass, making vapor barrier installation important in humid climates or areas prone to roof leaks.
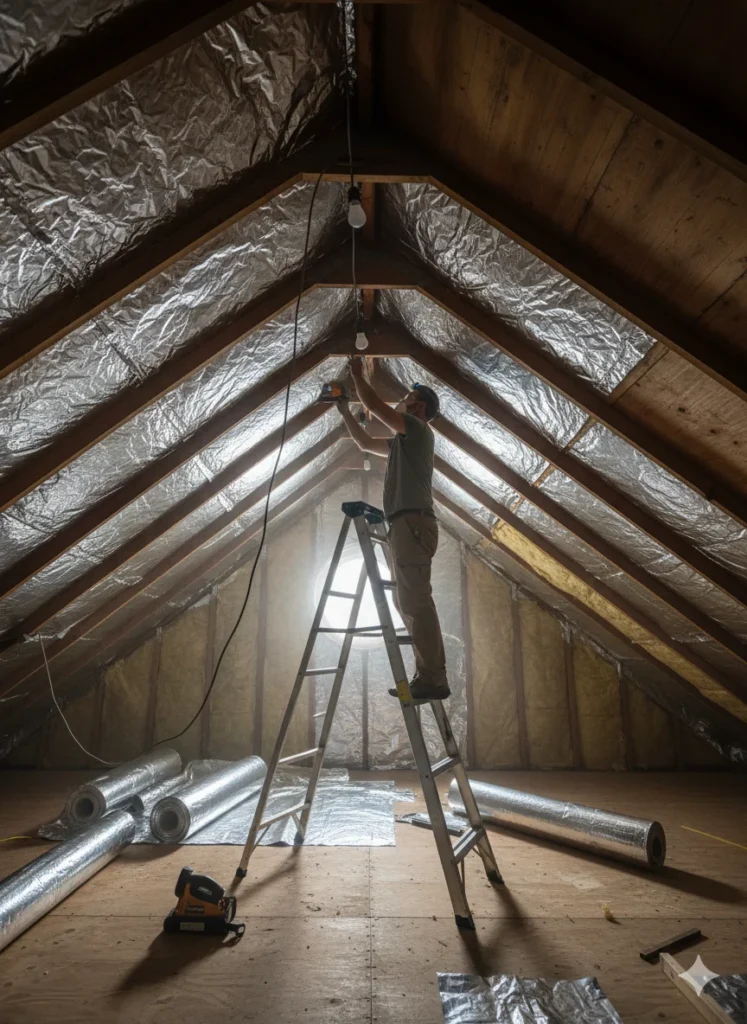
Apply Reflective Foil in Attic Spaces
Reflective foil insulation provides an affordable alternative to traditional insulation materials in attic spaces. By stapling reflective foil sheets to roof rafters, you can redirect heat that would otherwise escape through the roof back down into living spaces. This simple technique can be particularly effective in homes with limited attic insulation.
The foil works by reflecting radiant heat rather than absorbing it, making it especially useful in hot climates where reducing heat gain is the primary concern. However, it also helps retain heat during winter by reflecting warmth back into the home. The material costs significantly less than traditional insulation, with four-foot-by-eight-foot sheets available for ten to twenty dollars.
Installation requires only a staple gun and basic safety equipment. Unroll the foil across roof rafters, ensuring the reflective side faces down toward living spaces. Staple every twelve to eighteen inches along rafters, keeping the material taut but not stretched. Leave a small air gap between the foil and roof decking to maximize reflective properties.
While reflective foil shouldn’t replace proper insulation in severely under-insulated attics, it serves as an excellent supplemental measure or temporary solution while saving for more comprehensive insulation projects. The installation can be completed in a few hours and provides immediate benefits.
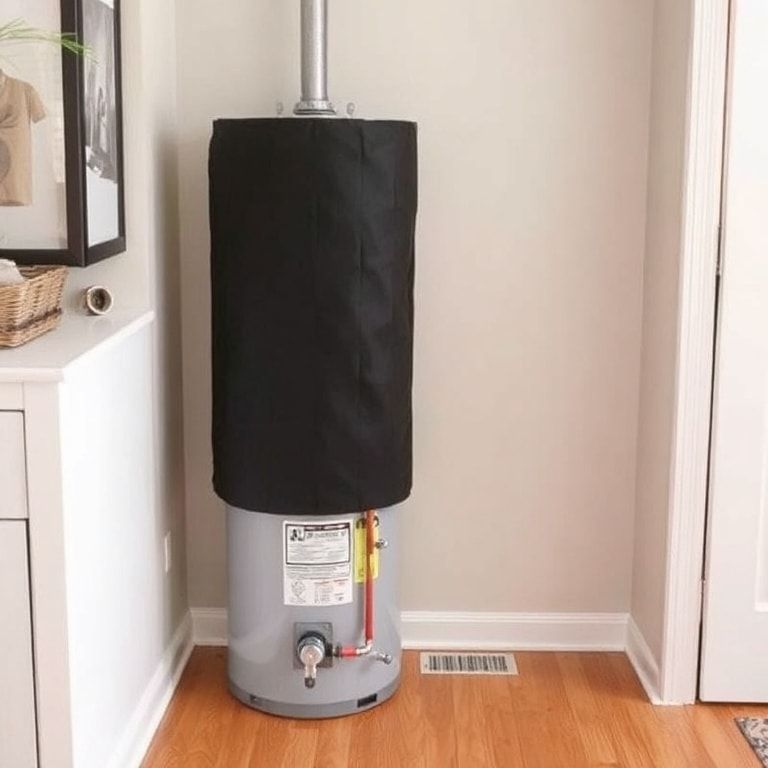
Insulate Your Water Heater and Pipes
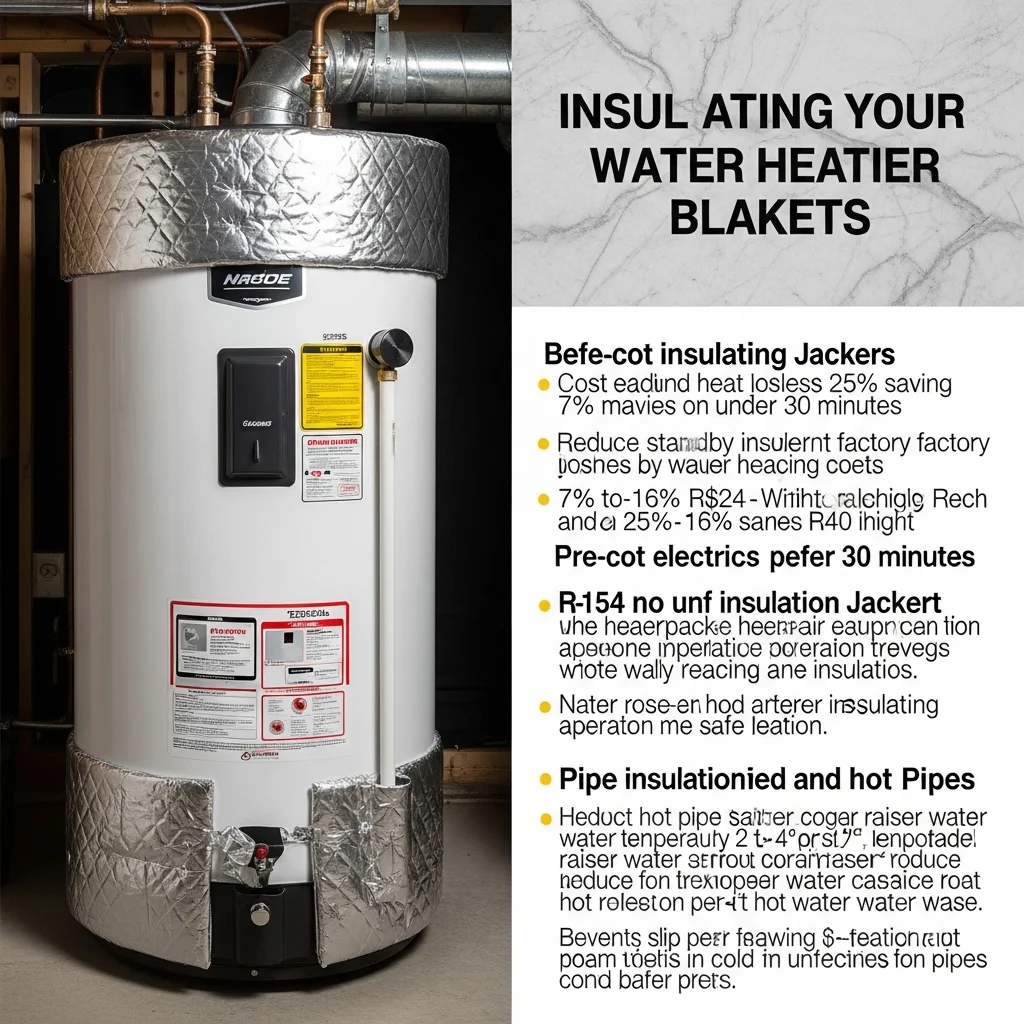
Water heater insulation represents an often-overlooked opportunity for energy savings. Adding an insulating blanket to older water heaters can reduce standby heat losses by twenty-five to forty-five percent, translating to seven to sixteen percent savings on water heating costs. Pre-cut insulation jackets cost between fifteen and forty dollars and install in under thirty minutes.
Before insulating, verify whether your water heater requires additional insulation. Modern models often include adequate factory insulation, indicated by an R-value of R-24 or higher. Older units, particularly those in unheated spaces like basements or garages, benefit most from added insulation. Note that gas and electric heaters require different installation approaches to maintain safe operation.
Pipe insulation provides complementary benefits by reducing heat loss as hot water travels from the heater to faucets. Foam pipe sleeves cost just a few dollars per six-foot length and slip easily over exposed pipes. Beyond energy savings, pipe insulation raises water temperature by two to four degrees, reducing wait time for hot water and minimizing water waste.
Installing pipe insulation also protects against frozen pipes in unheated areas, preventing potentially catastrophic and expensive burst pipe situations. Focus on hot water pipes first for energy savings, then insulate cold water pipes in areas subject to freezing temperatures.
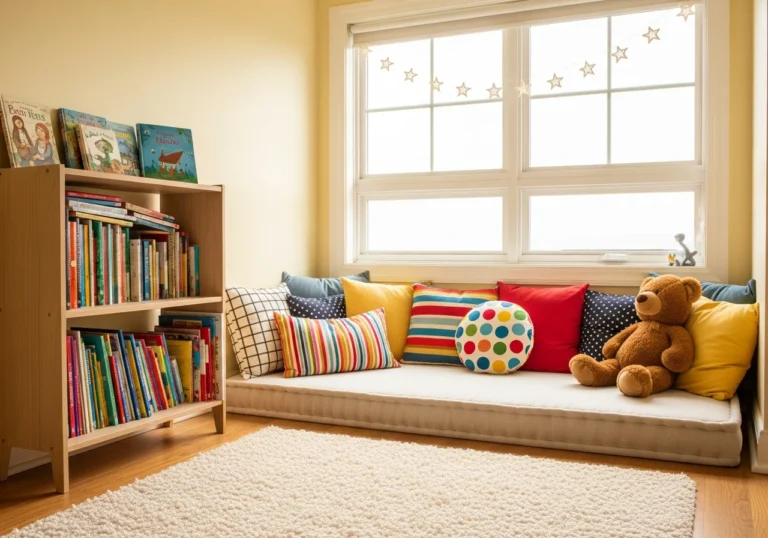
Install Heavy Curtains and Thermal Drapes

Window treatments provide both aesthetic appeal and functional insulation benefits. Thermal or blackout curtains feature insulating backing that reduces heat transfer through windows while also blocking light and reducing noise. Quality thermal curtains cost between twenty and sixty dollars per panel, with many affordable options available at discount retailers.
The key to maximizing curtain effectiveness lies in proper installation and usage. Mount curtain rods as close to the ceiling as possible and extend them beyond the window frame on both sides. This positioning allows curtains to cover the maximum wall area, preventing warm air from escaping around the window perimeter. Floor-length curtains that touch or puddle slightly provide the best thermal barrier.
For existing curtains lacking thermal properties, adding liners provides similar benefits at lower cost. Thermal liners attach to curtain backs using clips or sewn-in channels. Alternatively, fabric stores sell insulating fleece or even shower curtain liners that can be sewn to existing curtains for a DIY thermal upgrade.
Maximize energy savings by opening curtains on south-facing windows during sunny winter days, allowing solar heat gain to warm your home naturally. Close all curtains at sunset to trap accumulated warmth. During summer, keep curtains closed on windows receiving direct sunlight to block heat gain.
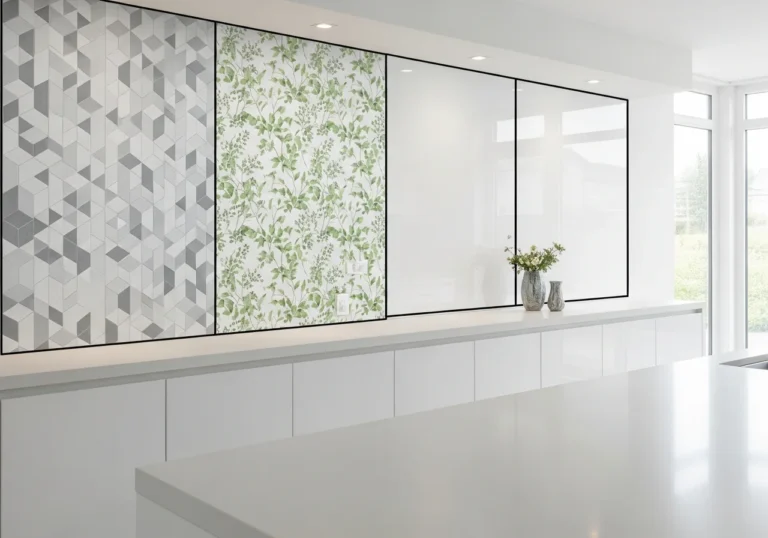
Add Rigid Foam Board to Basement Walls

Basement wall insulation often gets neglected, yet uninsulated basements waste substantial energy and create uncomfortably cold floors in living spaces above. Rigid foam board insulation provides an affordable and effective solution for basement walls. Sheets measuring four feet by eight feet cost between ten and thirty dollars depending on thickness and R-value.
Several types of rigid foam exist, including expanded polystyrene, extruded polystyrene, and polyisocyanurate. Polyiso offers the highest R-value per inch, making it ideal where space is limited. However, all types provide good thermal resistance and moisture resistance, important qualities for below-grade applications.
Installation requires cutting boards to fit between or over wall studs, then securing with construction adhesive or mechanical fasteners. For finished basements, boards can be covered with drywall for a conventional appearance. In unfinished basements, some building codes allow exposed foam if covered with a fire-resistant barrier.
When insulating basement walls, address moisture issues first. Foam board provides some moisture resistance but won’t solve serious water intrusion problems. Ensure proper exterior drainage and repair any foundation cracks before installing insulation. Consider adding a vapor barrier between the foundation wall and foam board in humid climates.
Additional Cost-Saving Tips for Home Insulation
Beyond specific insulation materials, several strategies help maximize energy efficiency on a budget. Closing off unused rooms during extreme weather reduces the volume of space requiring heating or cooling. Hang blankets or sheets in doorways to create temporary partitions that trap conditioned air in occupied areas.
Seasonal maintenance prevents insulation performance degradation. Inspect attic insulation annually for signs of moisture damage, pest intrusion, or compression from stored items. Check weatherstripping around doors and windows, replacing worn sections promptly. Clean or replace HVAC filters monthly to maintain efficient air circulation.
Take advantage of utility company rebates and incentive programs. Many energy providers offer free home energy audits that identify insulation deficiencies and air leaks. Some programs provide rebates for insulation improvements, effectively reducing your out-of-pocket costs. Government weatherization assistance programs help income-qualified homeowners with insulation upgrades.
Consider timing your insulation projects strategically. Retailers often discount insulation materials during off-season periods. Late spring and early fall typically offer better pricing than mid-winter or mid-summer when demand peaks. Purchasing materials during sales and tackling installation yourself maximizes cost savings.
When to Consider Professional Installation
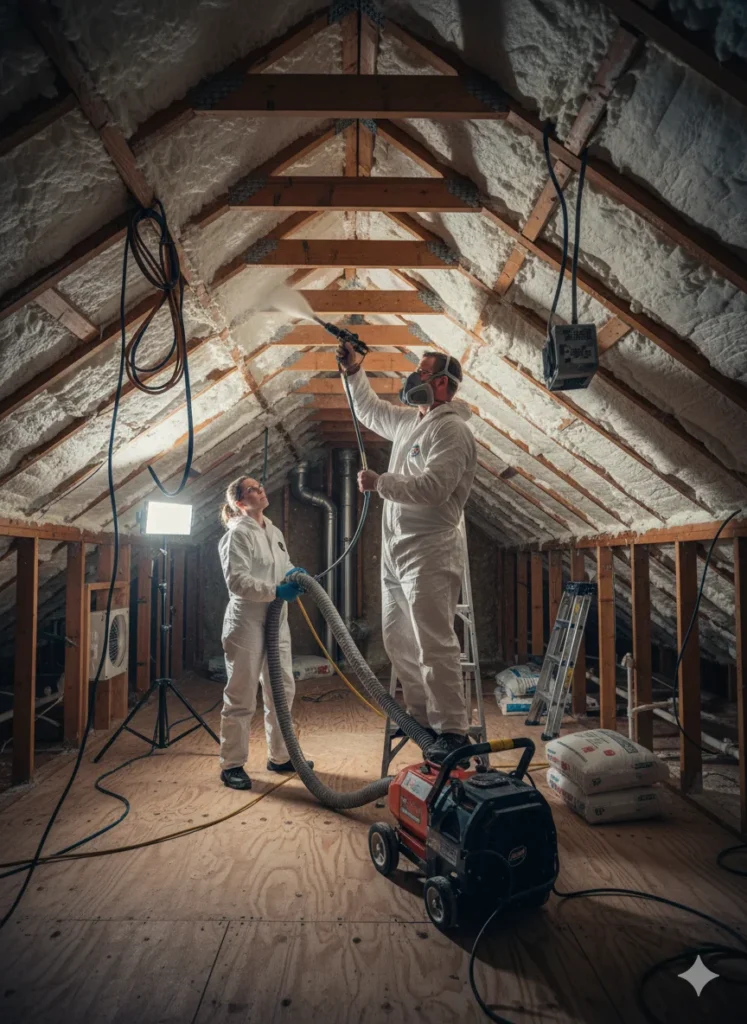
While many insulation projects suit DIY approaches, certain situations benefit from professional expertise. Blown-in wall insulation requires specialized equipment and techniques to achieve proper density without creating voids. Spray foam insulation demands precise application and poses health risks if improperly installed. Complex attic configurations with numerous penetrations for vents, wiring, and plumbing may exceed typical DIY capabilities.
Professional installers also ensure code compliance, particularly important for projects requiring building permits. They carry liability insurance protecting you from potential damage during installation. Many contractors offer warranties on their work, providing peace of mind and recourse if issues arise.
To minimize professional installation costs, handle preparation work yourself. Remove belongings from attics, clear access paths, and address minor repairs before contractors arrive. Obtaining multiple quotes ensures competitive pricing. Ask specifically about materials being used, installation techniques, and expected R-values to compare proposals accurately.
Some hybrid approaches balance DIY and professional work effectively. For example, you might install attic floor insulation yourself while hiring professionals for more complex wall cavity insulation. This strategy leverages your labor for straightforward tasks while ensuring expert handling of challenging applications.
Measuring Success and Long-Term Benefits

After completing insulation improvements, monitor energy consumption to gauge effectiveness. Compare utility bills from the same months in previous years, accounting for weather variations and rate changes. Most homeowners notice reduced bills within the first month, with savings accumulating over time.
Beyond financial benefits, improved insulation enhances home comfort substantially. Fewer drafts create more consistent temperatures throughout living spaces. Reduced temperature fluctuations mean heating and cooling systems cycle less frequently, extending equipment lifespan. Better insulation also reduces outdoor noise intrusion and helps maintain more stable indoor humidity levels.
Document your insulation improvements for future reference and home sale purposes. Energy-efficient homes command higher resale values and sell faster than comparable properties lacking efficiency features. Detailed records of insulation types, R-values, and installation dates provide valuable information for potential buyers and may qualify your home for energy-efficient property designations.
Continue monitoring your insulation performance over years. Most insulation materials last decades, but regular inspections catch problems early. Addressing small issues like compressed batts or pest damage prevents larger problems and maintains optimal energy efficiency. Your initial investment in affordable insulation pays ongoing dividends through reduced energy costs and improved comfort.
Affordable home insulation doesn’t require a massive financial commitment or extensive construction knowledge. By starting with simple weatherproofing and gradually addressing larger areas like attics and basements, you can significantly reduce energy waste without overwhelming your budget. Each improvement builds upon previous efforts, creating a more comfortable and efficient home while putting money back in your pocket through lower utility bills. The combination of modest material costs, DIY installation potential, and substantial long-term savings makes home insulation one of the smartest investments any homeowner can make.
Frequently Asked Questions
What is the most cost-effective type of insulation for a tight budget?
Weatherstripping and caulking around doors and windows offers the highest return on investment, costing under fifty dollars for most homes while reducing energy bills by five to ten percent annually. Fiberglass batts for attic spaces provide the next best value at thirty cents to one dollar fifty per square foot with straightforward DIY installation.
Can I install insulation myself or should I hire a professional?
Many insulation projects suit DIY installation, including fiberglass batts, window film, weatherstripping, and door snakes. However, blown-in wall insulation and spray foam typically require professional installation due to specialized equipment needs and technical complexity. Assess your comfort level and project scope before deciding.
How long does home insulation last before needing replacement?
Quality insulation materials typically last 20 to 30 years or longer when properly installed and maintained. Fiberglass generally outlasts cellulose, which may settle and compress over time. Regular inspections help identify moisture damage, pest intrusion, or compression that might reduce effectiveness before the expected lifespan.
What R-value do I need for different areas of my home?
Recommended R-values vary by climate and location within your home. Most attics require R-30 to R-60, exterior walls need R-13 to R-21, and basement walls should have R-10 to R-15. Check local building codes or consult your utility company for specific recommendations based on your climate zone.
Will adding insulation really lower my energy bills noticeably?
Proper insulation typically reduces heating and cooling costs by 10 to 50 percent depending on current insulation levels and climate. Homes with minimal existing insulation see the greatest improvements. Combined with air sealing, insulation creates the foundation for substantial long-term energy savings that offset installation costs within a few years.